Master Zhang opens a follower’s ‘48V15Ah Panasonic’ e-bike Li-ion battery: feather-light, foam stuffed down both sides of the box, actually unbranded 18650 knock-off cells in 13S3P; rebuilt as 15Ah with 78 × EVE 2.5Ah 18650 (13S6P), 0.2 nickel-plated steel strip, capacitor spot welder with 4 welds per cell, checked for wrong / missed welds, BMS fitted and charge/discharge tested; warning: any pack labelled CATL / Panasonic cells is fake
A follower from out of town sent in a 48V Li-ion e-bike battery, label says 48V 15Ah Panasonic cells, made 2023-12; it feels feather-light in the hand, clearly not 15Ah, range is very short and nowhere near the kilometres the seller promised. Off with the top cover: the cells only take up a little space in the middle, the rest is foam padding, the block is very small; inside it’s 18650s, 13S3P, the wrappers carry no brand or capacity info — typical knock-off cells, you can imagine the range; this battery is worth nothing. Rebuild as 15Ah: brand-new EVE 18650s at 2.5Ah each, 6P13S; place them in the holder alternating + up / − up, lay one row first as the reference, mind the orientation and don’t get it wrong; snap the top holder on to make one block; the connecting material is 0.2-thick nickel-plated steel strip cut to the needed lengths; the welder is just an ordinary capacitor spot welder — 18650s don’t need much current; 4 welds per cell to guarantee current-carrying strength; weld the parallel and series links in order, then check the whole block for wrong or missed welds; fit the BMS, charge and discharge test, no problems and it’s done. Warning: when buying a battery, any pack whose cells are labelled CATL, Panasonic and the like is fake. Comments (343): how much for a 48V30A build (2); 12C 25P cell config is overkill, 5C is enough (2, doesn’t match this video); selling fakes is a crime, jail (1); which courier did you use (1); how much for 48V25A; how much to rebuild a Sunra; you can tell it’s only a few Ah just by looking.
Sized to the customer’s old case: 78 × EVE 2.5Ah 18650 cells in 13S6P for a 48V 15Ah e-bike pack
A customer sent in a 48V e-bike battery case whose cells were dead. The creator measured the inside (130 × 370), worked out that 13S6P would fit, and chose EVE 2.5Ah 18650s — 78 cells for 48V 15Ah. Cells go into the holder alternating positive-up / negative-up (parallel across, series down), get spot-welded into one block with 0.2mm nickel-plated steel strip on both faces, with the main positive and negative brought out separately. The pack is wrapped in strapping tape, the BMS is fitted with its balance leads soldered to each series group in order, the input/output leads are connected, and a charge/discharge test (49.14V / 6.50A on screen) is run before delivery.
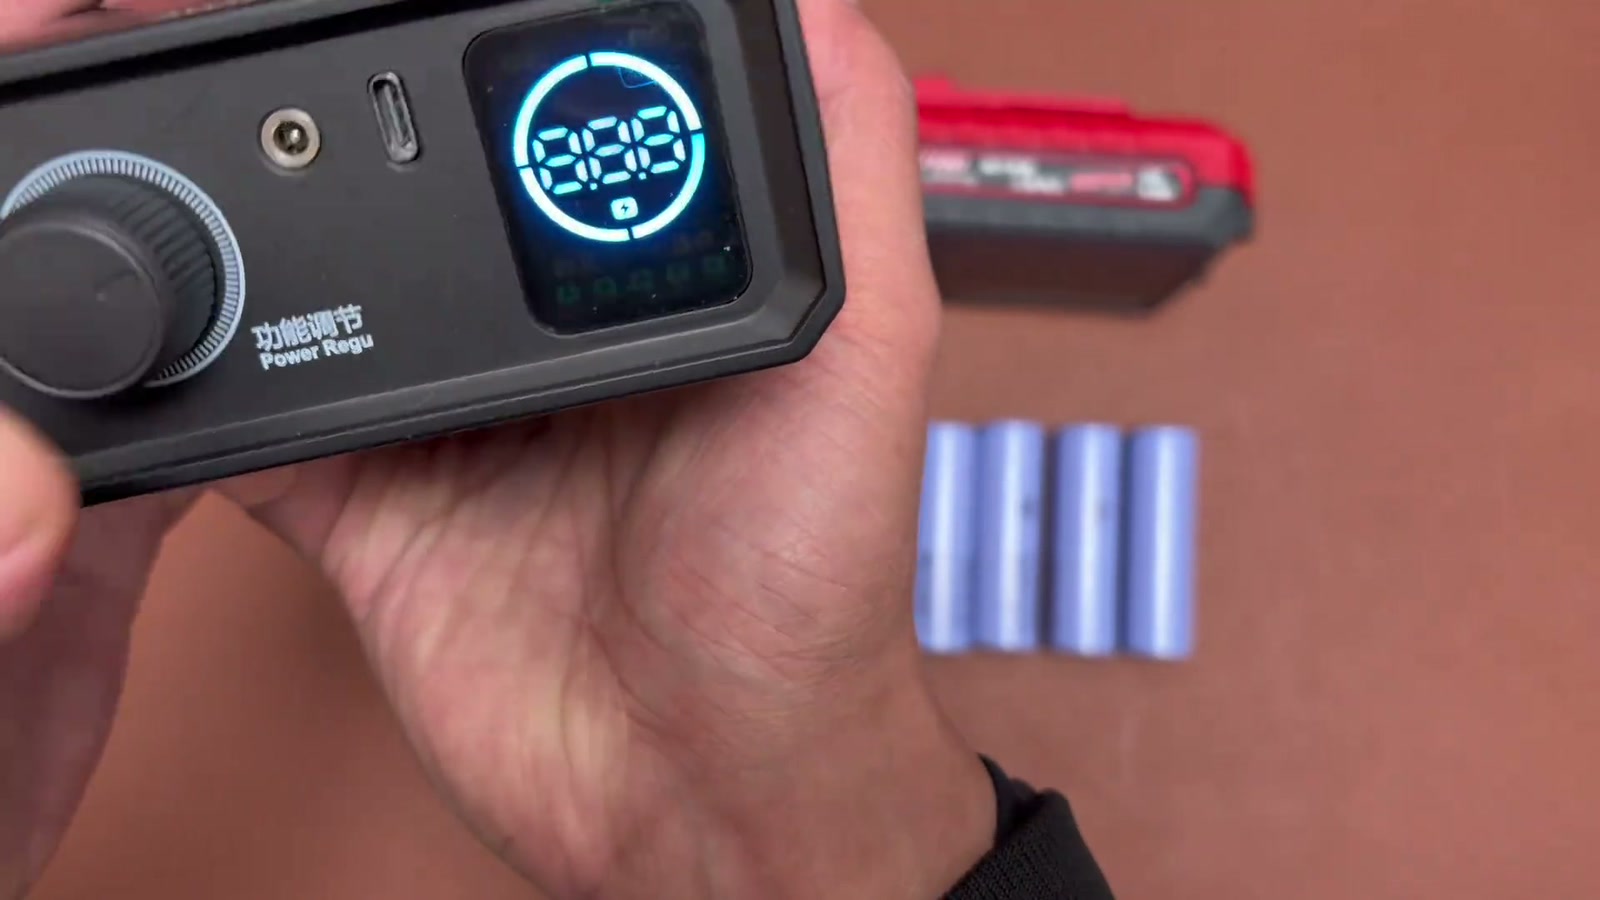
Youzi Teardown (Chinese/English subtitles) builds a 5S Samsung 40T 21700 pack in a Dayi A3 pin-terminal kit with the AWithZ UK1 (nameplate 5V/2.4A in, 8.4V/1380A MAX, adjustable mode / gear / trigger / continuous, the pen only welds when its switch is pressed): cells go in by the holder to locate main − and main +, a small nickel piece joins the main − first, flip over for the main +, gauge red to L+ and black to L−, fit the spring and lid with four screws, test on an A3 tool
Building a 21700 five-series pack with Samsung 40T cells (INR21700-40T); the welder is an AWithZ UK1, 5V (2.4A) input, 8.4V output voltage, 1380A current, Shenzhen Juequi Technology; on power-up it has adjustable mode, gear, trigger and continuous; its pen doesn’t weld the moment it touches, you also have to press a switch — he’ll show that when welding. The kit is a Dayi A3 pin-terminal one, open it, there’s nickel inside, tip it out. How the cells go: the bent part faces this way, this is the main −, so the negative goes on this side; once in, locate the main − and main +, this is positive; join the main − first, the small nickel piece goes here; unlike the previous pen that welds as soon as it touches, this one only starts when the switch is pressed, very convenient; the large nickel goes on; flip it over, weld the main + first, then put it in; this pack is now connected. Gauge: by the way the case sits, the gauge goes at the back, red to L+, black to L−; set it in; pack welded, lid on, there’s a spring that must go in or the button won’t come back up, four screws in; find an A3 tool and try it; have you learned to weld a pack now? 159 comments: where to buy brand-new genuine cells, JD / Taobao / Pinduoduo are full of fakes (3); are 5 × 4.0 reliable, EVE 40P for about ¥100 (2); how much is the welder; tabless vs Sony C6; which welder for copper shims.
Repairing a ¥30 scrapyard Boston Swing 5300 8P6S 24V pack: two dead cells swapped for new, each parallel group 2.9–3.5mΩ, nickel strip welded with a portable welder (the pen tips need regular cleaning of oxide), total 24V at 19.8mΩ; the salvaged BMS was water-damaged and broken so a new one is on order; two H4 bulbs pull 10.8A / 261W fine, capacity test waits for the BMS
Bought a complete Boston Swing 5300 Li-ion pack at a scrapyard for ¥30 (a single cell normally goes for ¥8–9); 5 of the series groups are fine, each parallel group about 3mΩ, one group has two dead cells; bought two replacements on Douyin and there is a complete 24V pack; it is no good without a BMS, and he happened to pick up another pack with a BMS to fit to this one. Repair: weld the nickel strip on with the welder (a bit crooked; the welder is very easy — press it down and one click, bang); push the cells into the holder in order, insert from the front, flip it over and weld the underside too, leave some room to move; very solid; the portable welder is just like a power bank; not a neat job but it works; the welding pen tips need regular cleaning, they oxidise and cause poor welds (the pen got hot); ugly after welding but very solid. This parallel group measures 3.5, the others are all 2.9–3.5; three are welded, keep welding the rest into one strip, rough but solid. Total voltage 24V, internal resistance 19.8mΩ, nearly 20. Fit the BMS: the salvaged one, opened up, was cracked and water-damaged, no good, buy another. Discharge test: multi-function tester clipped on at 25V, two H4 bulbs (yellow + green together is 24V, black-yellow / black-green is 12V, don’t mix them up or they burn out), sparks flying, discharge current 10.8A (about 261W), no problem; the voltage drops fast because one group isn’t full — charge it up and test total capacity when the BMS arrives. Comments: with hands like that, thumbs-down for not building your own welder; AC or DC resistance meter (seems to be AC); it’s got some years on it (five or six); what resistance and what C rate (single cell 22mΩ, new 13mΩ, 3–6C discharge, mine I reckon 1C is fine); what is it for (storage / backup power); this kind of welder won’t hold on these cells, goes intermittent after a while; chicken-poop welds.
Jidian Yanjiusuo (Electromechanical Lab) shows how to fit a 3S / 4S BMS (this episode 3S, 12V): first spot-weld a bit of nickel on each cell’s + and − with the handheld H2 so they tin easily; on the 3S board B+ goes to pack positive, B2 to the first cell at 4.2V, B1 to the second at 8.4V, B− to pack negative; solder the 4 wires to the board first, then to the cells in order; the multimeter shows the BMS already has output, the 12V pack is done; 4S next episode
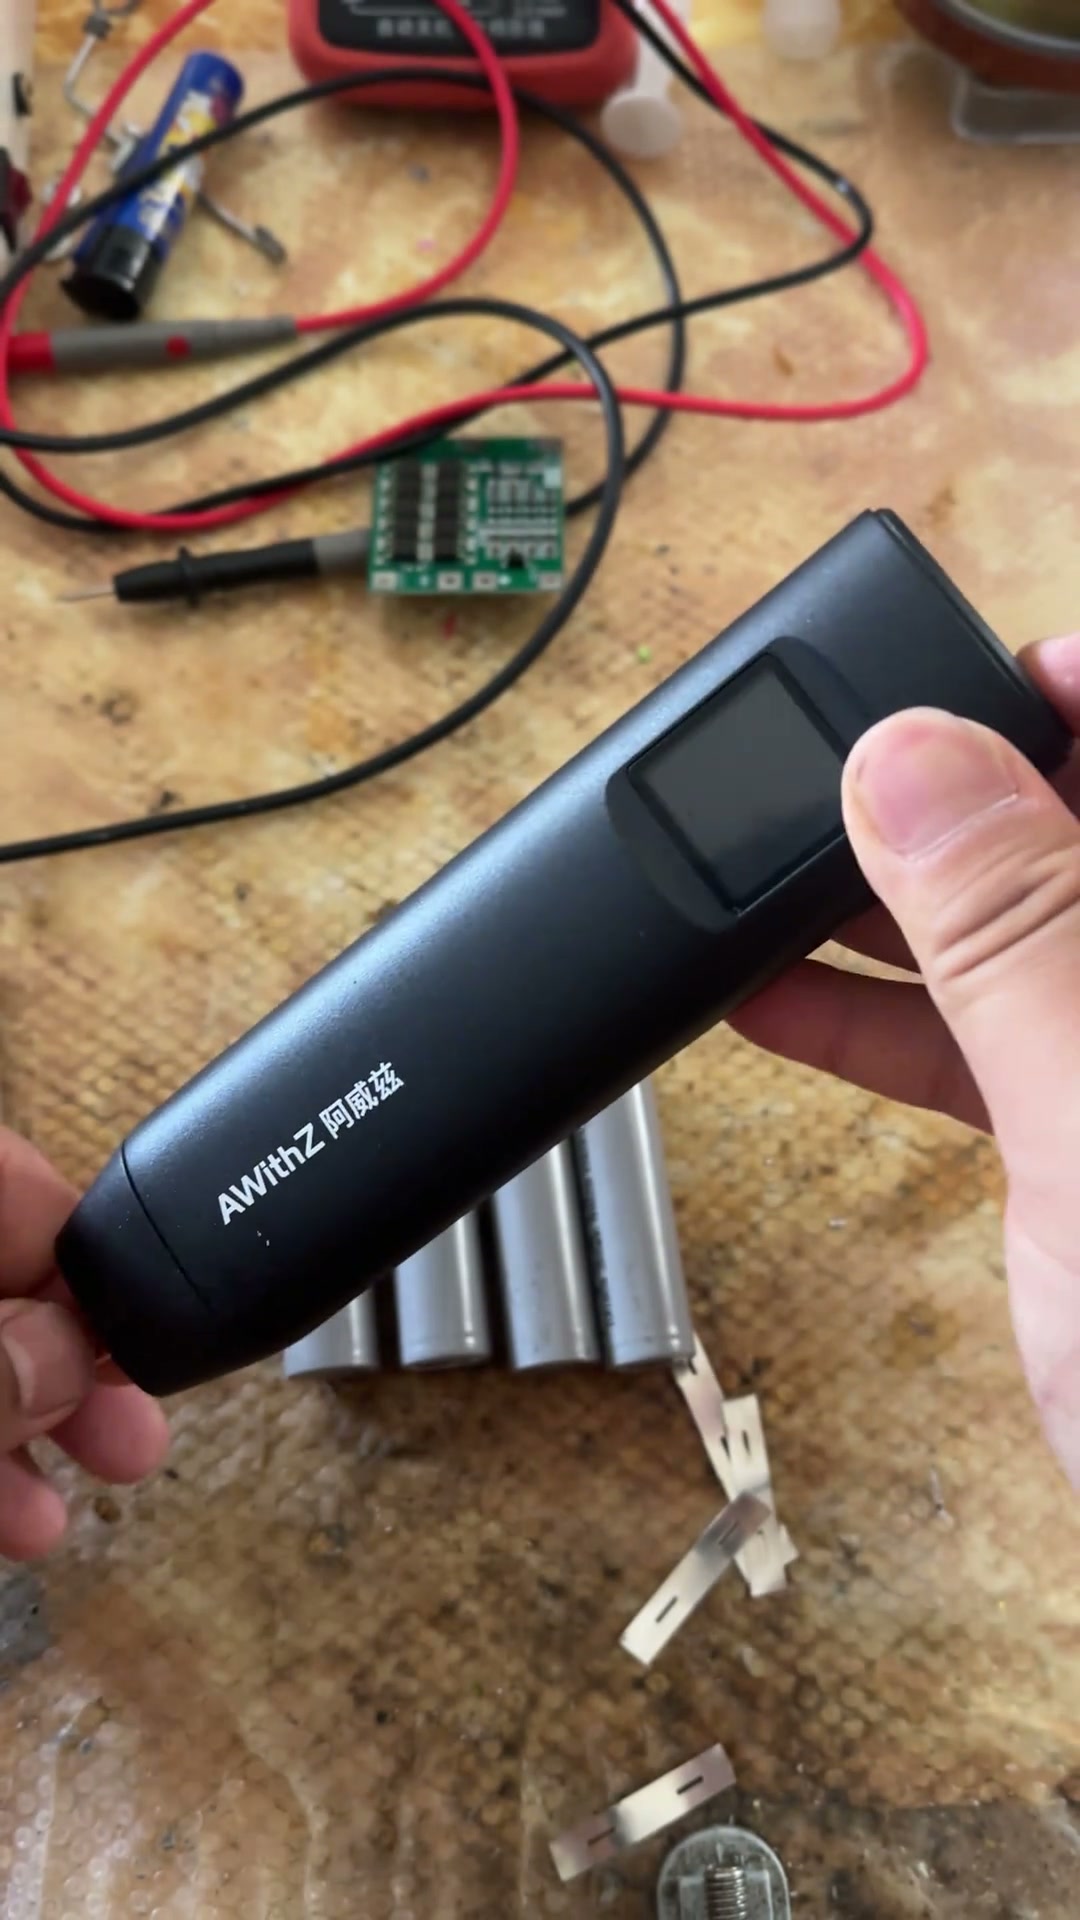
Today: how to fit 3S and 4S BMS boards; spot-weld the cells first, again with the AWithZ H2 handheld spot welder; here both positive and negative get a bit of nickel strip welded on so they tin easily. A 3S BMS is used (12V-DGL-BHB V1.0) with B+, B−, B1, B2: B+ goes to the pack positive; B2 to the first cell, 4.2V; B1 to the second cell, 8.4V; B− to the pack negative, that’s it; solder the 4 wires on first; once the board looks like this, the board’s soldering is done; tin the cells; with the tinning done, line it up and solder the four wires in the order just given, soldered; check the BMS with a multimeter and it already has output (about 11.6V), a 12V pack is made. 31 comments: shares (3); does this board charge and discharge through the same port (1); can it work as a motorcycle jump starter; with your tool I could make anything; I have 6 cells in total.
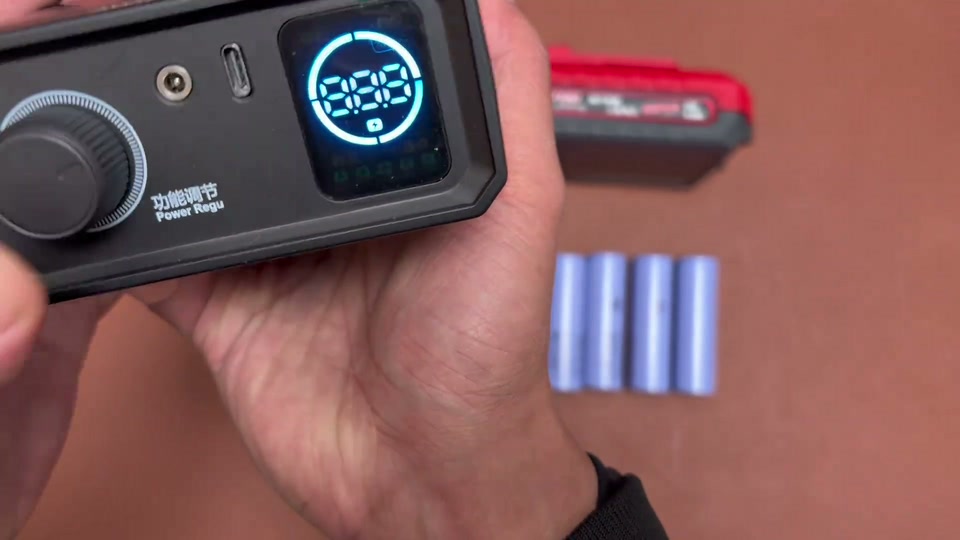
Reuse button cells! The U3 Pro spot welder brings button cells back to life — eco-friendly and money-saving, small body, big energy! #AWithZSpotWelder #LiIonPackAssembly #HardwareTools #Welding #Tools
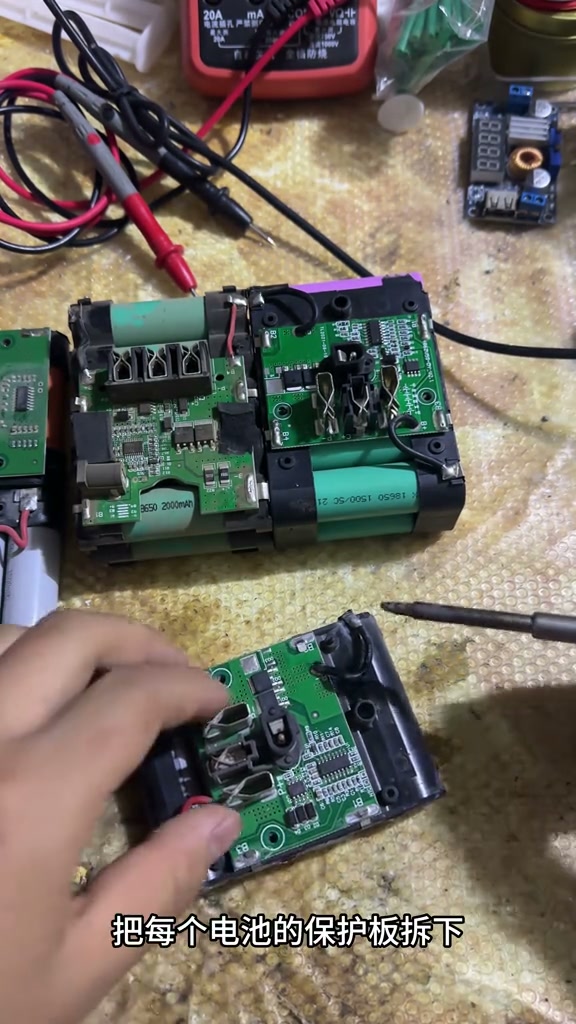
Helping a friend strip a pile of power-tool batteries from the scrapyard into cells (18650 1500mAh 5C) for a high-capacity 12V pack: remove the BMS (tin the iron, lift with both hands), peel the strip (shorts and sparks very easily — sparks twice on camera), grind the weld spots off with an angle grinder, IR-test every cell; the newly arrived AWithZ H2 handheld welding pen tacks the ends first then welds everything, 0.12 strip is easy; 3S BMS with B+ and four wires, output 11.77V; insulation must be done properly or it sparks; ran out of heat-shrink so no shrink wrap
A friend picked up a lot of power-tool batteries at the scrapyard and wants them made into 12V. Remove the BMS from each battery: undo two screws, a little solder on the iron tip, lift with both hands and it comes off; do the same on all of them (cells marked 18650 1500mAh/5C); peel the nickel strip off one by one — careful not to short, this step shorts and sparks extremely easily, one slip and it looks like this (sparks on screen); wipe every cell clean, grind the weld spots off with an angle grinder so they weld well; IR-test each cell’s voltage and IR with the IR meter; pre-cut the strip plus the two main + / − strips. The AWithZ H2 handheld welding pen arrived today, give it a try — long-press the bottom to power on; tack the two ends of the pack first, then weld the whole thing, the welds look very good, 0.12 strip is easy. B+ on the BMS to the positive, held with insulating tape, four wires soldered on; BMS output measures 11.77V, OK; solder the output leads; everyone, do the insulation properly or it will spark; the blue heat-shrink ran out so no shrink wrap. Comments: ‘professional or not, shorted twice’; what use are old batteries; mine is 48V.
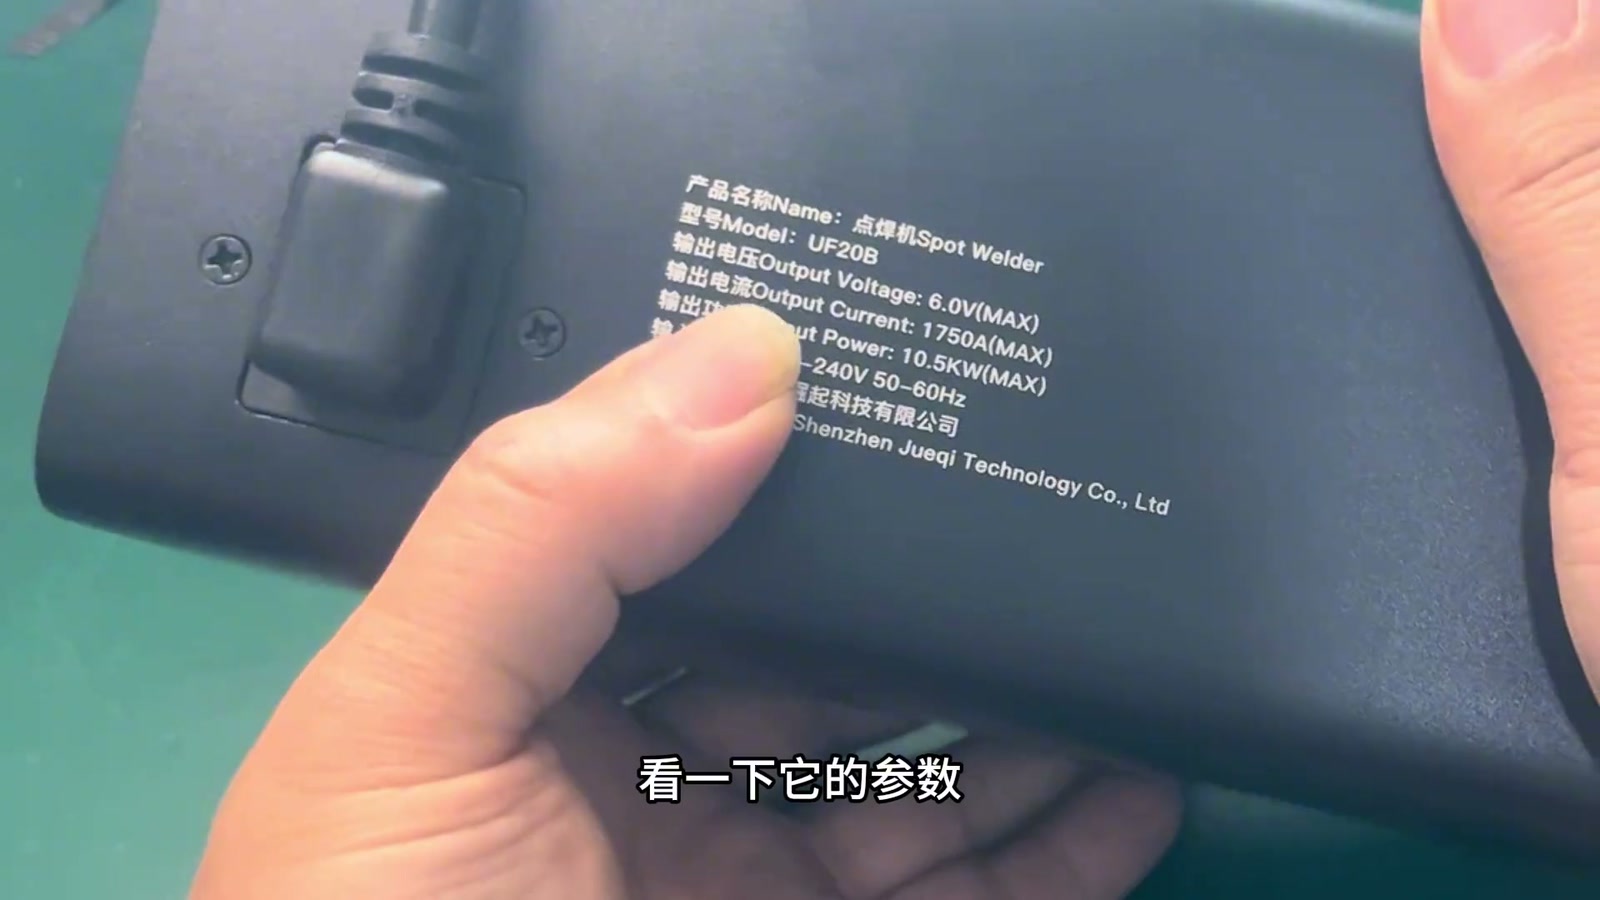
UF20B supercapacitor welder review: 1750A / 10.5kW; gear 15 welds nickel strip you can’t tear off, gear 28 handles thick nickel strip, dozens of welds in a row no problem; 99 gears + over-temperature / discharge protection
The creator introduces the AWithZ compact spot welder UF20B: supercapacitor inside, lighter and smaller than a traditional transformer welder, with big instantaneous power and high efficiency; the nameplate gives max output current 1750A, output power 10.5kW, input 100–240V. It comes with two welding pens (very thick leads), a switch for auto / manual, and a trigger port for a foot switch. In the test: gear 15 welds nickel strip onto a cell’s negative end — the welds look clean with no blackening, can’t be pulled off by hand, and pliers tear the nickel strip apart; switching to thick nickel strip at gear 28 on an old cell’s positive end is just as solid, the strip tears before the weld; dozens of welds in a row with no problem. Summary: 99 gears to choose from, suits nickel strip of different materials and thicknesses (up to 0.4mm), with over-temperature and discharge protection. In the comments the creator replies that a higher-power model that welds 1mm is in the shop window.
Ran into a problem? Have an idea for improvement? Tell us. We read every piece of feedback carefully. Valid feedback earns points, redeemable for accessories / coupons.
Thanks for your feedback!
We'll review it within 1–5 business days. If you left an email, valid feedback earns points redeemable for accessories / coupons. If we need to follow up, we'll contact you at the email you left.
WeldWorld is an open platform for user sharing; content does not represent official advice.
Improper battery handling can cause fire, explosion, chemical burns and serious injury. Read the full AWithZ Safety & Usage Guidelines before any lithium battery assembly, spot welding or testing, and before using the community.
Community content is personal experience, not verified by AWithZ; where it conflicts with official documents, the official documents prevail.
Never apply someone else's settings directly; always start at a low level and test on scrap.
Before copying any procedure, go through the self-check list in Part 3 of the guidelines.
 Building a 48V e-bike battery from 78 × 18650 cellsProjectsBattery Master Zhang
 LV5
LV5


 Why does a 48V e-bike Li-ion battery have such short range?ProjectsBattery Master Zhang
 Got it now? Building a 21700 Li-ion pack with an AWithZ welderProjectsYuzu
 AWithZ high-power spot welder — welding lithium cells, handy and effectiveProjectsElectronics Basics
 LV4
LV4


 Boston 5300 Li-ion 24V 8P6S pack picked up at a scrapyard, repaired successfully — but no BMS; ordered one online and will test capacity when it arrivesProjectsDoomsday Lab
 Fitting a BMS — 4S in the next videoProjectsMechatronics Lab
 LV3
LV3

 LV5
LV5
 U3 Pro Battery WelderProductsAWithZ
 Li-ion pack assembly, AWithZ spot welderProjectsMechatronics Lab
 LV1
LV1