
Me
#AWithZ spot welder Share your welding progress, a question or a finished build…
Public Post
 LV5
LV5
[Welding test] UF20B: palm-sized, with the strength of a thousand pounds. 0.2mm pure nickel sheet on an 18650 pack, solid welds, energy focused in an instant #AWithZSpotWelder #diy #CompactSpotWelder #GeekMods #ElectronicsHobbyist
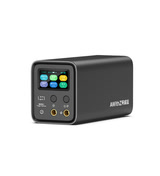 UF20B Supercapacitor WelderProductsAWithZ
LV5
UF20B Supercapacitor WelderProductsAWithZ
LV5
[Unboxing moment] UF20B — a professional power station in your palm. No preheat needed, one-button stable welding, easy spot welding, enjoy the assurance of every precise weld! #AWithZSpotWelder #diy #CompactSpotWelder #GeekMods #ElectronicsHobbyist
 UF20B Supercapacitor WelderProductsAWithZ
Who to followRefresh


 LV5
LV5
Welds you can't tear apart! Don't be fooled by the small size! H1 handheld spot welder, straight out of the box onto 18650 cells: welds you can't tear off — beginners, buy with eyes closed! #AWithZSpotWelder #EquipmentReview #ElectronicsHobbyist #HardwareTools #WeldingWonderTool

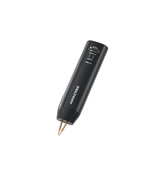 H1 Handheld Dual-Pulse Welder (prev. gen)ProductsAWithZ
 LV1
LV1
Honglin Zhenxian compares a ¥180 hand-built welder off Xianyu (no charger, thin leads, shabby tips) with a ¥500 AWithZ UF20B from the Douyin store (aluminium-alloy shell, thick leads, rounded tips, handles 0.4 nickel strip, pen with a button) — ‘I just buy the pricey one’; gear 31 rapid-fire welding is so much fun he burns the tablecloth; gear 99 welds straight through a utility-knife blade, ‘don’t recommend this, too hard on the machine’; 613 comments: the bought one wins, is Duokerui the same company, P120 ribbon cable loose and returned, both are toys
On the left, from the second-hand market (Xianyu), ¥180 and no charger, you sort your own; on the right, from the Douyin store, ¥500, and there’s a difference: this lead (Xianyu machine) is thinner than my life, pitiful, and the tips aren’t even one piece; (the AWithZ’s) are so rounded, they say it handles 0.4 nickel strip, seriously strong, and it has a button, aluminium-alloy shell (nameplate UF20B 6.0V / 1750A / 10.5kW / 100–240V, Juequi Technology); I can’t really read power ratings, I just buy the pricey one, the pricey one’s stronger, that one’s low power. The Xianyu machine throws sparks on every weld; this one is different, the pen has a switch underneath so you don’t need to hold anything, just go bang-bang-bang rapid-fire, so much fun, burnt the tablecloth, the genuine AWithZ; and this isn’t even the top gear, it’s on 31, 99 is harsher; big thumbs-up for that switch, so convenient. Switch to gear 99 and weld a utility-knife blade: whoa, a stainless blade this thick nearly welded on, welded through, how’s that for strong; don’t recommend welding like this, too hard on the machine; blew right through the blade. 613 comments: the bought one wins, AWithZ is reliable (is this brand that big a deal?); Duokerui and AWithZ are about the same, which is stronger (they say they may well be the same company); bought a P120 for ¥2600 on promotion, ribbon cable loose, returned, don’t trust the QC (let me try one too); good enough, fairly strong, easy to use (it really is strong, the pen button is super handy, the lead’s just short); at ¥180 back then there wasn’t even a pen, better to buy Kekaike; both of the desk-top ones are toys (how big does it have to be to not be a toy); a hand-built microwave-transformer one has far more current and sits gathering dust; a ¥400 one off Xianyu does 0.4 aluminium-nickel easily; supercapacitor + LTO builds are cheap and powerful.
 Ep. 2 | Spot welder comparison — a home-built one off Xianyu vs a bought one! Money talks! The quality really is differentProjectsIdle Honglin
LV5
Ep. 2 | Spot welder comparison — a home-built one off Xianyu vs a bought one! Money talks! The quality really is differentProjectsIdle Honglin
LV5
0.4MM copper sheet fused in an instant — see the result ~ AWithZ P90C all-new supercapacitor spot welder (56.8KW) #AWithZSpotWelder #WeldingEquipment #GeekMods #GoodFinds #EquipmentReview
 P90C Industrial Supercapacitor WelderProductsAWithZ
LV5
P90C Industrial Supercapacitor WelderProductsAWithZ
LV5
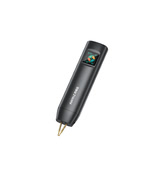
AWithZ H1 in action: 0.15mm nickel strip on cylindrical cells — handheld design, simple and easy to pick up. Click to learn more and raise your weld quality! #AWithZSpotWelder #Geek #Repair #Tools
 H1 Handheld Dual-Pulse Welder (prev. gen)ProductsAWithZ
Related productsAll ›
 LV5
LV5
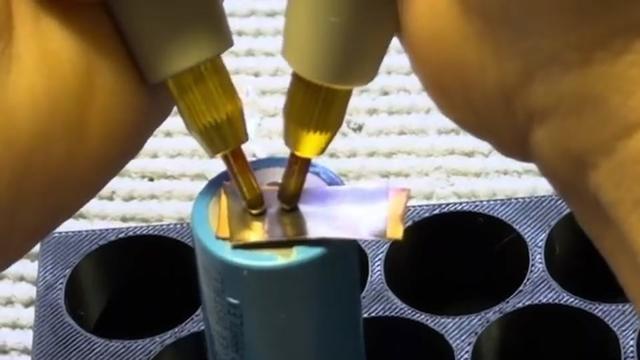
Pushing the limit — AWithZ P60F hardcore copper welding! 0.4mm copper sheet + 0.1mm steel sheet? Way beyond the official 0.3mm copper — real-test results beyond imagination! Full parameters at the end, come copy the homework! #AWithZSpotWelder #Geek #Repair #Tools #Double11
 P60F Supercapacitor WelderProductsAWithZ
LV5
P60F Supercapacitor WelderProductsAWithZ
LV5
H1 handheld dual-pulse spot welder — the battery-welding wonder tool, nails 0.2mm nickel strip perfectly. Precise control, professional results, super easy to pick up! #AWithZSpotWelder #BatteryWelding #ToolNerd #GoodFinds #Double11
H1 Handheld Dual-Pulse Welder (prev. gen)ProductsAWithZ
LV5
[Copper welding] No sweat! UF20B spot welder, efficient and stable, no cold welds! #AWithZSpotWelder #WeldingEquipment #ElectronicsHobbyist #diy
 UF20B Supercapacitor WelderProductsAWithZ
 LV1
LV1
Shougong Wang’s money-saving guide for beginners: of the three-piece kit only the welder is a must, skip the internal-resistance meter and load tester for now — buy cells straight from official brand channels like EVE and there is basically no need to test them; buy the most expensive welder your budget allows and go for a big brand (this is his third); recommends the U3 Pro’s semi-auto weld button (position first, then press, so beginners don’t weld crooked and ruin a cell) and its repeat-pulse mode (up to 3 welds on the same spot, for copper); nameplate 4.2V / 11000mAh, pure nickel 0.2, nickel-plated steel / iron 0.35, copper 0.1; consumables are glass-fiber tape / heat-shrink film / fish paper; everything on a cell except the positive is negative, fish paper on the positive is a must
Sharing money-saving experience from hand-building lithium packs so beginners spend as little as possible. The three-piece kit: the welder is essential, the internal-resistance meter is optional, the load tester is optional — a beginner only needs a welder, skip the other two for now; early on, only build small packs and order straight from the cell brand’s official channels (EVE official site / Tmall / Alibaba; the page shows 18650 3.6V 3200mAh / 2850mAh etc.), which basically needs no testing — with a welder you can build right away; think about instruments later when going to big capacity. Key point — which welder suits a beginner: buy the most expensive one you can accept within your budget, and go for a big brand as far as possible; this is the third welder I’ve bought (AWithZ); one feature is very beginner-friendly: the pen sits on the cell for ages and nothing happens, because the manual weld button hasn’t been pressed — press it and it welds instantly, the semi-auto mode; beginners often mis-place the spot or set the nickel tab crooked, and if the pen welds the moment it touches, the cell is ruined, so a semi-auto button is best to have; there is also a repeat-pulse mode that welds the same spot repeatedly, suited to copper sheet that needs more power — hold the pen steady and it fires up to 3 welds in quick succession. Mine is the AWithZ U3 Pro: pure nickel 0.2mm MAX, and it also does steel and copper sheet (copper 0.1 MAX; nickel-plated / steel / iron 0.35 MAX); nameplate U3 battery spot welder, 4.2V MAX, Type-C 5V/2.1A, USB 5V/2.4A, 11000mAh 40.7Wh, Juequi Technology; plenty for a beginner. Consumables: glass-fiber tape, heat-shrink film, fish paper. A special note on cells: this is the positive, this side is negative — many people don’t know the whole can is negative; open one up and everything except the positive is negative, so positive insulation is critical, always use positive fish paper. Non-essential accessories aren’t covered; get the three-piece kit straight and you save a lot. Comments: asking for the EVE official link (search results are all ads) (2); lend me the welder for two spots nearby; can UV glue join them; what battery for a 24-set net-hauling boat; a mis-weld ruins the cell? can’t you pull it off and re-weld?
 Beginner’s money-saving guide to hand-building lithium packsProjectsCraft King
LV5
Beginner’s money-saving guide to hand-building lithium packsProjectsCraft King
LV5
[Aluminium-to-nickel] The problem-ender! [Aluminium-to-nickel welding] The problem-ender! AWithZ P30C spot welder — tough welds made easy! #AWithZSpotWelder #GeekMods #MustHaveForVeterans #WeldingEquipment #DIYGuru

 P30C Supercapacitor WelderProductsAWithZ
LV5
P30C Supercapacitor WelderProductsAWithZ
LV5
Precision spot welding, solid in an instant! A professional spot welder that's a step ahead in efficiency! One machine, many functions — save the cost of several devices! All-new P30C supercapacitor energy-storage spot welder #AWithZSpotWelder #WeldingEquipment #CapacitorBlackTech #ElectronicsHobbyist #diy
 P30C Supercapacitor WelderProductsAWithZ
Hand-building FPV drone packs, part 1 (materials): 21700 vs 18650, fish paper, a balance connector matched to the S count, power leads, copper and nickel strip, heat-shrink; tools are scissors, a soldering iron and the AWithZ UF20B (ready in 1 minute vs 20-plus for others, 10.5kW / 1750A, welds 0.4 nickel-plated steel strip, auto / manual, preheat 1–10ms, 1–2 pulses)
Bilingual Chinese / English captions. Followers want to DIY FPV drone packs with a good discharge rate and long flight time, so first the prep: the pack body is 21700 or 18650 — the former has a higher discharge rate and more capacity but is bigger, choose to suit; fish paper; balance leads (pick a balance connector for however many S you need); power leads; copper and nickel strip; heat-shrink tubing for the outer protection. Tools: scissors, a soldering iron, and most important the spot welder — this AWithZ compact spot welder UF20B, which reaches welding condition in about 1 minute, much faster than the 20-plus minutes of other welders on the market; high power, up to 10.5kW, up to 1750A output; officially rated to weld 0.4mm nickel-plated steel strip, easily enough for drone packs; the welding pen has two modes: auto (press and it fires) and manual (pen trigger); preheat time selectable 1–10ms, 1 or 2 pulses selectable; screen reads 29°C. Assembly next episode. Comments: ‘it’s your fault, I bought the same one’; 18650s blow up easily, pouch cells are safer (creator replied); can pouch cells be used (creator: yes); only use it a few times a year so bought a P60F; does the welder go bang.
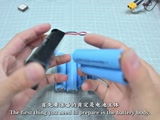 Hand-building FPV drone packs, part 1! Not easy to makeProjectsKai.Xin FPV Log
LV5
Hand-building FPV drone packs, part 1! Not easy to makeProjectsKai.Xin FPV Log
LV5
⚠️Soldering cells with an iron can damage them? A spot welder is faster, safer and more professional! The right way to weld batteries, revealed — get twice the results on your DIY projects!🔋⚡#AWithZSpotWelder #WeldingEquipment #Battery #Repair #UnorthodoxHacks
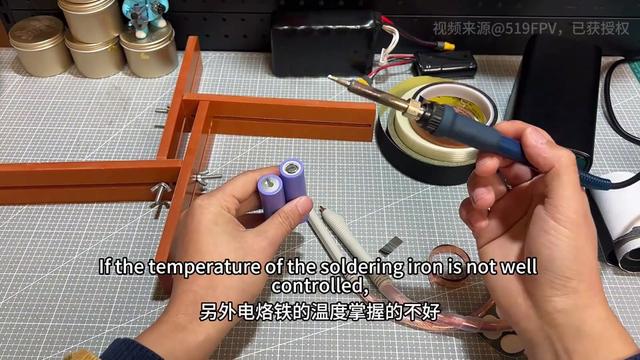
 LV2
LV2
Maker Zhou Xiansen builds a night light from 18650s: first an intro to the AWithZ U3 handheld welder he received (power-bank sized, USB output, 80 gears, manual / auto), then manual-mode spot welds of nickel tabs onto the 18650, a copper-wire ring for the lamp frame, LED filament, potentiometer module and USB charging module — an immersive, no-narration build
A friend asked for a night light made from 18650s. First an intro to the AWithZ U3 handheld welder he recently received: very compact, about the size of a power bank, with a USB output that can charge a phone; the weld strength gear is set by material, and 80 gears cover every need; supports manual or auto spot welding — in manual mode a press of the pen button fires the weld, and the result is excellent (demoed by welding a nickel tab on a cell’s negative end). Then an immersive no-narration build: nickel tab leads spot-welded onto purple 18650 cells, copper wire wound into a ring as the lampshade frame, LED filament and posts soldered, potentiometer / charging module and USB socket, several 18650s spot-welded side by side as the lamp base; the finished piece is a retro filament-style table lamp. Comments ask what the lamp-tube part is called, which control module to use, where the battery connects (couldn’t tell), what about charging, how thick the copper is; some say “toy welder” or “third-hand welder?”; a suggestion that with a housing it could be sold.


 Ep. 61 | Last time a friend asked for one made from 18650s — today we build it; the full build is in the video, please watch patientlyProjectsMaker Zhou
LV5
Ep. 61 | Last time a friend asked for one made from 18650s — today we build it; the full build is in the video, please watch patientlyProjectsMaker Zhou
LV5
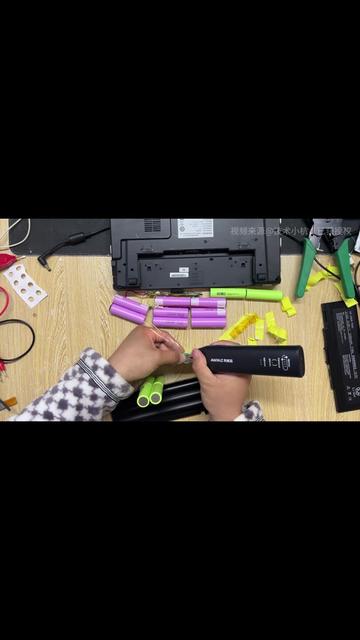
Battery trouble ≠ scrap the whole machine. One ¥100-class spot welder revives a ¥1,000-class laptop battery: save ¥500 on a replacement, a beginner does it in 10 minutes #AWithZSpotWelder #WeldingWonderTool #ComputerRepair #HomeTools #ElectronicsHobbyist
H1 Handheld Dual-Pulse Welder (prev. gen)ProductsAWithZ
LV5
 LV5
LV5
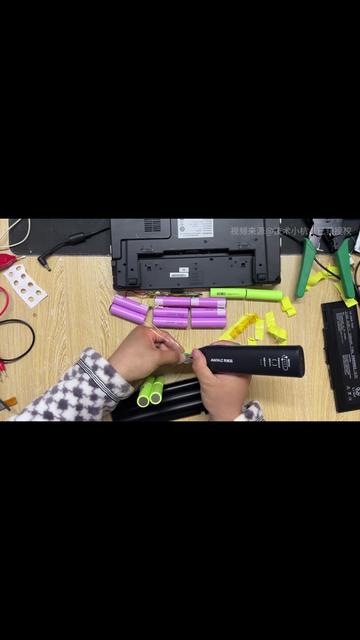
Stop begging the repair shop! With the AWithZ handheld H1 spot welder, replace your laptop battery yourself and save ¥500 in one go! #AWithZSpotWelder #WeldingWonderTool #GoodFinds #HomeTools #ComputerRepair
 H1 Handheld Dual-Pulse Welder (prev. gen)ProductsAWithZ
LV5
LV5
H1 Handheld Dual-Pulse Welder (prev. gen)ProductsAWithZ
LV5
LV5
Pick it up in seconds! No learning needed! A spot welder you can use after one watch: power on – pick a gear – weld; even the all-thumbs crowd can make pro-grade welds! #AWithZSpotWelder #EquipmentReview #ElectronicsHobbyist #HardwareTools #WeldingWonderTool

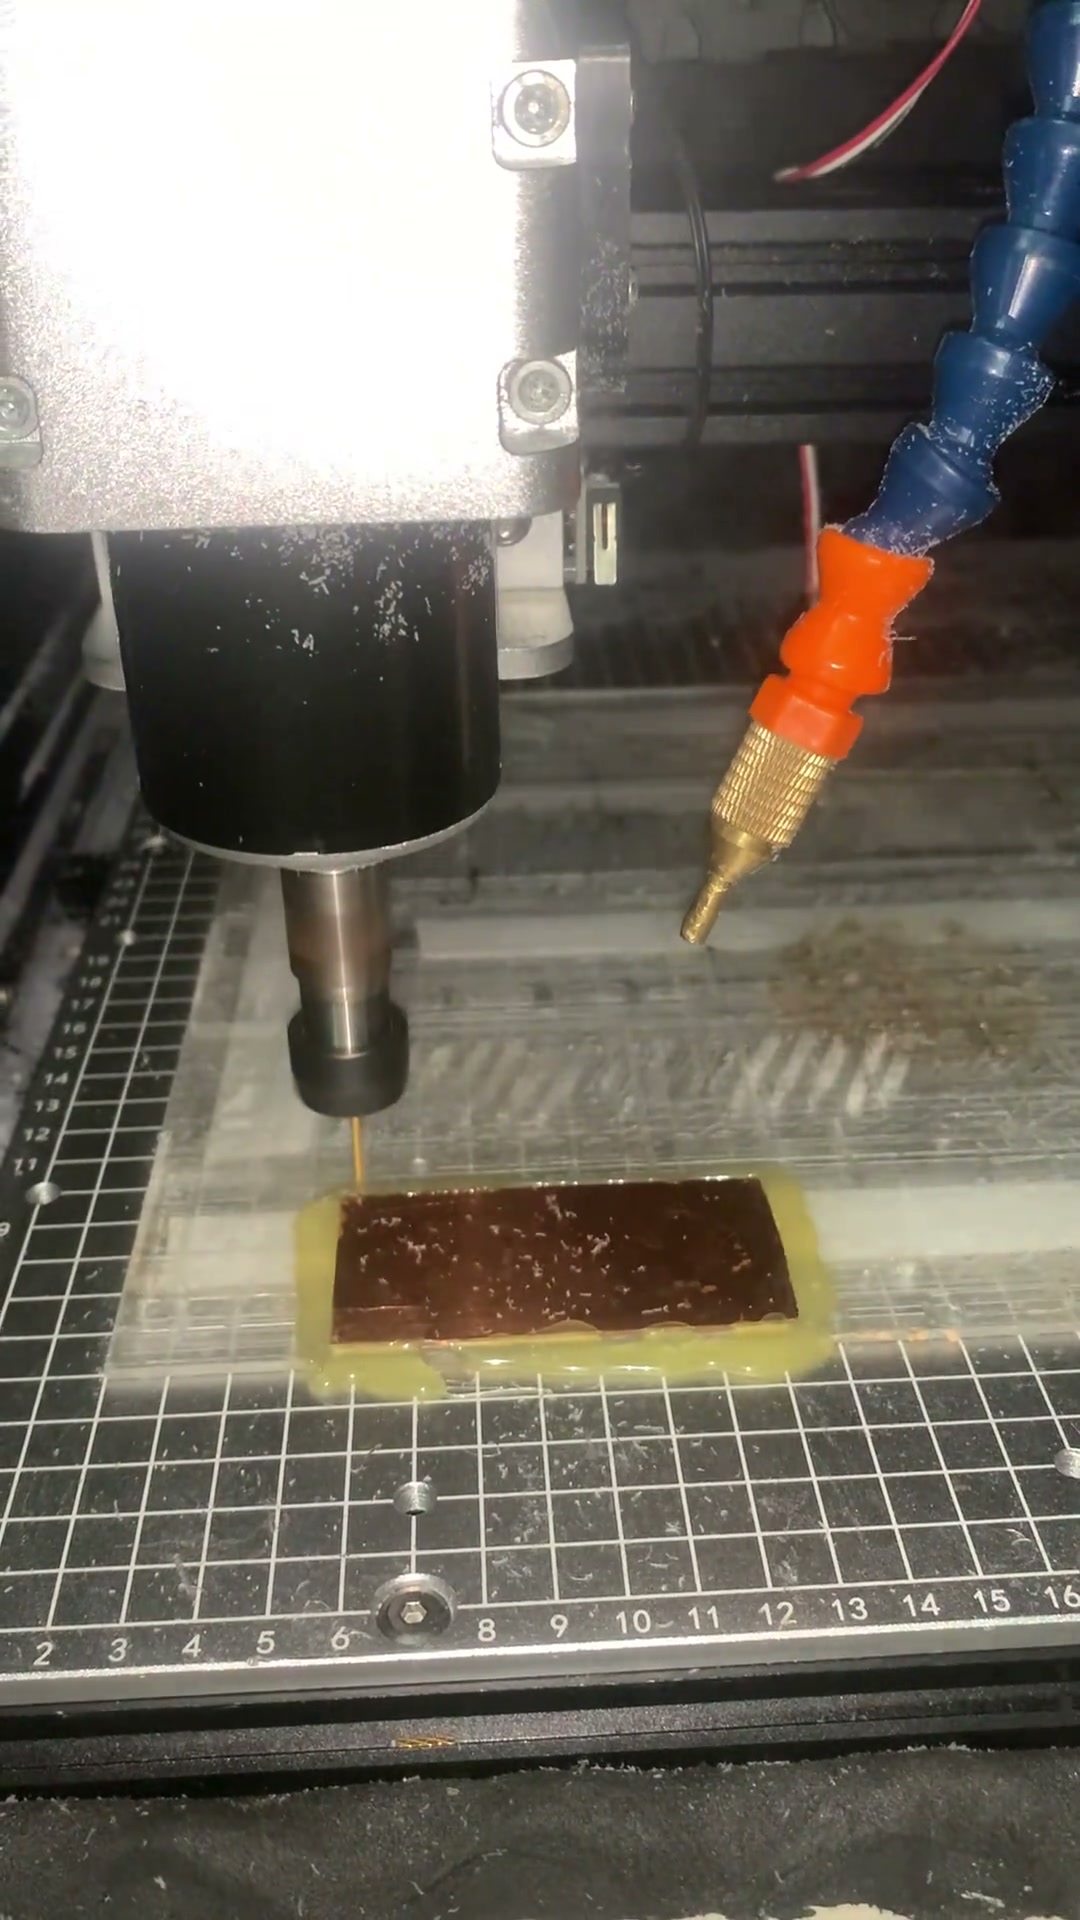
Firefly’s ‘workhorse daily grind’: hooked on the U3 Pro, takes a cleaver to it to unwind, then gets to real work — CNC-milled copper tabs, 3D-printed four-hole holder, laser engraving, a 2S2P flashlight pack (Wurkkos SP10 and other 8.4V lights), multimeter check after welding, green heat-shrink; comments: 1mm copper plate won’t take a weld, no BMS fitted (stock has none either, a generic board won’t fit a flashlight), ‘even 1.5 nickel-plated is a struggle, badly over-rated, just returned mine’ (creator: no sponsorship money exists)
Opens with ‘I’m hooked, taking my ex’s cleaver to unwind, weld weld weld’, then ‘real work comes first’. Process (no narration, watching the footage): CNC-mill small copper tabs (comment: 1mm copper plate is a bit thick and won’t take a weld, hence small tabs); 3D-print a four-hole cell holder; caliper measurement; laser engraving; four cells (14500/16340-class small cells) go into the holder, the U3 Pro spot-welds nickel strip into 2S2P; multimeter reads about 7V (2S); green heat-shrink seals it into a flashlight pack that goes into a Wurkkos SP10-class 8.4V light; ‘open for business +1’. 73 comments: how much sponsorship did you take, even 1.5 nickel-plated is a struggle, badly over-rated, just returned mine (no sponsorship money exists); not even a BMS? (no suitable board, the stock battery has no balance board either, a generic board won’t fit in a flashlight, a small board trips output protection the moment the light turns on); thought you’d weld the copper on directly (1mm copper plate is a bit thick, won’t take a weld); CNC and Fluke too, the weak student has the most tools; will careless welding hurt the discharge cap’s life (liked by the creator).

 Ep. 31 | Very ‘open for business’, good morning, a workhorse’s daily grind, energy +1 — hand-building a 2S2P flashlight pack for the Wurkkos SP10 and other 8.4V flashlightsProjectsFirefly
LV5
Ep. 31 | Very ‘open for business’, good morning, a workhorse’s daily grind, energy +1 — hand-building a 2S2P flashlight pack for the Wurkkos SP10 and other 8.4V flashlightsProjectsFirefly
LV5
One machine, many uses, formidable performance! H1 handheld spot welder unboxing + welding test — you'll want one after watching! #AWithZSpotWelder #diy #ElectronicsHobbyist #GeekMods #MoneySaver
H1 Handheld Dual-Pulse Welder (prev. gen)ProductsAWithZ
Glue-stick mini fan tutorial: an empty 36g glue stick notched as the shell, two 16340s in series spot-welded with nickel strip on an AWithZ U3 Pro (auto mode), red and black wires welded on, potentiometer for speed + a switch, hot glue to hold it; only one cell can be charged at a time
A speed-adjustable mini fan made from an empty 36g Luofu glue stick. The old method melts through the screw post inside the stick; a heated knife cuts two opposite notches in the head of the stick; a heated wire opens a big hole in the cap, then flip it and cut two more notches. Take two 16340 Li-ion cells (UltraFire marked 3200mAh) and the U3 Pro-edition spot welder gifted by AWithZ official, power on and set auto mode (the body also doubles as a power bank); series: place one + up and one − up, lay the nickel strip on and spot weld — very solid; flip over, wrap a short piece of nickel strip around the ends of two wires and weld them to the other face of the cells, red + black −. Without a spot welder you can use a conductive plate and wrap the wires with electrical tape. Fan motor + switch, plus a low-value potentiometer for speed: bend one pin of the potentiometer to the motor’s other wire; red wire to the switch, black wire to the potentiometer’s middle pin; hot glue holds the wires; fold the side-by-side pack upright into the stick, drop in the motor, cap it; hot glue holds the potentiometer and switch, tape wraps the wires, fit the blades. Done, the potentiometer sets the speed; to charge you take it apart — only one cell at a time. Top-liked comment (45) warns ‘who taught you to spot weld like that? one cell going off because you didn’t press down and you’ll behave’ (creator liked it); suggestions: just wire it with a soldering iron, add a TP4056 charger, use a test tube for the shell, swap in a hobby-grade motor.
 7.4V glue-stick mini fan tutorial, adjustable speedProjectsCupid Bless
LV5
7.4V glue-stick mini fan tutorial, adjustable speedProjectsCupid Bless
LV5
Welds 0.15MM nickel-plated with ease! H1 handheld spot welder — precise, stable, no cold welds! #AWithZSpotWelder #WeldingEquipment #diy #GoodFinds #HighPerformanceTools
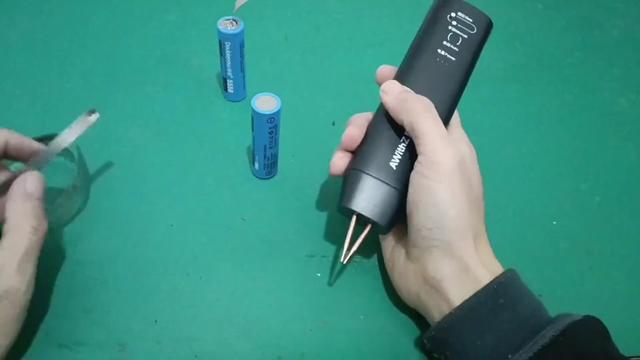 H1 Handheld Dual-Pulse Welder (prev. gen)ProductsAWithZ
LV5
H1 Handheld Dual-Pulse Welder (prev. gen)ProductsAWithZ
LV5
Light and portable, a compact home welding wonder! H1 handheld dual-pulse spot welder makes everyday welding more efficient! #AWithZSpotWelder #WeldingEquipment #diy #GoodFinds #HighPerformanceTools
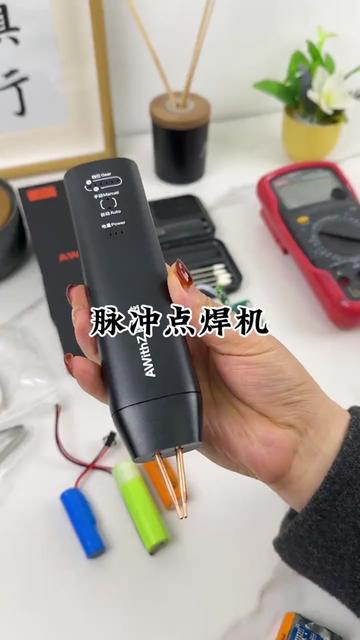 H1 Handheld Dual-Pulse Welder (prev. gen)ProductsAWithZ
LV5
LV5
H1 Handheld Dual-Pulse Welder (prev. gen)ProductsAWithZ
LV5
LV5
U3 Pro spot welder welding button cells: small body, big energy! #AWithZSpotWelder #WeldingEquipment #ElectronicsHobbyist #diy #HighPerformanceTools
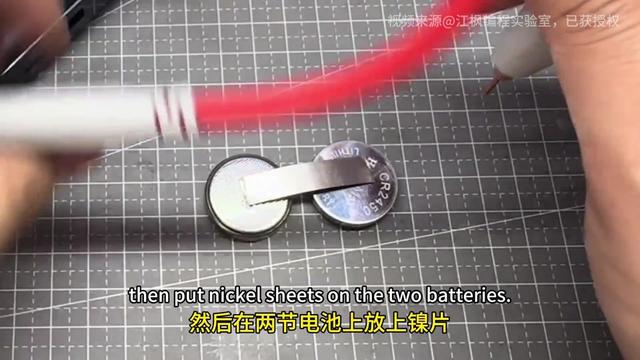
 U3 Pro Battery WelderProductsAWithZ
LV5
U3 Pro Battery WelderProductsAWithZ
LV5
 LV5
LV5
 LV5
LV5
[Ready out of the box] Full set of accessories! AWithZ P30C spot welder — professional welding in one step! #AWithZSpotWelder #GeekMods #MustHaveForVeterans #WeldingEquipment #DIYGuru
P30C Supercapacitor WelderProductsAWithZ
LV5
[Copper welding] One touch and it's welded, strength guaranteed! Industrial-grade spot welder, precise and stable, less to worry about! AWithZ P30C spot welder — stable output, no flops! #AWithZSpotWelder #DIYGuru #CapacitorBlackTech #GeekMods
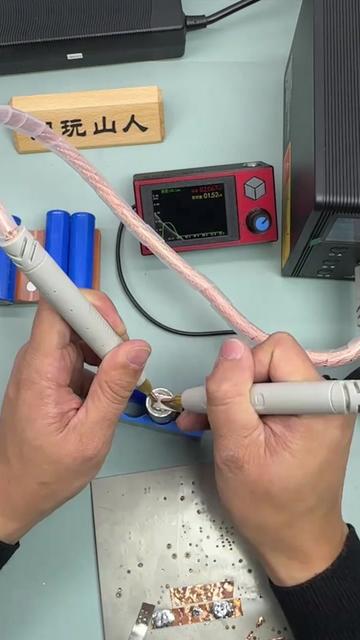 P30C Supercapacitor WelderProductsAWithZ
LV5
P30C Supercapacitor WelderProductsAWithZ
LV5
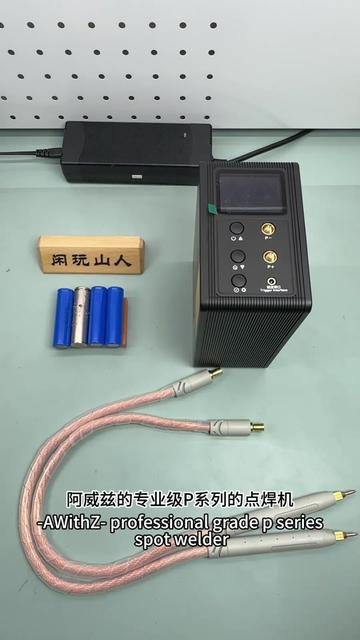
[P-series buying guide] P20B / P30C / P60F — which to choose? The no-brainer rule: for 0.6mm pick the P20B, 0.8MM the P30C, 1.0MM the P60F! #AWithZSpotWelder #DIYGuru #GeekMods #CapacitorBlackTech #MustHaveForVeterans
 P60F Supercapacitor WelderProductsAWithZ
LV5
P60F Supercapacitor WelderProductsAWithZ
LV5
Reuse button cells! The U3 Pro spot welder brings button cells back to life — eco-friendly and money-saving, small body, big energy! #AWithZSpotWelder #LiIonPackAssembly #HardwareTools #Welding #Tools
U3 Pro Battery WelderProductsAWithZ
LV5
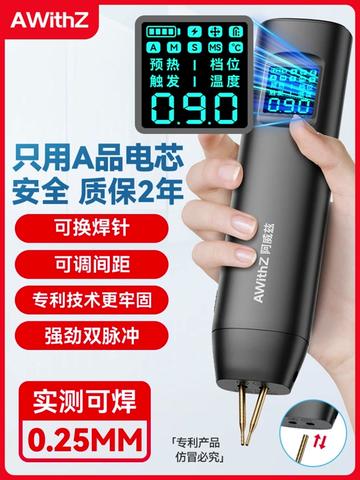
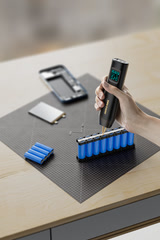
HD2 handheld dual-pulse spot welder · HD digital display. HD2 handheld dual-pulse spot welder · HD digital display — welds as fine as silk, control down to the millimeter
Grade-A cells · 0.25mm ultra-thin welding · copper sheet welds with ease · handheld and portable · precise digital display #AWithZSpotWelder #WeldingEquipment #ElectronicsHobbyist #diy #HighPerformanceTools
 HD2 Handheld Digital Welder (prev. gen)ProductsAWithZ
LV5
HD2 Handheld Digital Welder (prev. gen)ProductsAWithZ
LV5
[Operation guide] HD2 handheld dual-pulse spot welder (HD digital-display version) — spot welds in a second, precise and error-free! Beginners get professional results too~ welds 0,25MM #AWithZSpotWelder #WeldingEquipment #ElectronicsHobbyist #diy #HighPerformanceTools
 HD2 Handheld Digital Welder (prev. gen)ProductsAWithZ
 LV3
LV3
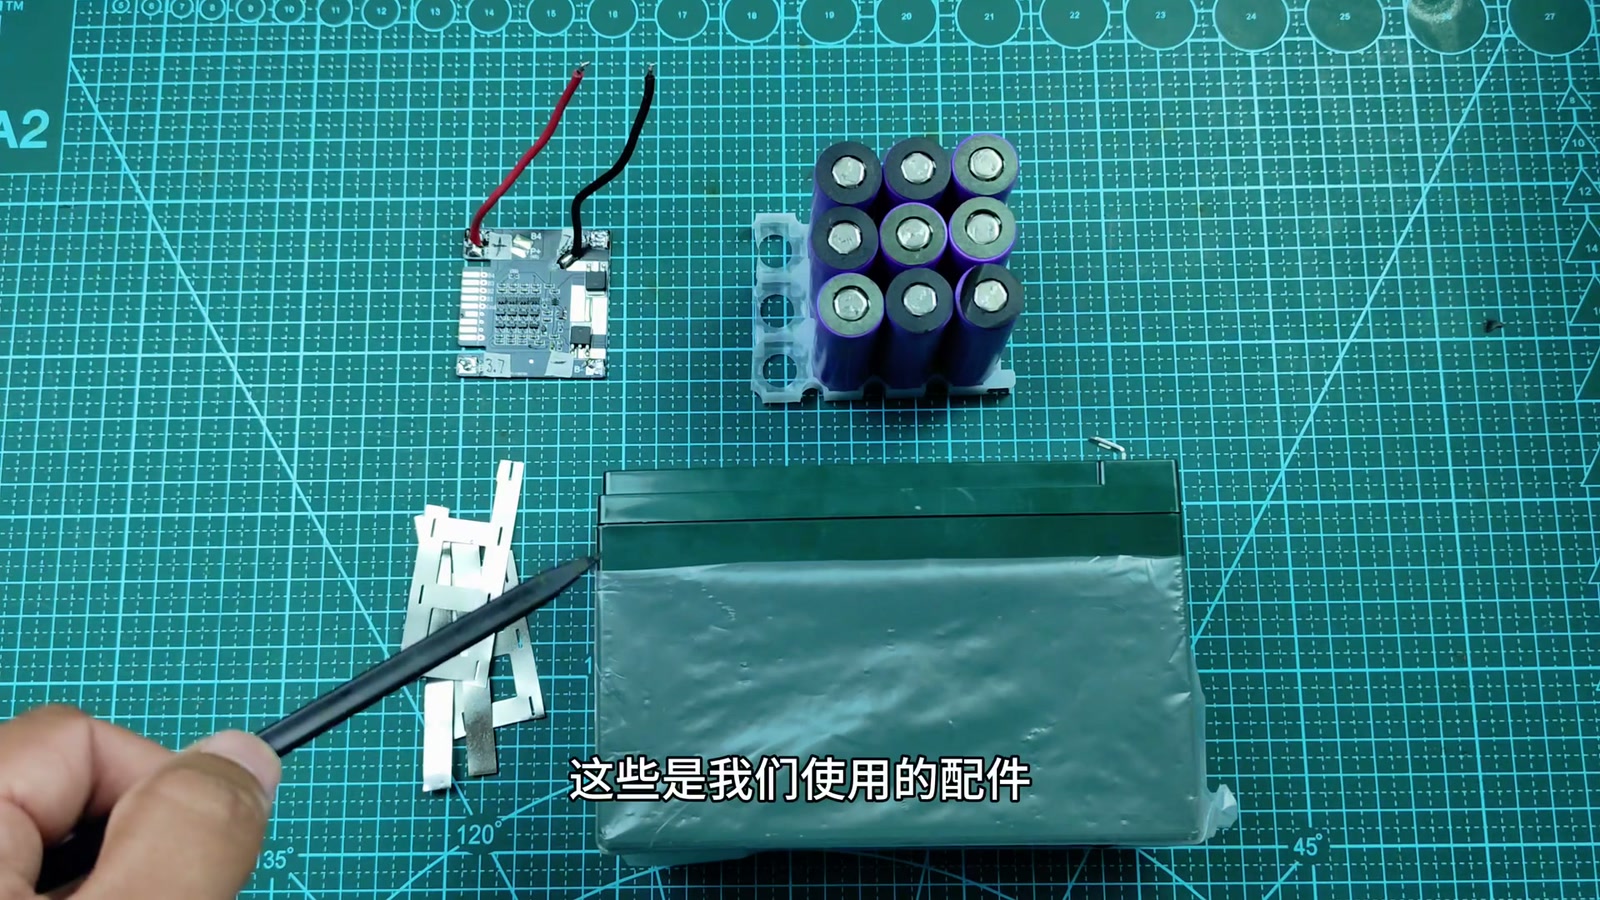
The pesticide sprayer’s battery was drained dead, so a 12V 3S3P Li-ion pack is built from 9 HIGHSTAR 18650 2500mAh cells (4.2V, internal resistance 15.7–16): AWithZ U3 (nameplate 4.2V/650A, 11000mAh, 80 gears, manual trigger, doubles as a power bank) — the nickel strip tears before the weld lets go; BMS soldered in order, 4.2/8.4/12.6V check out, leads soldered to the terminals, sealed with glue, the sprayer pumps water again
A friend brought over a faulty pesticide sprayer; a check showed the battery had been drained dead, so a new Li-ion pack is made. Parts: battery box, connecting nickel strip, BMS, 18650 cells — HIGHSTAR ISR18650-2500 cells, 2500mAh; measured 4.2V, internal resistance 15.7/16, consistency is decent. The welder is an AWithZ U3 (nameplate: spot-weld output voltage 4.2V MAX, output current 650A MAX, Type-C input 5V/2.1A, USB output 5V/2.4A, battery 11000mAh 3.7V 40.7Wh, manufacturer Shenzhen Juequi Technology), only palm-sized, 11000mAh battery, 2-inch HD screen, 80 adjustable gears, manual trigger button; not just a spot welder but also a power bank. Weld strength test: the nickel strip tore and the weld still didn’t let go. The pack is 12V, three in series, three in parallel; the BMS is soldered to the cells in order; 4.2V, 8.4V and 12.6V all check out, so the welds are fine; the pack’s positive and negative leads are soldered to the terminals on the housing; the housing is sealed with glue; fitted, switch on, water comes out — perfect repair. Comments: it’s a sprayer, not a spray (liked by the creator); a 3S2P with a BMS gave no output even after swapping several boards; 9 cells isn’t enough; swap the original lead-acid for Li-ion and one charge on the lead-acid charger and “uh-oh”.

 How to build a 12V outdoor-power Li-ion pack from 18650 cellsProjectsLookAgain
Scroll for more · 54 rows