
Fitting a BMS — 4S in the next video
Creator’s own settings as stated in the video (timestamps link to the moment). Not official values — test on scrap first.
Bill of materials
Welder, accessories, consumables and parts used in this build; quantities and specs are editable Download BOMDescription
Jidian Yanjiusuo (Electromechanical Lab) shows how to fit a 3S / 4S BMS (this episode 3S, 12V): first spot-weld a bit of nickel on each cell’s + and − with the handheld H2 so they tin easily; on the 3S board B+ goes to pack positive, B2 to the first cell at 4.2V, B1 to the second at 8.4V, B− to pack negative; solder the 4 wires to the board first, then to the cells in order; the multimeter shows the BMS already has output, the 12V pack is done; 4S next episode
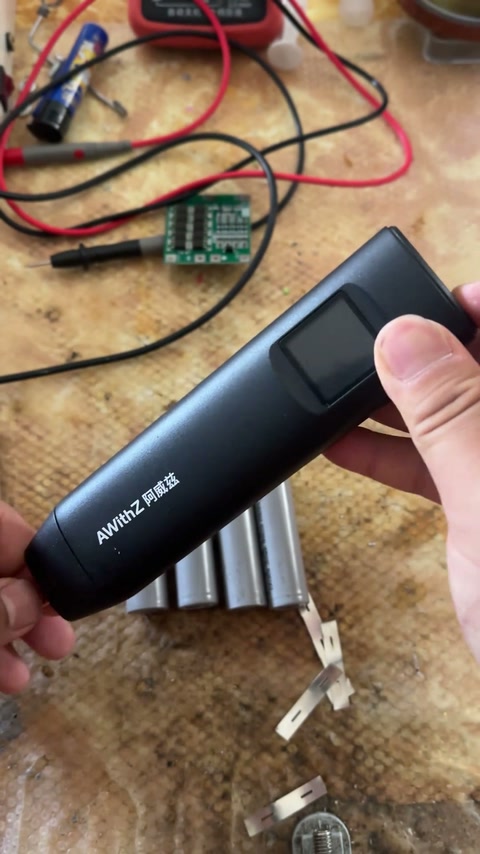
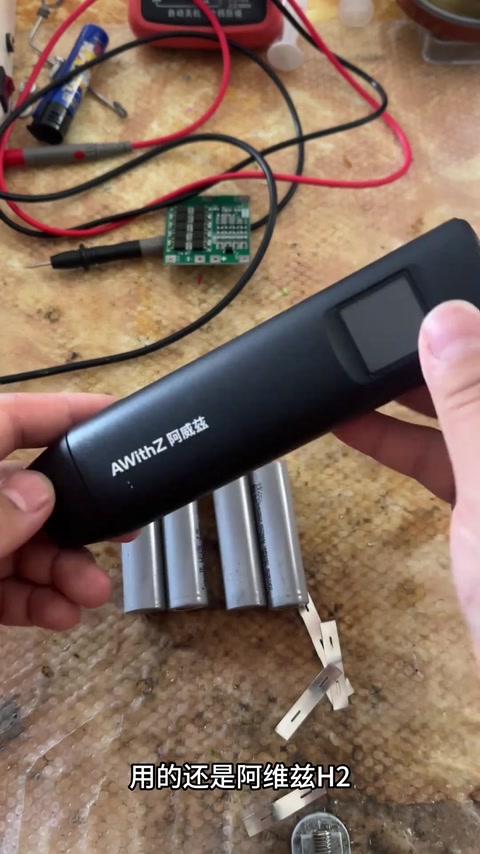
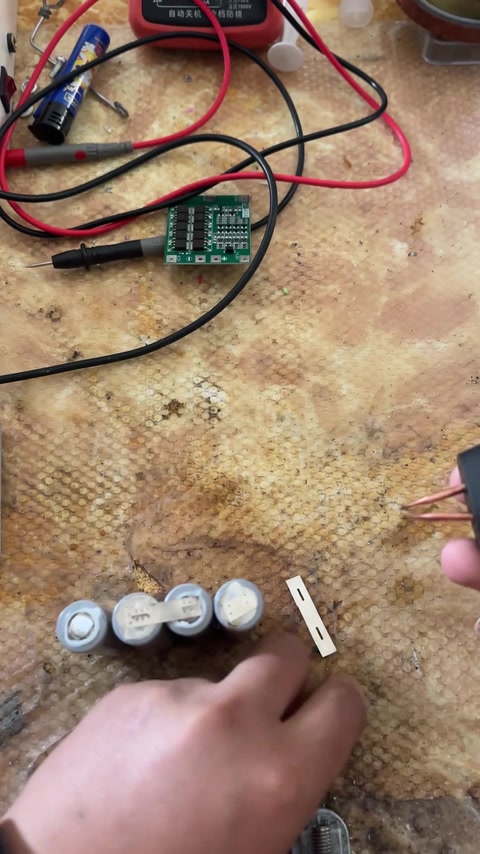
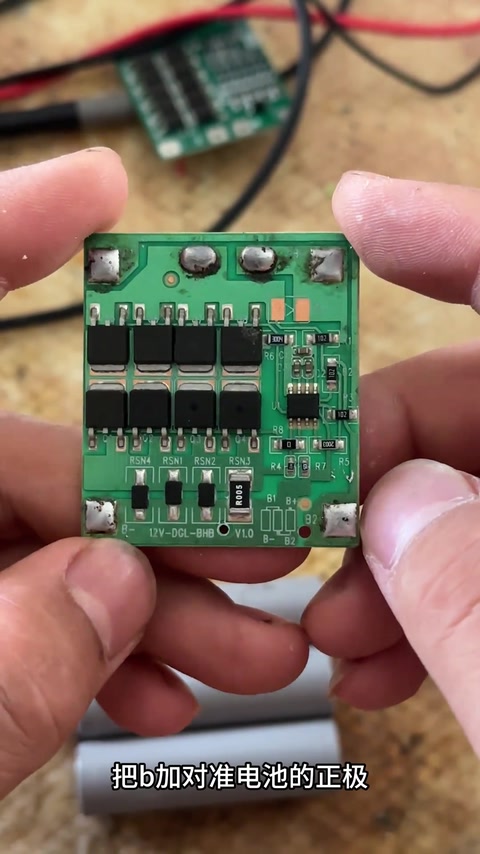
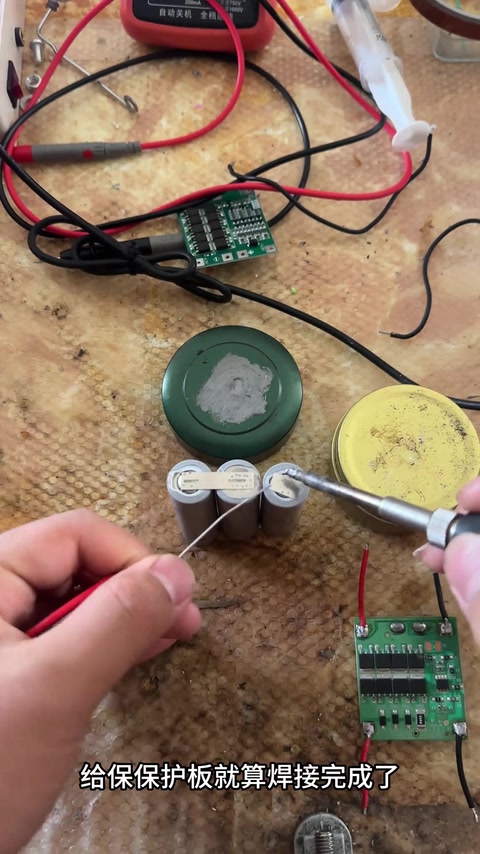
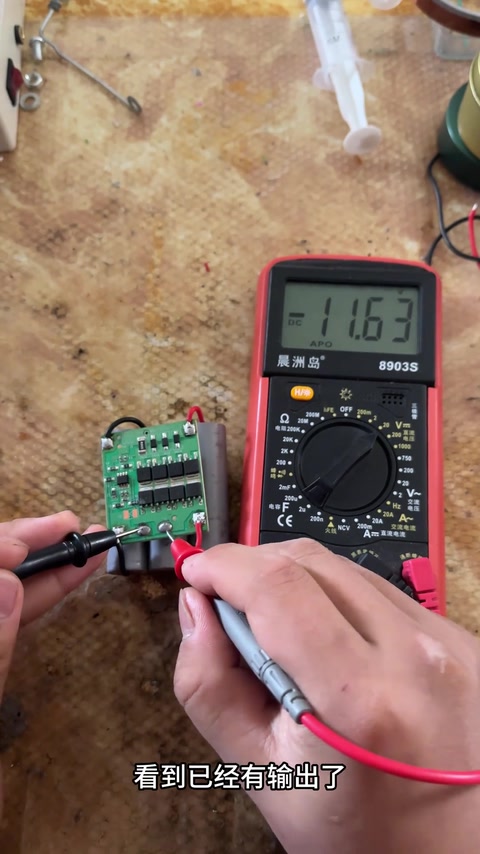
Today: how to fit 3S and 4S BMS boards; spot-weld the cells first, again with the AWithZ H2 handheld spot welder; here both positive and negative get a bit of nickel strip welded on so they tin easily. A 3S BMS is used (12V-DGL-BHB V1.0) with B+, B−, B1, B2: B+ goes to the pack positive; B2 to the first cell, 4.2V; B1 to the second cell, 8.4V; B− to the pack negative, that’s it; solder the 4 wires on first; once the board looks like this, the board’s soldering is done; tin the cells; with the tinning done, line it up and solder the four wires in the order just given, soldered; check the BMS with a multimeter and it already has output (about 11.6V), a 12V pack is made. 31 comments: shares (3); does this board charge and discharge through the same port (1); can it work as a motorcycle jump starter; with your tool I could make anything; I have 6 cells in total.
Outcome
| Goal | 3S BMS wiring tutorial, building a 12V pack |
| Build | H2 + 3 × 18650 + 3S BMS 12V-DGL-BHB |
| Result | Output measured on the multimeter, 12V pack done · verified on camera: Multimeter shows about 11.6V at 92–101s |
Steps6 steps · click a frame to jump
 1. Intro: fitting 3S / 4S BMS boards; spot weld first with the handheld H2
Today, how to fit 3S and 4S BMS boards; spot-weld the cells first; still using the AWithZ H2 handheld spot welder.
00:00 – 00:12 2. Weld a bit of nickel on each cell’s + and − so it tins easily
Spot-weld a short piece of nickel strip onto both the positive and negative so they tin easily.
00:12 – 00:38 3. 3S BMS: B+ to pack positive; B2 first cell 4.2V; B1 second cell 8.4V; B− pack negative
The 3S board has B+, B−, B1, B2; B+ goes to the pack positive; B2 to the first cell, 4.2V; B1 to the second cell, 8.4V; B− to the pack negative.
00:38 – 01:02 4. Solder the 4 wires to the board first; tin the cells
Solder the 4 wires on first; once soldered, the board is done; tin the cells.
01:02 – 01:19 5. Line it up and solder the 4 wires to the cells in order
With the tinning done, line it up and solder the four wires in the order just given; that’s the soldering done.
01:19 – 01:32 6. Check the BMS output on a multimeter, 12V pack done
Measure the BMS with a multimeter and see it already has output; a 12V pack is made.
01:32 – 01:41
Bill of materials
| AWithZ H2 handheld spot welder ×1 | Weld the nickel bits |
| 3S BMS 12V-DGL-BHB ×1 | B+/B-/B1/B2 · Protection |
| 18650 ×3 ×3 | 12V pack |
| Soldering iron / solder / wire | Wiring |
| Multimeter ×1 | Check the output |
Measured on camera
| BMS output voltage | 11.6 V 01:36 |
Creator’s tips
- Spot-weld a short piece of nickel on the cell terminal first, then tin it — avoids putting the iron straight on the cell 00:25
- 3S board wiring rule: B+ pack positive, B2 first cell 4.2V, B1 second cell 8.4V, B− pack negative; solder the 4 wires to the board first, then to the cells 00:46
- When wired, confirm output with a multimeter 01:32
Pitfalls
- A comment asks whether the board is common-port — not answered
Li-ion safety
- The B1 / B2 sense wires must not be swapped 00:46
Quotes
Ideas for you
 09:25
09:25 Rural Abiao2644260476
 03:34
03:34 10:44
10:44