The full 21700 custom pack process, from cell selection to wrapping — filmed it all in one go this time
Capacity grading, matching, welding, fitting the BMS, heat-shrink wrapping — five steps. For the welding step I used the UK1, 0.15 nickel-plated at gear 60, just right for full penetration.
The one thing I most want to say: matching matters ten times more than welding. If cells from the same batch differ by more than 5mΩ in internal resistance, no amount of good welding afterwards will save it.
The most-asked question in the comments, "how much per pack?", is answered too — in step 4 of the project.
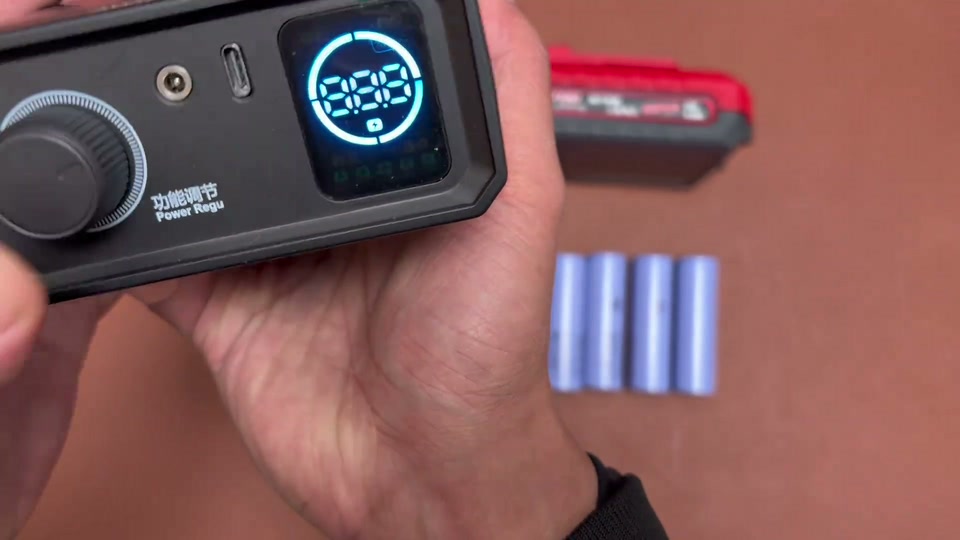
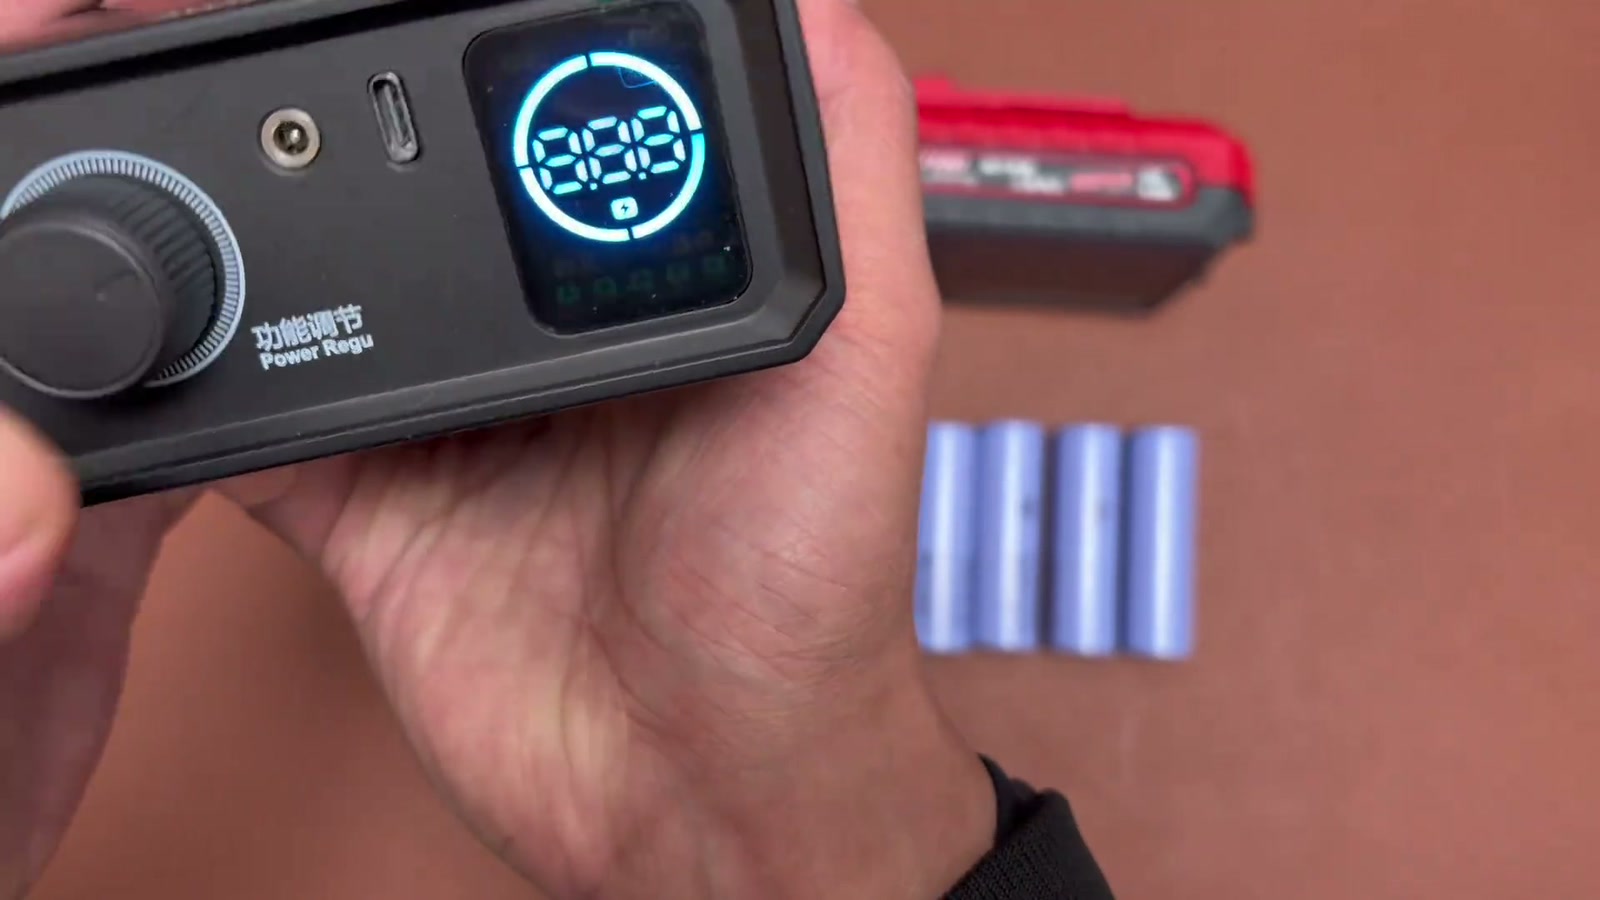
Youzi Teardown (Chinese/English subtitles) builds a 5S Samsung 40T 21700 pack in a Dayi A3 pin-terminal kit with the AWithZ UK1 (nameplate 5V/2.4A in, 8.4V/1380A MAX, adjustable mode / gear / trigger / continuous, the pen only welds when its switch is pressed): cells go in by the holder to locate main − and main +, a small nickel piece joins the main − first, flip over for the main +, gauge red to L+ and black to L−, fit the spring and lid with four screws, test on an A3 tool
Building a 21700 five-series pack with Samsung 40T cells (INR21700-40T); the welder is an AWithZ UK1, 5V (2.4A) input, 8.4V output voltage, 1380A current, Shenzhen Juequi Technology; on power-up it has adjustable mode, gear, trigger and continuous; its pen doesn’t weld the moment it touches, you also have to press a switch — he’ll show that when welding. The kit is a Dayi A3 pin-terminal one, open it, there’s nickel inside, tip it out. How the cells go: the bent part faces this way, this is the main −, so the negative goes on this side; once in, locate the main − and main +, this is positive; join the main − first, the small nickel piece goes here; unlike the previous pen that welds as soon as it touches, this one only starts when the switch is pressed, very convenient; the large nickel goes on; flip it over, weld the main + first, then put it in; this pack is now connected. Gauge: by the way the case sits, the gauge goes at the back, red to L+, black to L−; set it in; pack welded, lid on, there’s a spring that must go in or the button won’t come back up, four screws in; find an A3 tool and try it; have you learned to weld a pack now? 159 comments: where to buy brand-new genuine cells, JD / Taobao / Pinduoduo are full of fakes (3); are 5 × 4.0 reliable, EVE 40P for about ¥100 (2); how much is the welder; tabless vs Sony C6; which welder for copper shims.
A battery pack for a Lujun Yihao electric impact wrench (case rated 21V 6000mAh): lay out 10 purple cells, spot-weld on an AWithZ H2, place the BMS by cell polarity, tin and wire it, tin the nickel strips and solder the matching leads, insulate, measure 19.86V at the BMS output, four screws to close the case
Jidian Research Institute builds a battery for his own Lujun Yihao electric impact wrench (case rated 21V 6000mAh). Lay out the cells (10 purple cells, 5 columns × 2 rows); spot-weld them with the AWithZ H2 welder; place the BMS according to the cell polarity; tin the BMS, attach the leads, tin the wire ends; tin the nickel strips on the cells and solder the matching leads to each; add insulation (green tape); measure the BMS output (multimeter −19.86V); tighten the four case screws and it is done, fit it to the wrench. Comments ask what the welder is called, how much it costs, whether it is a Quanyou pin-type; ‘welding is silky smooth, clean welds’.
Building a 16.8V screwdriver drill pack (4 cells in series): lay out the cells to match the BMS, spot-weld + and − with an AWithZ H2, trim and tin the nickel strip, fish-paper insulation, solder the BMS and the two bottom leads, foam, into the case, sticker, test
Jidian Yanjiusuo (Electromechanical Lab) builds a 16.8V screwdriver drill pack. The BMS negative is at the top-left, so the cells are laid out in the BMS’s order; spot-welded with an AWithZ H2 (screen reads 25°C), the excess nickel strip trimmed off, negative and positive welded; the cells are tinned; a small piece of nickel strip is welded on to make soldering the leads easier; fish paper stuck on; the BMS + and − soldered; the two leads at the bottom of the pack soldered; foam stuck on; into the case for a test, a ‘high-power power Li-ion battery, charge once every two months’ sticker applied, test fine, done. Comments ask which welder / how much the welding pen costs, whether the nickel strip is 0.1 and too thin, whether four cells in series is enough capacity; one suggests just welding on a small piece of nickel without tinning.
Ran into a problem? Have an idea for improvement? Tell us. We read every piece of feedback carefully. Valid feedback earns points, redeemable for accessories / coupons.
Thanks for your feedback!
We'll review it within 1–5 business days. If you left an email, valid feedback earns points redeemable for accessories / coupons. If we need to follow up, we'll contact you at the email you left.
WeldWorld is an open platform for user sharing; content does not represent official advice.
Improper battery handling can cause fire, explosion, chemical burns and serious injury. Read the full AWithZ Safety & Usage Guidelines before any lithium battery assembly, spot welding or testing, and before using the community.
Community content is personal experience, not verified by AWithZ; where it conflicts with official documents, the official documents prevail.
Never apply someone else's settings directly; always start at a low level and test on scrap.
Before copying any procedure, go through the self-check list in Part 3 of the guidelines.
 Got it now? Building a 21700 Li-ion pack with an AWithZ welderProjectsYuzu
 LV3
LV3


