Me
#Lithium battery Share your welding progress, a question or a finished build…
Public Post
 LV5
LV5
A no-name e-bike's 48V Li-ion pack only goes one or two km: case not small but hollow inside, 18650 3P13S low-capacity cells, tester says 'battery condition extremely poor', not worth repairing; all replaced with EVE 2.5Ah in 4P13S = 48V 10Ah, honest capacity with no inflation, 30-odd km on an ordinary small bike; nickel-strip spot welding, BMS fitted, charge/discharge test
A 48V Li-ion battery; the customer says it only goes one or two km. No need to check the capacity: pick it up and you can tell the case isn't small but the cell capacity certainly is; no-name e-bikes off the internet all come with this kind; open it up and one section inside is empty; 18650 cells in 3P13S, ordinary low-capacity cells that won't last long even with light home use; test cell by cell with the resistance tester: readings 3.5–3.6V, resistance 16–24, screen says 'battery condition extremely poor, please service', no repair value at all. Replace everything: EVE 2.5 cells in 4P13S = 48V 10Ah, honest capacity with no inflation, an ordinary small bike will do 30-odd km no problem; spot-weld the cells in parallel and series with nickel strip; fit the BMS, charge/discharge test, battery done. 25 comments: many asking price (48V 10A / 30A / 5P13S, how much); 21700 5000mAh in 4P makes 48V 20Ah; lots of fake EVE cells, ¥2-odd each, zero volts after three months in storage; BAK 2900 without holders in 6P rides 60 km; a designated-driver bike's 48V 8Ah drops out as soon as the throttle turns, fixable?; Wuyang buyers got scammed with fake capacity.
 48V Li-ion battery cell-replacement repairProjectsBattery Master Zhang
 LV4
LV4
Supercapacitor + lithium jump starter (part 1): strip the original unit and re-plan the layout, remove the high-resistance main switch and replace it with a cell-to-capacitor switch, put lugs on the 25mm² leads, measure capacitor internal resistance 2.7 / 2.1; 10 × 21700 4000mAh, 2P4S, spot-welded with the AWithZ; oven paper as a heat barrier so thermal runaway can’t short; foam padding; shorting the cells straight onto the 0V capacitors draws 40-odd A (85A per the comments), clamps glow red — conclusion: must pre-charge through a resistor
Step one of the jump starter is stripping it down and re-planning the layout: wide at the bottom, narrow at the top, so the cells can only stand upright; turn the capacitors so the leads go straight out, shortening them to raise output current. The original board’s wiring was a mess and mediocre quality, so it all comes out; the original main switch has very high internal resistance, so it’s removed and replaced by a switch between the cells and the capacitors — flip it and the capacitors charge, no current limiting because the capacitors are small (big capacitors and you wouldn’t need the cells at all). The original wire is solid stuff but wasn’t secured after connection, so it made poor contact. The case cabling is nice and long enough; + and − are reversed to match the capacitor polarity; wire about 5mm dia., 25mm², re-routed with length to spare; crimp the +, and add a lug to the short − lead. Remove the original BMS and measure supercapacitor internal resistance: one 2.7, the other 2.1, slightly unbalanced. Crimping lugs: not a single strand showing, crimp one side then the other, drive the force at an angle from one side to the other, use a huge amount of force so it’s tighter than stock; with no heat-shrink this big, wrap in black tape leaving only the capacitor contact area bare. Trial-fit the −: enough room, enough slack; the cells can only go in this way, switch back in place, layout solved. There are 10 cells: 12 would make 3P4S, 10 only makes 2P4S; the spot welder joins the pairs in an instant, then three upright and one across to link them in series; oven parchment (forgot the fish paper) between them because it withstands heat, so a thermal runaway won’t short straight through — heat-shrink peels off when hot and shorts both faces; jokes that his poor welding is ‘wasting the cells AWithZ sent’. Voltage fine after welding; balance leads connected (smarter to bring them straight out); tape over the welded face against punctures, then fish paper; BMS wired (an odd shape, roughly done): two thin leads charge / discharge through the BMS, two extra-thick leads short-charge the capacitors instantly. Foam padding in the case so the capacitors sit firm and a drop won’t be too dangerous; lid snaps on tight, slight wobble to fix later. Charging-circuit test: cells shorted straight onto the 0V supercapacitors, clamps glow red, current hits 40-odd A — too dangerous, could blow, must pre-charge through a ceramic resistor and only then close the shorting switch in parallel and start. Comments: someone built 3S5P 18650 + 6 × 500F in series and it struggles to start a 2.0T (creator: voltage too low, needs 4S at 16.8V to fill the capacitors); the copper lugs are sloppy; capacitor internal resistance too high; a local warns the capacitors are too small for winter (creator: couldn’t bring himself to buy big ones, not the optimal solution).

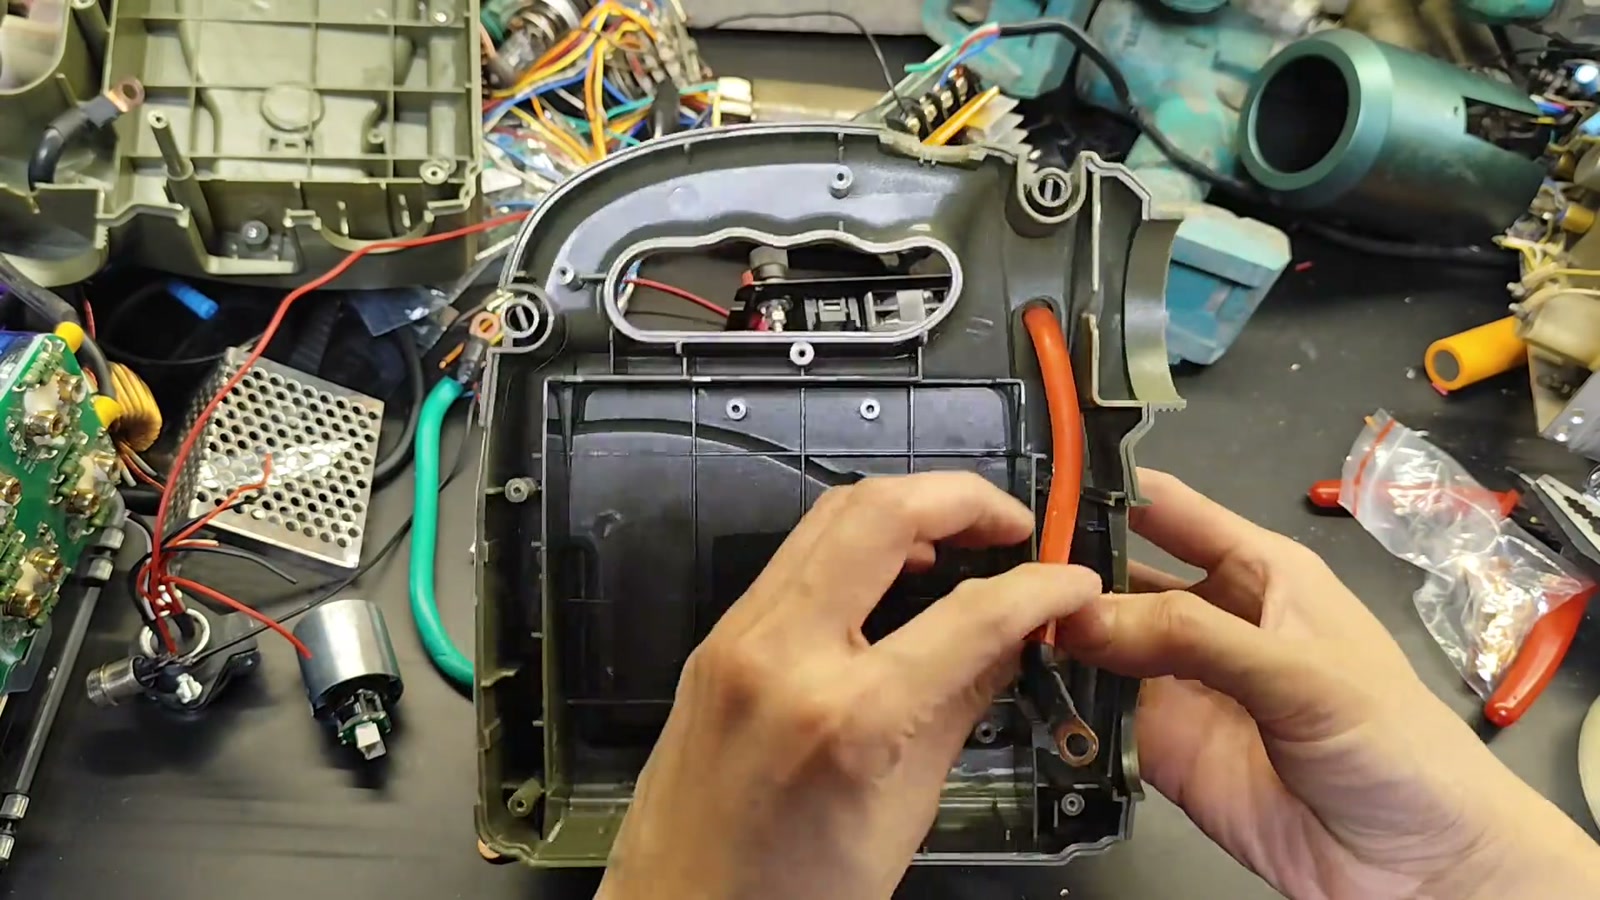
 Building a car jump starter from supercapacitors + lithium cells — the cells store energy, the supercapacitors deliver the big current; 21700 4000mAh cells in 2P4S, 2.7V 360F supercapacitors, two together should push past 100A instantaneous, CCA estimated 500+, should start a 2.4L car; final assembly and test nextProjectsDoomsday Lab
Who to followRefresh


 LV4
LV4
Repairing a ¥30 scrapyard Boston Swing 5300 8P6S 24V pack: two dead cells swapped for new, each parallel group 2.9–3.5mΩ, nickel strip welded with a portable welder (the pen tips need regular cleaning of oxide), total 24V at 19.8mΩ; the salvaged BMS was water-damaged and broken so a new one is on order; two H4 bulbs pull 10.8A / 261W fine, capacity test waits for the BMS
Bought a complete Boston Swing 5300 Li-ion pack at a scrapyard for ¥30 (a single cell normally goes for ¥8–9); 5 of the series groups are fine, each parallel group about 3mΩ, one group has two dead cells; bought two replacements on Douyin and there is a complete 24V pack; it is no good without a BMS, and he happened to pick up another pack with a BMS to fit to this one. Repair: weld the nickel strip on with the welder (a bit crooked; the welder is very easy — press it down and one click, bang); push the cells into the holder in order, insert from the front, flip it over and weld the underside too, leave some room to move; very solid; the portable welder is just like a power bank; not a neat job but it works; the welding pen tips need regular cleaning, they oxidise and cause poor welds (the pen got hot); ugly after welding but very solid. This parallel group measures 3.5, the others are all 2.9–3.5; three are welded, keep welding the rest into one strip, rough but solid. Total voltage 24V, internal resistance 19.8mΩ, nearly 20. Fit the BMS: the salvaged one, opened up, was cracked and water-damaged, no good, buy another. Discharge test: multi-function tester clipped on at 25V, two H4 bulbs (yellow + green together is 24V, black-yellow / black-green is 12V, don’t mix them up or they burn out), sparks flying, discharge current 10.8A (about 261W), no problem; the voltage drops fast because one group isn’t full — charge it up and test total capacity when the BMS arrives. Comments: with hands like that, thumbs-down for not building your own welder; AC or DC resistance meter (seems to be AC); it’s got some years on it (five or six); what resistance and what C rate (single cell 22mΩ, new 13mΩ, 3–6C discharge, mine I reckon 1C is fine); what is it for (storage / backup power); this kind of welder won’t hold on these cells, goes intermittent after a while; chicken-poop welds.


 Boston 5300 Li-ion 24V 8P6S pack picked up at a scrapyard, repaired successfully — but no BMS; ordered one online and will test capacity when it arrivesProjectsDoomsday Lab
 LV5
LV5
Lefeng admits he hasn’t figured the U3 out: the Jiashikai negative is steel, so he tests on a stainless-steel knife — 0.1 nickel strip only needs gear 1.5–1.8 (anything around 1.x is fine), 0.15 nickel strip at gear 2.5 blackens and throws sparks, not good, still not dialed in; cells are on the way and he’ll keep experimenting; comments: ordered from the storefront and it won’t power on, microwave-transformer welder also failed, once you get into it you’ll want a capacitor unit
The comments say I can’t even figure out the AWithZ spot welder; honestly, I haven’t, I’ve tried lots of settings. Because the Jiashikai negative is steel, I test on a stainless-steel knife: for 0.1 nickel strip on this cell the gear only needs to be 1-point-something, 1.5 is enough, and there won’t be a problem; how many gears 0.15 nickel strip needs I don’t know, bumped to 2.5 to try: too high a gear blackens it, it’s already throwing sparks, the result isn’t great, probably still not dialed in; the cells are bought and on the way, I’ll keep experimenting with this AWithZ spot welder. Title: 9.9 gears, 0.1 only needs gear 1.5–1.8; “I haven’t figured it out and you’re still buying it after me, unbelievable”. 207 comments: ordered from your storefront, arrived today and won’t power on (check whether it has charge; if it doesn’t work, return it right away); my microwave-transformer welder failed too (you’re going down the road I went down; the money for a hand-build buys one of these); a Zhongwei Zhixing 30s can’t weld 0.1 nickel-plated stacked on 0.1 copper to a Jiashikai negative (0.1 copper needs a ¥400–500 class machine); fine for beginners to play with but later you’ll definitely want a capacitor unit (yep); get a UF20B; how about the Xiaoqiang.
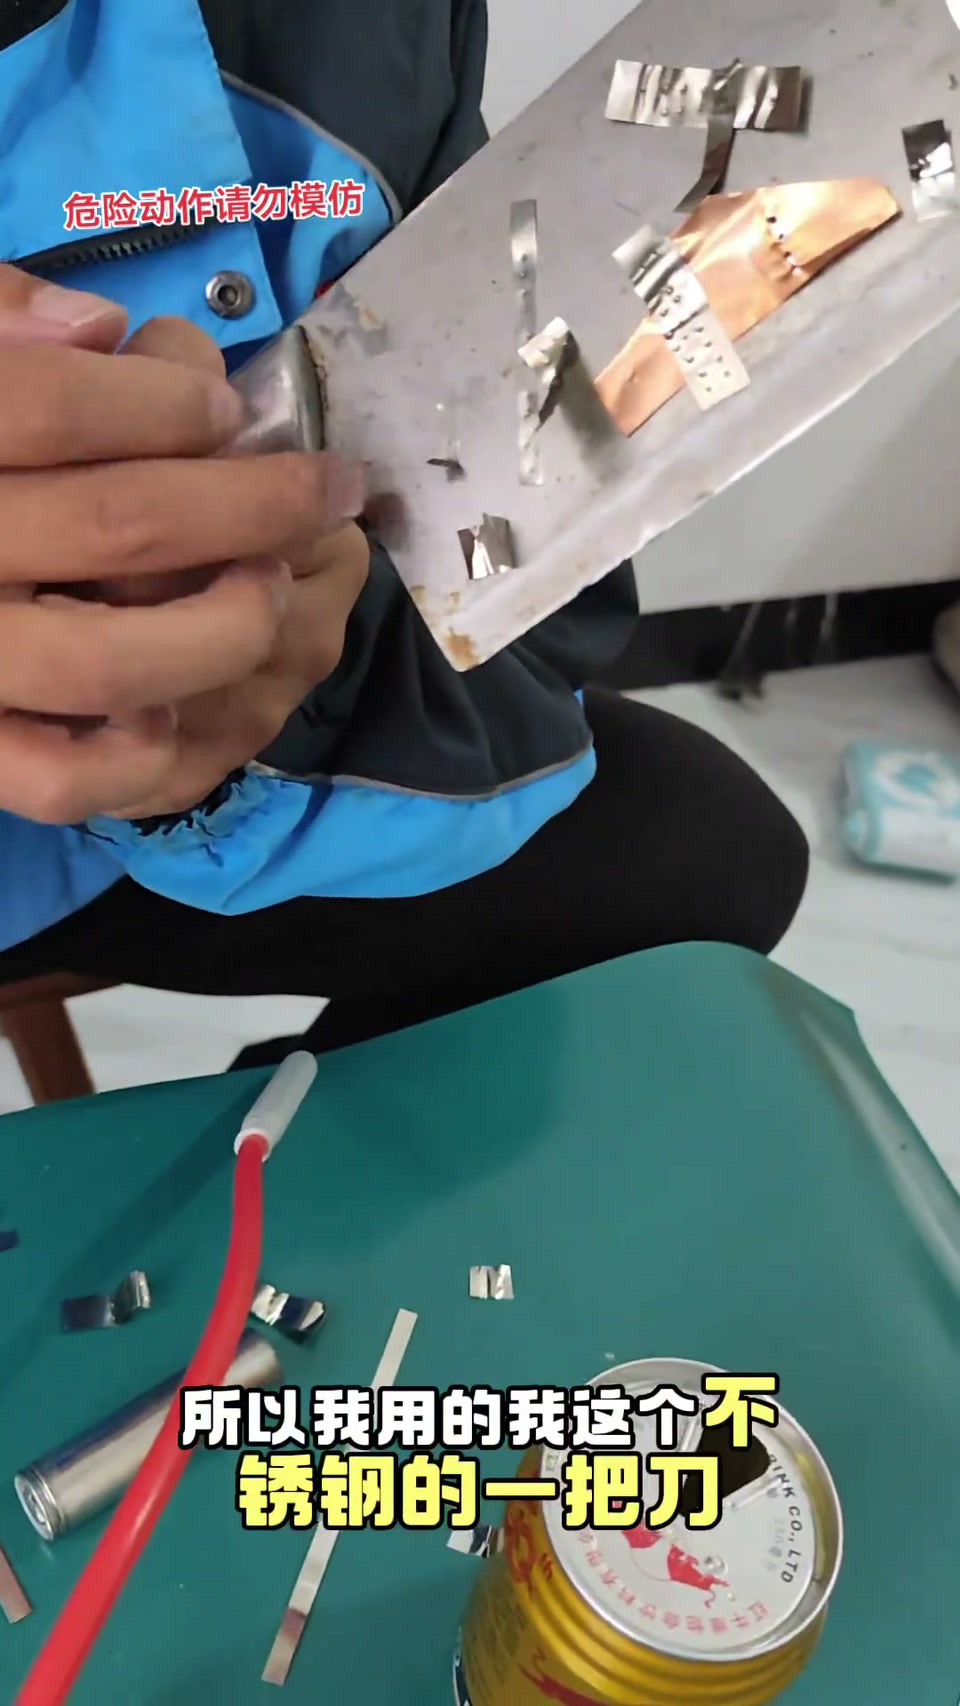

 Honestly, I haven’t figured this spot welder out — 9.9 gears, and 0.1 nickel strip only needs gear 1.5 to 1.8! I haven’t figured it out and you’re still buying it after me, unbelievableProjectsCrazyFun
 LV1
LV1
Dapao Meimei in 24 seconds: strips the motor from dad's vacuum, a ¥2 air-conditioner drain hose heat-gunned onto it for a solder-fume extractor, a ¥6 Li-ion cell with internal resistance 18, AWithZ UF20B plug-in spot welder 'the perfect spot weld', a red wire to start it — hold it a bit further away and it can't pull the fumes at all, worse than a little fan
Solder fumes are bad for your health, so just build an extractor: strip dad's vacuum cleaner for the big motor; buy an air-conditioner drain hose for two yuan, heat the end evenly with a heat gun and gently slide it over the motor's intake; the newly bought six-yuan Li-ion cell has internal resistance 18, not bad; a burst of gibberish welding, very dashing — AWithZ UF20B plug-in spot welder, the perfect spot weld (screen shows a W318000 reading); finally run a red wire between the cell and the motor, the perfect weld; fire it up and test, looks fine, hold it a bit further away and it can't pull the fumes at all, worse than my little fan. 311 comments: 'for the perfect weld skip straight to 17 seconds if you're in a hurry' (pinned); dad: well thank you very much (he's working late and not home yet); a violent fan pulls fumes so fast (where can you strip a violent fan from); switch lanes (you recommend one and I'll follow); first time seeing a girl into this.
 Trash to treasure? Making my own solder-fume extractor! The perfect weldProjectsCannon Sis
LV5
Trash to treasure? Making my own solder-fume extractor! The perfect weldProjectsCannon Sis
LV5
Lefeng heads home for National Day with gear (multimeter, AWithZ U3, cells bought online, iron, nickel strip) and opens a 10,000mAh power bank at home: 3 of the 5 cells are fakes with no voltage — ‘fake Li-ion cells have a long history’; removes them, keeps 2 good cells, adds new ones in parallel; tape for insulation; U3 set to gear 5 (screen shows 3.2) welding 0.15 nickel-plated stacked with 0.1; a nickel-strip short blisters his hand; assembled, charges a phone, shell glued
Opens with a burnt hand by accident; looking at the delivery-order numbers these days, no more grind — home for National Day, with gear: multimeter, AWithZ spot welder, the ‘fake’ cells bought online (a joke), a small soldering iron, solder wire, the bought cells, nickel strip; also found a power bank at home (3.7V 10,000mAh) and opened it — of the five cells, three are different and not connected together, two are connected; turns out those three are fake Li-ion cells, ‘fake Li-ion cells have such a long history’; measured no voltage on the three, removed them with the iron; red +, black −; the good ones and the new cells go in parallel and back in; nickel-strip leftovers, only this tape at home for insulation. At the key moment out comes the AWithZ spot welder, because it’s small and light — bringing the big welder home would be too heavy and a hassle; screen shows gear 3.2, ‘set it to about 5’; 0.15 nickel-plated steel strip is a lot thicker, a layer of 0.1 stacked on top; welded, + and − soldered with the iron; (BGM) hand straight-up burnt with a blister; power bank assembled, charge the phone as a test before fitting the shell; shell glued on. Comments: the pulse is too long, it’s arcing (so that’s it, thanks); get an internal-resistance tester and match cells, it’ll last longer (coming later); a nickel-strip short did it (stay safe); can it still be saved (isn’t that what you’re doing); put those two in as well (they’ve been around too long, no good).
 Once you’ve mastered hand-building Li-ion packs you’ll never buy a power bank again — all the old power banks at home can be re-celled! HahaProjectsCrazyFun
 LV1
LV1
Shougong Wang’s money-saving guide for beginners: of the three-piece kit only the welder is a must, skip the internal-resistance meter and load tester for now — buy cells straight from official brand channels like EVE and there is basically no need to test them; buy the most expensive welder your budget allows and go for a big brand (this is his third); recommends the U3 Pro’s semi-auto weld button (position first, then press, so beginners don’t weld crooked and ruin a cell) and its repeat-pulse mode (up to 3 welds on the same spot, for copper); nameplate 4.2V / 11000mAh, pure nickel 0.2, nickel-plated steel / iron 0.35, copper 0.1; consumables are glass-fiber tape / heat-shrink film / fish paper; everything on a cell except the positive is negative, fish paper on the positive is a must
Sharing money-saving experience from hand-building lithium packs so beginners spend as little as possible. The three-piece kit: the welder is essential, the internal-resistance meter is optional, the load tester is optional — a beginner only needs a welder, skip the other two for now; early on, only build small packs and order straight from the cell brand’s official channels (EVE official site / Tmall / Alibaba; the page shows 18650 3.6V 3200mAh / 2850mAh etc.), which basically needs no testing — with a welder you can build right away; think about instruments later when going to big capacity. Key point — which welder suits a beginner: buy the most expensive one you can accept within your budget, and go for a big brand as far as possible; this is the third welder I’ve bought (AWithZ); one feature is very beginner-friendly: the pen sits on the cell for ages and nothing happens, because the manual weld button hasn’t been pressed — press it and it welds instantly, the semi-auto mode; beginners often mis-place the spot or set the nickel tab crooked, and if the pen welds the moment it touches, the cell is ruined, so a semi-auto button is best to have; there is also a repeat-pulse mode that welds the same spot repeatedly, suited to copper sheet that needs more power — hold the pen steady and it fires up to 3 welds in quick succession. Mine is the AWithZ U3 Pro: pure nickel 0.2mm MAX, and it also does steel and copper sheet (copper 0.1 MAX; nickel-plated / steel / iron 0.35 MAX); nameplate U3 battery spot welder, 4.2V MAX, Type-C 5V/2.1A, USB 5V/2.4A, 11000mAh 40.7Wh, Juequi Technology; plenty for a beginner. Consumables: glass-fiber tape, heat-shrink film, fish paper. A special note on cells: this is the positive, this side is negative — many people don’t know the whole can is negative; open one up and everything except the positive is negative, so positive insulation is critical, always use positive fish paper. Non-essential accessories aren’t covered; get the three-piece kit straight and you save a lot. Comments: asking for the EVE official link (search results are all ads) (2); lend me the welder for two spots nearby; can UV glue join them; what battery for a 24-set net-hauling boat; a mis-weld ruins the cell? can’t you pull it off and re-weld?
 Beginner’s money-saving guide to hand-building lithium packsProjectsCraft King
Related productsAll ›
 LV3
LV3
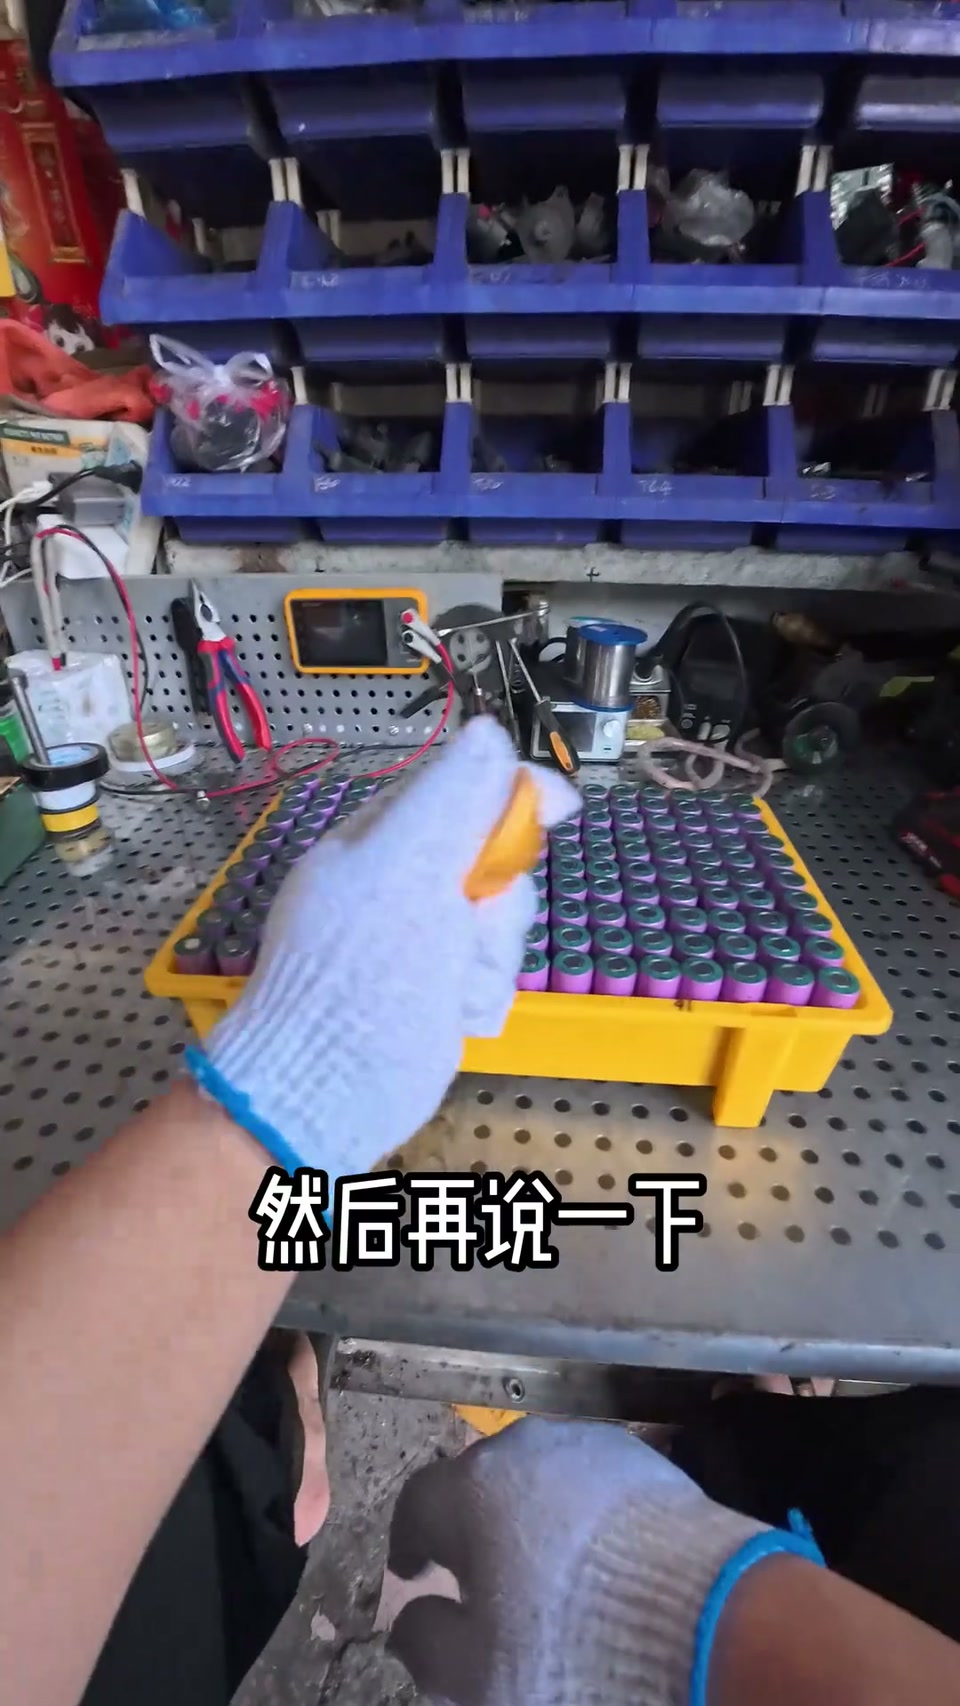
Fix Tools Blindfolded ‘Li-ion battery class’, 8 minutes: 18650 basics, choosing storage 3C vs power 5–15C cells, internal-resistance spread ≤10–15%, voltage spread ≤20mV, why fish paper goes on the positive end, assembling a Dayi A3 kit into 5S3P 21V 6000mAh, spot welding at gear 25 with two welds per cell, soldering the BMS with an iron, reading 18.6V and fitting the case
A systematic lesson in hand-building a lithium battery pack. Terms: it’s ‘lithium battery’, not ‘aluminum battery’; 18650 is by far the most common, 21700/26650 you basically never need. Buying advice: not recommended — the only real channel is the ‘seafood market’ (Xianyu second-hand app), couriers won’t ship cells to individuals, and quality is a minefield; channel recommendations welcome in the comments. Choosing: storage cells discharge at about 3C (levels, power banks, flashlights, toys), big capacity and cheap; power cells are for cordless tools, 5C/8C/10C/15C; on a budget, 5C is enough for a drill or impact wrench, angle grinders / rotary hammers / saws want 10C or more or they cut out the moment you load them. Bigger capacity is better, lower internal resistance is better: a 2000mAh cell at 10mΩ can charge full and deliver the full 2000, at 50mΩ it may stop taking charge at 10% and get seriously hot (a loose example); barrel effect — the shortest stave is the high-resistance cell; measure IR as soon as cells arrive and keep the spread within 10–15% (if the max is 15mΩ the whole group sits at 12.75–15); an IR meter costs two or three hundred yuan. Voltage 3.6V, 4.2V full; within a group keep the spread ≤20mV, otherwise the high cell charges the low one and some overcharge while others starve; the first thing on receiving cells is to measure voltage and IR and group them. Assembly needs a spot welder, a soldering iron and a kit (power bank or power tool); the Dayi A3 style holds 90% of the power-tool market — cheap brushless tools are basically Dayi A3, a small share Makita, twenty-to-thirty-yuan brushed tools are basically the Worx small-foot style, the rest by brand (Dongcheng, Devon, Worx, Dongke). Ring the positive end of each cell with fish paper first: in reality only the top bump is positive, everything else is negative, and if the wrap gets nicked while welding strip it easily shorts and catches fire. Kit contents: BMS, holders, fish paper, label, nickel strip, screws, shell. Line the holders up, the BMS notch against the holder bump; B-/B+ are main negative/positive, cell negatives face the B- side; three cells per row, the second row flipped, the third flipped again, snap the holder on. Voltage/capacity math: 15 cells of 2000mAh is not 30,000; series adds voltage, 3.6×5=18, 4.2×5=21, 18V is the EU rating and 21V the US rating, there is also 42V; anything labeled 48VF/188VF/99999VF ‘can get lost’, not one of them tops 1500mAh; parallel adds capacity: 5S3P = 21V 6000mAh (6Ah). Welding: pen, strip and cell must be in full contact at all three points to avoid a cold weld; set current by strip thickness and machine brand, usually gear 25, beginners practice on strip first; two welds per cell, four welds per face, weld then flip. More fish paper for insulation, feed the strips through the BMS holes, screw it down; six solder joints with the iron, don’t let the solder bridge two pads; clean the tip. Check the voltage: DC on a multimeter doesn’t care about polarity, 18.6V, 18–21 is reasonable. Casing: the spring clip onto the holder bump, label on, OK. Making your own is satisfying. Comments (8174): ‘I bought a cordless rotary hammer and it’s no good — wrong brand?’ 4273 likes; ‘the original is too expensive, can I hand-build one?’ 1739; ‘the main cost is the spot welder’ 229; asking for a spot welder under ¥100; fish paper absorbs moisture, suggest plastic insulation; can a self-built power bank go on high-speed rail / planes.

 Class is in session, everyone — the ‘Whampoa Academy’ of the tool worldProjectsBlindFix
Could you film a teardown?
 AWithZ UF20B supercapacitor spot welder: small size, big powerProjectsIoT Everything
 LV1
LV1
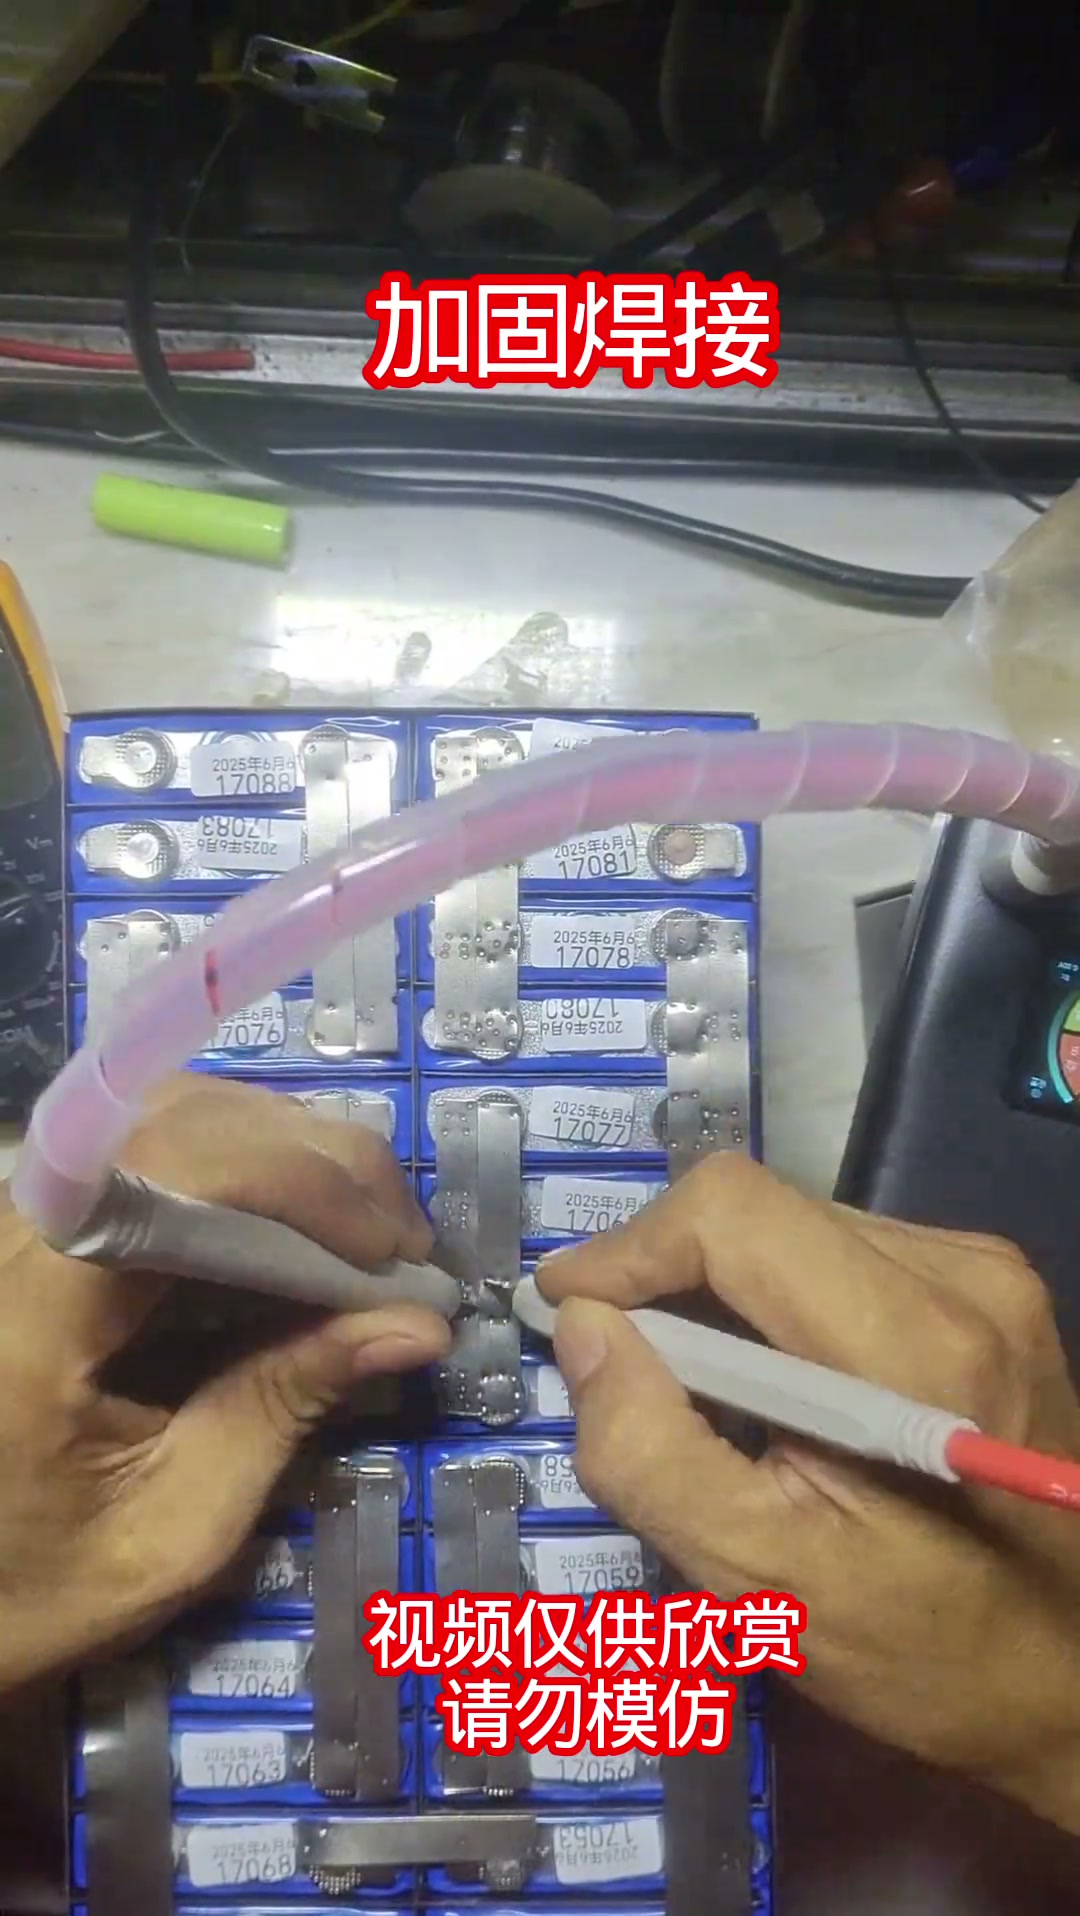
Uncle Sihai’s paddleboard thruster Li-ion pack (no voice-over, caption ‘for viewing only, do not imitate’): gather the parts, lay out 18650s in 2P14S and spot weld, connect the sense wires and mark their order, cut a wiring port in the case and a charge / discharge port (XT90), before plugging in the harness check each tap with a multimeter for rising voltage to confirm the order, check the output voltage and charge to wake it if there is none, structural adhesive on the case openings for waterproofing, finished ‘14S 24Ah 120A BMS’
A music-only video, everything in captions: gather the parts; lay out the cells in 2P14S (spot weld the nickel strip); connect the sense wires; cut a wiring port in the case lid; mark the wire order (each sense wire); cut the charge / discharge port and fit an XT90; before plugging in the harness, measure again with a multimeter to confirm the soldered wire order, rising step by step; measure the output voltage, charge to wake it if there is none; smear structural adhesive over the case openings for waterproofing; finished label 14S 24Ah 120A BMS. 102 comments: every pack needs a BMS, right; how much to make one; would a BYD 3.2 cell at ¥20 each work; wouldn’t big CATL prismatic cells be better; the nickel strip can’t carry the current; ‘hand-built with an AWithZ UF20B’.

 Hand-building a thruster Li-ion pack,ProjectsUncle Sihai
 LV2
LV2
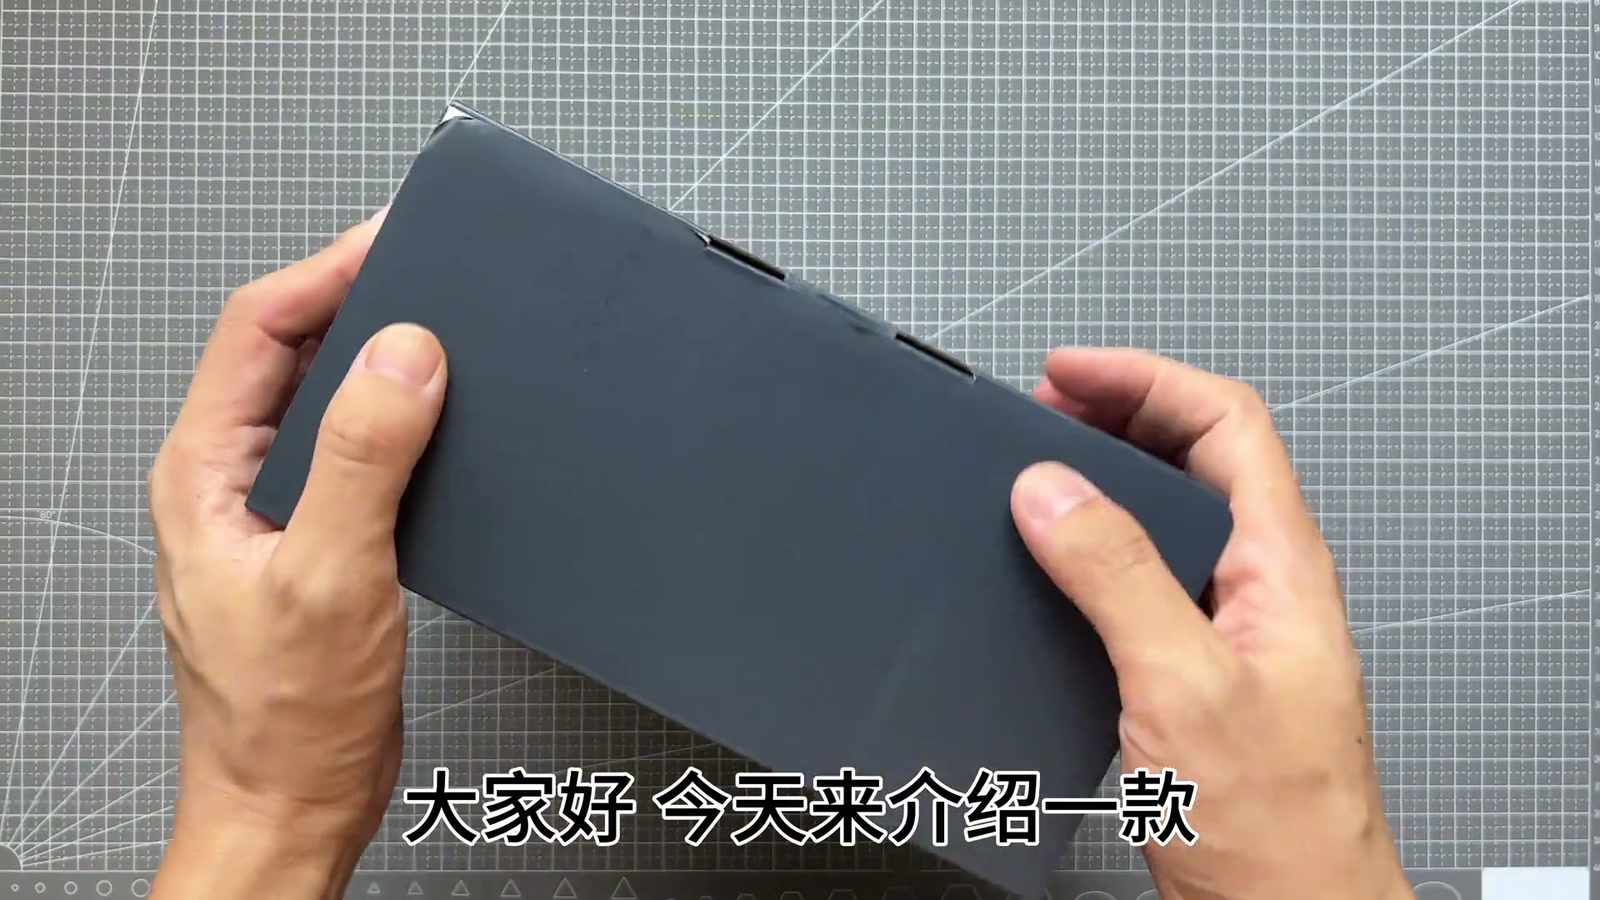
Wanwu Wulian unboxes the UF20B supercapacitor spot welder: aluminum-alloy case, 1750A/10.5kW, rated for 0.15 copper / 0.4 nickel; accessories are sandpaper, nickel strip, welding pens (with manual switch), power cord; two front buttons, foot-pedal port, dual pen ports; manual gear 10 welds 0.12 + 0.24 nickel strip so tight it needs pliers to tear apart; gear 52 welds a 0.38 utility-knife blade to 0.24 nickel strip solidly; 99 gears; comments: ¥570 is too much, sticking with a relay / ¥600 hand-builds a 4-capacitor rig
Opening: a 0.38 thick blade and 0.24 thick nickel strip spot-welded together, at only half power. Introducing the AWithZ supercapacitor spot welder: main unit + accessory box (a sheet of sandpaper, a pack of nickel strip, a pair of welding pens, a power cord); refined aluminum-alloy case, model UF20B, max output current 1750A, max power 10.5kW, rated to weld 0.15 thick copper strip and 0.4 thick nickel strip; two buttons on the front, one foot-pedal port, two welding-pen ports; the welding pen has a manual switch, so you line up first and then fire, more convenient. Power on with a long press: you can set weld mode, preheat time, interval time, gear, trigger time, pulse count (screen shows 20ms, T 31°C). Plug in the pens, manual, gear 10, welding on a Li-ion cell: 0.12 and 0.24 nickel strip, bright welds with no blackening, can’t be pulled off by hand, pliers needed, both strips shred before they come off. Then a 0.38 utility-knife blade + 0.24 nickel strip, gear set to 52, judging by the sparks the power is serious, and even this thick it welds solidly, only comes off once the pliers tear it apart; a professional spot welder indeed, 99 adjustable gears cover most needs. Comments: ¥570 is too much, sticking with a relay (3); for ¥600 you can hand-build a 4-capacitor rig, though the compact looks are nice; five hundred-something; do a teardown; DIY is better; under two hundred would be fine.

 AWithZ UF20B supercapacitor spot welder: small size, big powerProjectsIoT Everything
LV4
AWithZ UF20B supercapacitor spot welder: small size, big powerProjectsIoT Everything
LV4
Jump starter, part 2: three layers of nickel tabs welded with almost no charge used; 4S BMS + balance board wired (main +, +1, +2, +4, main −), charges at 14.5V, panel shows full, USB is a slow charge, Type-C charging works; main + / − leads swapped for thicker wire, bundled and insulated with electrical tape, back into the shell
The whole pack is welded up, with three layers of tabs on top — very solid; the charge level has barely dropped, so it should weld a lot of packs — very handy. Wiring the BMS: main + goes to +1, +2, +4 and main −; the leads are short, so extend them; red sleeve on the main +, yellow on the rest, foam pads for a first fix; trim any sharp protrusions; fix the pack first, then wire it, or it’s hard to secure afterwards. With the BMS and balance board connected it charges at 14.5V from a low-voltage supply; press the switch and it shows full, the lamp is quite bright; USB charges a phone at 29% — works, but a very slow trickle; Type-C charging shows normal, the last lamp blinking means not quite full. The main + and − ‘thick’ leads aren’t actually thick, so they’re swapped for wire a good size up from stock. With all the main leads connected and tidied, no heat-shrink to hand, so it’s bundled with electrical tape, two turns over each contact point; it fits back into the original shell exactly, with extra insulation on the main + to prevent shorts. Comments: a car draws 200–600A to start, 3P 18650 gives 60–90A at most, and with enough current the nickel-plated steel strip burns through in seconds (creator: cells picked up from a live stream, 2C is as good as it gets); does drawing power straight off the pack without going through the BMS matter (creator: discharge doesn’t go through the board); copper strip thickness and cell C-rate are both too low, too dangerous; where to buy the welder (shop window); leave a watermark to stop reposts; part 3 tests capacity.


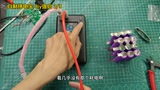 A home-made jump starter from 18650 cells — only 2C cells, picked up for ¥20-odd on the Douyin store; DIY car emergency power, built into a bought Bluetooth-speaker shellProjectsDoomsday Lab
 LV3
LV3
8 × Lishen 21700 pulled from floor washers (IR 9–10) as a new battery for a soldering iron: waterproof box is a fixed size so no holder, cells hot-glued, AWithZ H2 spot-welds the nickel strip, 14.43V after welding, BMS not arrived yet so only the + / − leads are soldered on
The soldering iron hasn’t been lasting lately, so a new battery from 8 × 21700 — Lishen cells pulled from floor washers and the like, IR around 9–10. Using the AWithZ H2 handheld spot welder; the strip cut in advance wasn’t enough, so more is cut; no holder, because the waterproof box is a fixed size and with a holder a battery this big wouldn’t fit, so the cells are hot-glued instead. Welding done, pack voltage measures 14.43V; old battery removed; the new BMS hasn’t arrived so it isn’t fitted yet, just solder on the two + / − leads. Comments ask whether the IR meter is any good and for a store link, and why not use fibre tape for a sturdier build.
 New battery for a soldering ironProjectsMechatronics Lab
 LV2
LV2
16 × 15Ah LiFePO4 cells in 16S1P for a 48V e-bike battery, the full 30 minutes: nickel strip stacked on copper, a self-built welder that overheated and stopped work, a 60V/20A Bluetooth BMS, 16.5A measured on the bike
The creator builds a 48V LiFePO4 battery for an e-bike that has run on lead-acid for three or four years: 16 × 3.2V/15Ah cells all in series come to exactly 48V. To carry more current he stacks copper strip on nickel strip, and first tries two machines: the self-built welder welds 0.12 nickel-plated steel strip + 0.1 copper, the handheld welder welds 0.12 + 0.05 copper, both solid, and he mainly uses the self-built one (it can weld thicker copper). All 16 cells read 3.297V with 1.7–2mΩ internal resistance, so he builds without balancing. Triple holders are assembled (one holder with four extra corners wouldn’t fit and got trimmed), insulating paper applied, nickel and copper strip 15mm wide, the nickel strip’s sharp corners trimmed on the positive side; the jump starter that powers the welder is put on charge. During welding the self-built machine (with added capacitors, shortened leads and swapped MOSFETs), its thermal pad, the jump starter and the cells all get too hot to touch, so he keeps stopping to cool them with a fan; the jump starter won’t charge at 5V2A, so he pulls the 60V/20A Bluetooth BMS (switchable NMC / LiFePO4) from a previous 21700 pack. After several ‘won’t weld’ episodes he finds he had stacked two layers of copper by mistake; later he adds nickel strip to compensate. Main + to main − reads 52.7V, total internal resistance 32mΩ. 704 silicone to fix, mesh double-sided tape for the ribbon, sense leads soldered group by group and tinned (‘nearly had an accident’), lead order checked, 3 hours 40 minutes in total; the Bluetooth app gets LiFePO4 settings: over-voltage 3.65, under-voltage 2.3, balancing from 3.5; insulating board, main positive and temperature probe go in, insulating paper on, and heat-shrink film can be done with a hair dryer (keep it out of the sun). Lead-acid measures 89mΩ for comparison; the battery bay is bigger than expected (would take 48V30Ah); adhesive-lined heat-shrink for waterproofing; on the bike the app shows 53.0V, -16.5A, 14.8Ah, 0.038V delta, 0.9kW. LiFePO4 isn’t ideal for northern winters, but it’s cheap, safe and fades less than lead-acid. The top comment says the video is too long.


 Built a 48V LiFePO4 battery for the family e-bike myself — the whole process on record, in a mere 30 minutes of videoProjectsTechHang
LV2
Built a 48V LiFePO4 battery for the family e-bike myself — the whole process on record, in a mere 30 minutes of videoProjectsTechHang
LV2
Re-celling a fan’s old bank-terminal laptop: the original 6 × Samsung 2600mAh cells were badly unbalanced and dead, swapped for 2900mAh cells spot-welded with the handheld welder — no board lock, charging normal
An old bank mobile-terminal laptop (card reader, fingerprint) whose battery only showed 4% and would not climb. The creator had turned down re-cell requests before because “brand laptops lock the board when power is cut”, but this battery was already dead, so it was worth a try. Opening the pack: Samsung cells, total voltage looked normal, but per-group readings were 1.790V / 3.395V / 4.11V — left too long, badly unbalanced, scrap. New cells are 2900mAh (original 2600), internal resistance all around 19mΩ; the BMS has current sensing and will limit, so extra capacity would go unused anyway. With the new handheld welder (light) he tried gears 2 through 5 on nickel strip; the whole cell can is negative so no spacer is needed, the positive end gets insulating paper. Along the way: the layout shorts easily, the nickel strip is sharp, and with no jig it is awkward to handle — the three-cell junction was a struggle. Reinstalled, the laptop booted straight up, charge went 6% → 7%, and it did not lock the board after a power-off/on; he cleaned the old glue, checked balance (very consistent), fixed the temperature probe with 704 silicone, and rubber-banded it for a day while the glue cured. Later it showed 0% for an hour (suspected conflict with the BMS); he used the powercfg battery report to read the capacity history. A comment warned that re-celling may still need the battery-management chip (BMS) data reflashed.
 Fixing a fan’s laptop battery that died in storageProjectsTechHang