
Me
#Electronics hobbyist Share your welding progress, a question or a finished build…
Public Post
Can your hand touch the steel strip while welding?
 AWithZ high-power spot welder — welding lithium cells, handy and effectiveProjectsElectronics Basics
Who to followRefresh


 LV5
LV5
The Village’s Only Primary-Schooler builds a Dayi-style 20V 10-cell tool battery with the UK1 (Samsung 2800mAh, genuine imports, matched internal resistance / capacity / voltage): manual gear 98, one pulse and it’s solid, ‘can’t pull it off’, better than his old small handheld; tried auto mode, not to his taste; two-pulse rapid-fire at gear 95 is better, turned down later; tape on, BMS fitted, done; the UK1 is compact, welds ordinary cells, not large prismatic cells; gold-plated plug, optional foot switch, button on the handle, Type-C, replaceable pins; pinned: 0.15 nickel-plated strip, set mid-range; blackening — turn down, won’t stick — turn up
His home-made microwave-transformer welder is too bulky to carry, so he got the AWithZ portable welder to see how it does. Found a Dayi-style tool battery (2-98V 20000, 10 cells); Samsung 2800mAh cells, genuine imports, each with a stamp on the negative end; internal resistance, capacity and voltage were checked before and match, so straight in. No dedicated nickel strip, so use the 15-cell one and trim the excess. Hold the power button two seconds, manual mode, gear 98, one pulse; first time using it, unfamiliar; quite solid, can’t pull it off, fully meets the requirement; keep going, never expected something this small to be so effortless, nailed it; pretty solid; an earlier small handheld was a bit lacking on this strip, never expected this one to handle it completely; supposedly max current 1200A, whether it’s really that high doesn’t matter, if it welds well that’s OK. Try the other mode (rapid-fire): two pulses, OK; gear set to 95 to try; it’s back in manual now, auto mode isn’t to his taste, sometimes it fires before he’s finished positioning; though auto mode has an adjustable wait time; still prefers manual; two pulses like this is better; turn the gear down a bit. Done, checked for misses; assemble: tape along both sides on top, BMS on and welded, finished; try it (angle grinder). The welder again: compact and easy to carry, didn’t expect much, just wanted portability, but the results are good, welds ordinary cells, definitely not large prismatic cells; the pen plug comes out and fits tight, gold-plated; the foot switch plugs in here, not normally used, just the button on the handle; charging cable, Type-C port; pins are replaceable, pull them out with pliers; nice design. Comments (23): how to set the two modes → by nickel-strip thickness, no blackening and it sticks is fine, 0.15 nickel-plated set mid-range; too pricey (1) → make one from a microwave transformer, works just as well but took two days; brand-name gear looks classy and welds well, AWithZ knows how to make a product (1); 98 is too high / will blow through; why is so much of the negative-end wrap missing; can it weld Jiashikai; can batteries be shipped yet.
 AWithZ portable Li-ion spot welder — building a power-tool battery pack with the AWithZ portable welderProjectsVillageKid
 LV5
LV5
[Welding test] UF20B: palm-sized, with the strength of a thousand pounds. 0.2mm pure nickel sheet on an 18650 pack, solid welds, energy focused in an instant #AWithZSpotWelder #diy #CompactSpotWelder #GeekMods #ElectronicsHobbyist
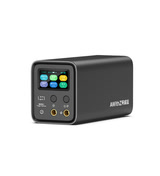 UF20B Supercapacitor WelderProductsAWithZ
LV5
UF20B Supercapacitor WelderProductsAWithZ
LV5
[Unboxing moment] UF20B — a professional power station in your palm. No preheat needed, one-button stable welding, easy spot welding, enjoy the assurance of every precise weld! #AWithZSpotWelder #diy #CompactSpotWelder #GeekMods #ElectronicsHobbyist
 UF20B Supercapacitor WelderProductsAWithZ
 LV4
LV4
Supercapacitor + lithium jump starter (part 1): strip the original unit and re-plan the layout, remove the high-resistance main switch and replace it with a cell-to-capacitor switch, put lugs on the 25mm² leads, measure capacitor internal resistance 2.7 / 2.1; 10 × 21700 4000mAh, 2P4S, spot-welded with the AWithZ; oven paper as a heat barrier so thermal runaway can’t short; foam padding; shorting the cells straight onto the 0V capacitors draws 40-odd A (85A per the comments), clamps glow red — conclusion: must pre-charge through a resistor
Step one of the jump starter is stripping it down and re-planning the layout: wide at the bottom, narrow at the top, so the cells can only stand upright; turn the capacitors so the leads go straight out, shortening them to raise output current. The original board’s wiring was a mess and mediocre quality, so it all comes out; the original main switch has very high internal resistance, so it’s removed and replaced by a switch between the cells and the capacitors — flip it and the capacitors charge, no current limiting because the capacitors are small (big capacitors and you wouldn’t need the cells at all). The original wire is solid stuff but wasn’t secured after connection, so it made poor contact. The case cabling is nice and long enough; + and − are reversed to match the capacitor polarity; wire about 5mm dia., 25mm², re-routed with length to spare; crimp the +, and add a lug to the short − lead. Remove the original BMS and measure supercapacitor internal resistance: one 2.7, the other 2.1, slightly unbalanced. Crimping lugs: not a single strand showing, crimp one side then the other, drive the force at an angle from one side to the other, use a huge amount of force so it’s tighter than stock; with no heat-shrink this big, wrap in black tape leaving only the capacitor contact area bare. Trial-fit the −: enough room, enough slack; the cells can only go in this way, switch back in place, layout solved. There are 10 cells: 12 would make 3P4S, 10 only makes 2P4S; the spot welder joins the pairs in an instant, then three upright and one across to link them in series; oven parchment (forgot the fish paper) between them because it withstands heat, so a thermal runaway won’t short straight through — heat-shrink peels off when hot and shorts both faces; jokes that his poor welding is ‘wasting the cells AWithZ sent’. Voltage fine after welding; balance leads connected (smarter to bring them straight out); tape over the welded face against punctures, then fish paper; BMS wired (an odd shape, roughly done): two thin leads charge / discharge through the BMS, two extra-thick leads short-charge the capacitors instantly. Foam padding in the case so the capacitors sit firm and a drop won’t be too dangerous; lid snaps on tight, slight wobble to fix later. Charging-circuit test: cells shorted straight onto the 0V supercapacitors, clamps glow red, current hits 40-odd A — too dangerous, could blow, must pre-charge through a ceramic resistor and only then close the shorting switch in parallel and start. Comments: someone built 3S5P 18650 + 6 × 500F in series and it struggles to start a 2.0T (creator: voltage too low, needs 4S at 16.8V to fill the capacitors); the copper lugs are sloppy; capacitor internal resistance too high; a local warns the capacitors are too small for winter (creator: couldn’t bring himself to buy big ones, not the optimal solution).

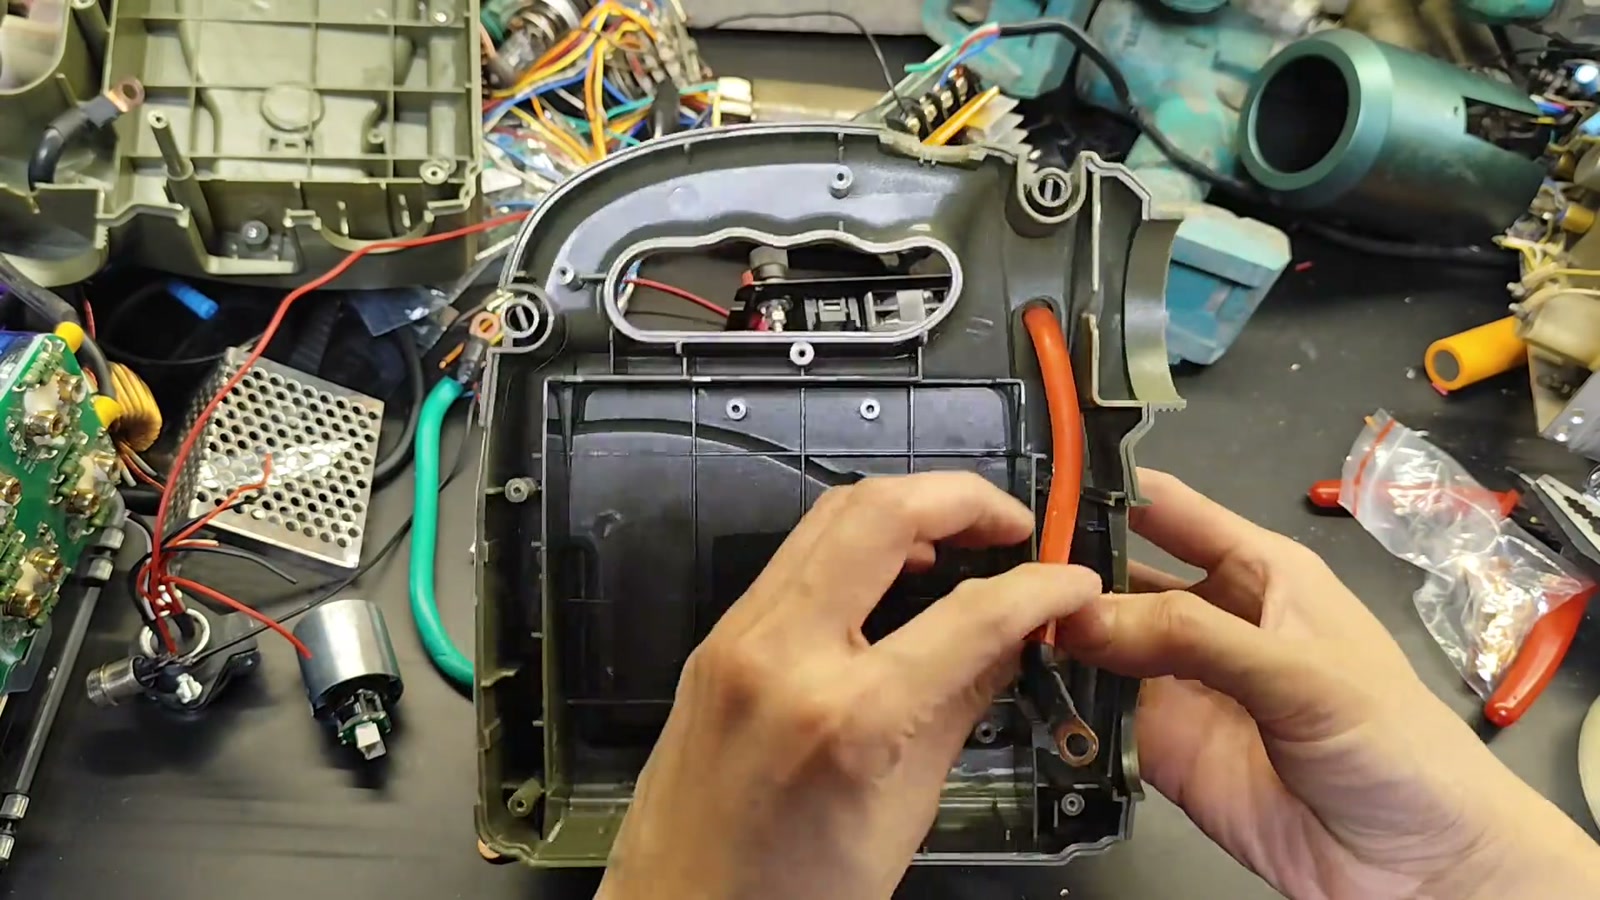
 Building a car jump starter from supercapacitors + lithium cells — the cells store energy, the supercapacitors deliver the big current; 21700 4000mAh cells in 2P4S, 2.7V 360F supercapacitors, two together should push past 100A instantaneous, CCA estimated 500+, should start a 2.4L car; final assembly and test nextProjectsDoomsday Lab
Related productsAll ›
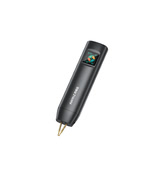 LV5
LV5
Ultimate performance, precise welding! Ultimate performance, precise welding! The UF20B packs a high-energy supercapacitor, 10.5kW power output — even 0.15mm copper sheet welds perfectly! #ForCompactSpotWeldersChooseAWithZ #WeldingWonderTool #GeekMods #ElectronicsHobbyist
UF20B Supercapacitor WelderProductsAWithZ
LV5
Light and powerful! U3 Pro spot welder masters 18650 packs! Home-made power bank~ #ForCompactSpotWeldersChooseAWithZ #WeldingWonderTool #ElectronicsHobbyist #GeekMods #diy 8-19
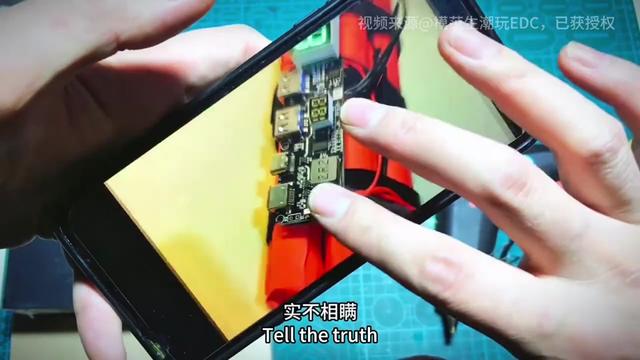
 U3 Pro Battery WelderProductsAWithZ
LV5
U3 Pro Battery WelderProductsAWithZ
LV5
Welds you can't tear apart! Don't be fooled by the small size! H1 handheld spot welder, straight out of the box onto 18650 cells: welds you can't tear off — beginners, buy with eyes closed! #AWithZSpotWelder #EquipmentReview #ElectronicsHobbyist #HardwareTools #WeldingWonderTool

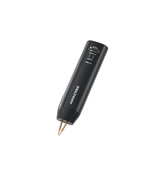 H1 Handheld Dual-Pulse Welder (prev. gen)ProductsAWithZ
 LV2
LV2
Maker Zhou Xiansheng’s step-by-step universal magnetic base guide (3325 likes): cells + box + charge/protection board + DC module + magnetic socket; a spare plastic box holds three 18650s, welder puts them in parallel ‘just rattle off the welds’, cut a hole to bring out the Type-C, solder charge board output → DC module input, protection board battery port and DC output, verify charging, glue it in, mark and drill the lid centred, push in the magnetic socket and solder + / −; pair it with whatever lamp you like
Lots of folks wanted the universal magnetic base guide, so this episode does it. Main materials: cells, a box, a charge/protection board, a DC module, a magnetic socket; the box can be wood, metal or even a brick, and the number of cells follows the box size; he picked a spare plastic box (comment: a floss box) that fits exactly three cells (comment: Samsung cells). First use the welder to put the cells in parallel — nothing fancy, just rattle off the welds, check they’re lined up and done; three fit in perfectly. Cut a hole to bring out the charge/protection board’s Type-C port; solder the charge board output leads, the DC module input leads, the protection board battery port and the DC module output leads; finally connect the cells and verify charging works; put the cells, protection board and DC module in the box and glue them down; mark and drill the lid as centred as possible for looks; push the magnetic socket into the hole and solder + and −; done, test the charging once more, perfect; how great is this universal magnetic base — pair it with whatever you want, use whichever lamp you want. 157 comments: why does the cheap 18650 charge/discharge module’s LED stay on (4); what does the DC module output; why is the 4056 double-layered / two input boards (creator: good eyes); Samsung cells are extravagant (a friend gave them); a 3D-printed base would be even better.
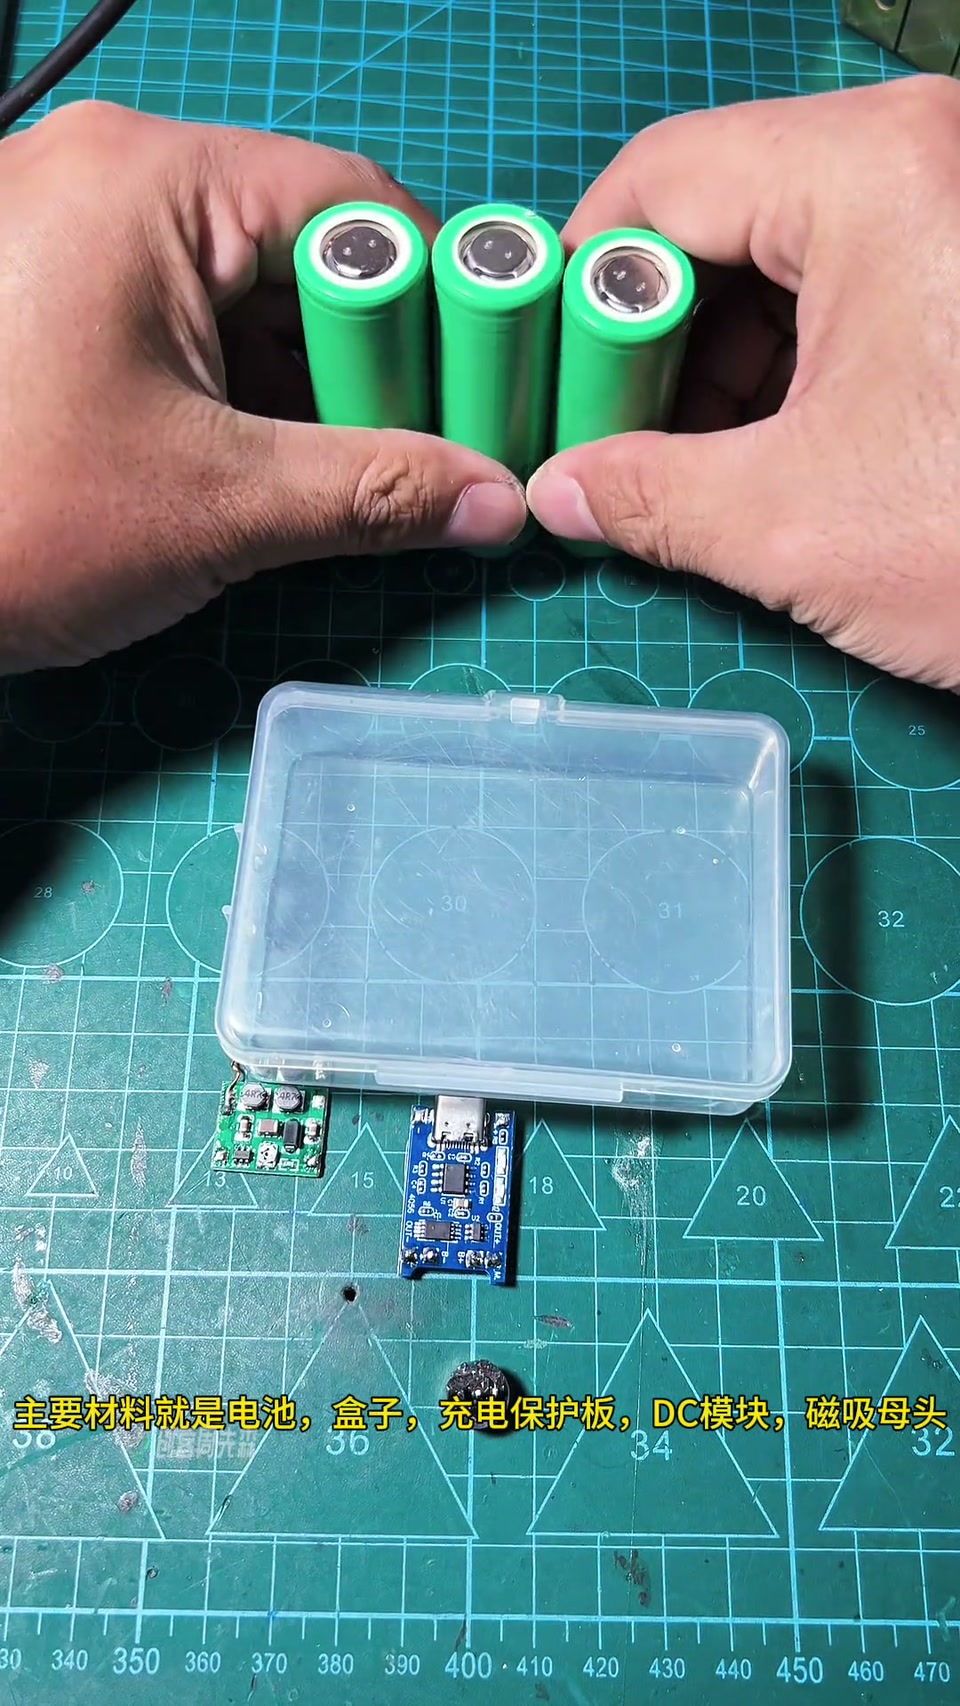

 Universal magnetic base build guide — the step-by-step build guide for the universal magnetic base is hereProjectsMaker Zhou
 LV1
LV1
Honglin Zhenxian compares a ¥180 hand-built welder off Xianyu (no charger, thin leads, shabby tips) with a ¥500 AWithZ UF20B from the Douyin store (aluminium-alloy shell, thick leads, rounded tips, handles 0.4 nickel strip, pen with a button) — ‘I just buy the pricey one’; gear 31 rapid-fire welding is so much fun he burns the tablecloth; gear 99 welds straight through a utility-knife blade, ‘don’t recommend this, too hard on the machine’; 613 comments: the bought one wins, is Duokerui the same company, P120 ribbon cable loose and returned, both are toys
On the left, from the second-hand market (Xianyu), ¥180 and no charger, you sort your own; on the right, from the Douyin store, ¥500, and there’s a difference: this lead (Xianyu machine) is thinner than my life, pitiful, and the tips aren’t even one piece; (the AWithZ’s) are so rounded, they say it handles 0.4 nickel strip, seriously strong, and it has a button, aluminium-alloy shell (nameplate UF20B 6.0V / 1750A / 10.5kW / 100–240V, Juequi Technology); I can’t really read power ratings, I just buy the pricey one, the pricey one’s stronger, that one’s low power. The Xianyu machine throws sparks on every weld; this one is different, the pen has a switch underneath so you don’t need to hold anything, just go bang-bang-bang rapid-fire, so much fun, burnt the tablecloth, the genuine AWithZ; and this isn’t even the top gear, it’s on 31, 99 is harsher; big thumbs-up for that switch, so convenient. Switch to gear 99 and weld a utility-knife blade: whoa, a stainless blade this thick nearly welded on, welded through, how’s that for strong; don’t recommend welding like this, too hard on the machine; blew right through the blade. 613 comments: the bought one wins, AWithZ is reliable (is this brand that big a deal?); Duokerui and AWithZ are about the same, which is stronger (they say they may well be the same company); bought a P120 for ¥2600 on promotion, ribbon cable loose, returned, don’t trust the QC (let me try one too); good enough, fairly strong, easy to use (it really is strong, the pen button is super handy, the lead’s just short); at ¥180 back then there wasn’t even a pen, better to buy Kekaike; both of the desk-top ones are toys (how big does it have to be to not be a toy); a hand-built microwave-transformer one has far more current and sits gathering dust; a ¥400 one off Xianyu does 0.4 aluminium-nickel easily; supercapacitor + LTO builds are cheap and powerful.
 Ep. 2 | Spot welder comparison — a home-built one off Xianyu vs a bought one! Money talks! The quality really is differentProjectsIdle Honglin
Is it suitable for a demanding Li-ion repair technician?
AWithZ high-power spot welder — welding lithium cells, handy and effectiveProjectsElectronics Basics
LV5
[Copper welding] No sweat! UF20B spot welder, efficient and stable, no cold welds! #AWithZSpotWelder #WeldingEquipment #ElectronicsHobbyist #diy
 UF20B Supercapacitor WelderProductsAWithZ
 LV1
LV1
Dapao Meimei in 24 seconds: strips the motor from dad's vacuum, a ¥2 air-conditioner drain hose heat-gunned onto it for a solder-fume extractor, a ¥6 Li-ion cell with internal resistance 18, AWithZ UF20B plug-in spot welder 'the perfect spot weld', a red wire to start it — hold it a bit further away and it can't pull the fumes at all, worse than a little fan
Solder fumes are bad for your health, so just build an extractor: strip dad's vacuum cleaner for the big motor; buy an air-conditioner drain hose for two yuan, heat the end evenly with a heat gun and gently slide it over the motor's intake; the newly bought six-yuan Li-ion cell has internal resistance 18, not bad; a burst of gibberish welding, very dashing — AWithZ UF20B plug-in spot welder, the perfect spot weld (screen shows a W318000 reading); finally run a red wire between the cell and the motor, the perfect weld; fire it up and test, looks fine, hold it a bit further away and it can't pull the fumes at all, worse than my little fan. 311 comments: 'for the perfect weld skip straight to 17 seconds if you're in a hurry' (pinned); dad: well thank you very much (he's working late and not home yet); a violent fan pulls fumes so fast (where can you strip a violent fan from); switch lanes (you recommend one and I'll follow); first time seeing a girl into this.
 Trash to treasure? Making my own solder-fume extractor! The perfect weldProjectsCannon Sis
LV5
Trash to treasure? Making my own solder-fume extractor! The perfect weldProjectsCannon Sis
LV5
A power bank making a power bank? The U3 Pro spot welder welds 0.35mm with no sweat! For a small spot welder, pick AWithZ #WeldingWonderTool #GeekMods #ElectronicsHobbyist #diy
U3 Pro Battery WelderProductsAWithZ
Could you film a teardown?
 AWithZ UF20B supercapacitor spot welder: small size, big powerProjectsIoT Everything
Is this DC or does it charge?
AWithZ high-power spot welder — welding lithium cells, handy and effectiveProjectsElectronics Basics
LV5
Precision spot welding, solid in an instant! A professional spot welder that's a step ahead in efficiency! One machine, many functions — save the cost of several devices! All-new P30C supercapacitor energy-storage spot welder #AWithZSpotWelder #WeldingEquipment #CapacitorBlackTech #ElectronicsHobbyist #diy

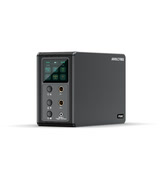 P30C Supercapacitor WelderProductsAWithZ
LV5
P30C Supercapacitor WelderProductsAWithZ
LV5
A must for phone addicts! Full walkthrough of a homemade 10000mAh power bank! U3 Pro spot welder, only grade-A cells. One unit, two uses: power bank + spot welder #ForCompactSpotWeldersChooseAWithZ #WeldingWonderTool #GeekMods #diy #ElectronicsHobbyist
 U3 Pro Battery WelderProductsAWithZ
LV5
U3 Pro Battery WelderProductsAWithZ
LV5
One shot, perfectly formed, never a cold weld! Precise control of 0.15mm copper sheet! UF20B all-new supercapacitor spot welder #ForCompactSpotWeldersChooseAWithZ #WeldingWonderTool #GeekMods #ElectronicsHobbyist #IndustrialBlackTech
 UF20B Supercapacitor WelderProductsAWithZ
LV5
UF20B Supercapacitor WelderProductsAWithZ
LV5
A must for DIY players: build your own 2S battery pack! UF20B supercapacitor spot welder #ForCompactSpotWeldersChooseAWithZ #WeldingWonderTool #GeekMods #IndustrialBlackTech #ElectronicsHobbyist
UF20B Supercapacitor WelderProductsAWithZ
LV5
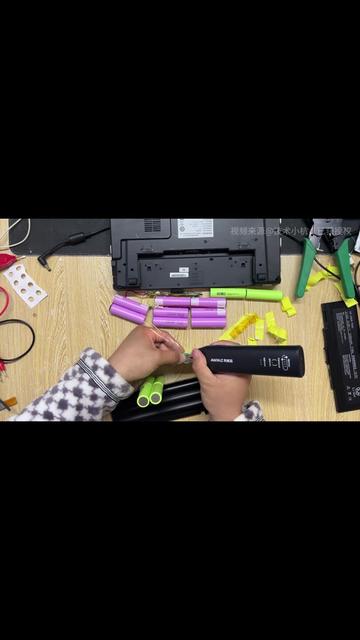
Battery trouble ≠ scrap the whole machine. One ¥100-class spot welder revives a ¥1,000-class laptop battery: save ¥500 on a replacement, a beginner does it in 10 minutes #AWithZSpotWelder #WeldingWonderTool #ComputerRepair #HomeTools #ElectronicsHobbyist
H1 Handheld Dual-Pulse Welder (prev. gen)ProductsAWithZ
LV5
 LV5
LV5
LV5
LV5
Pick it up in seconds! No learning needed! A spot welder you can use after one watch: power on – pick a gear – weld; even the all-thumbs crowd can make pro-grade welds! #AWithZSpotWelder #EquipmentReview #ElectronicsHobbyist #HardwareTools #WeldingWonderTool

 LV2
LV2
Home-built soldering station, version 2: 6 Li-ion cells + BMS + 3D-printed shell; fish paper on the positive ends, cells laid out to the BMS wiring, welded with the AWithZ supercapacitor spot welder at gear 10 using the manual-button pen, balance leads and power leads soldered on; twin switches (battery / main board), external-power charging port, sleep connector, assembled and test-soldered
Lots of people in the comments showed their own home-built soldering irons, so the creator upgrades his earlier DIY soldering station: materials are 6 Li-ion cells, 1 BMS, and a self-designed 3D-printed shell (came out well). Battery welding: fish paper on the positive ends for insulation, cells positioned to match the BMS wiring; welded with the AWithZ supercapacitor spot welder at gear 10, the pen with the manual button is convenient; weld the cells, the BMS balance leads and the power leads in turn, then insulate the battery. Main unit assembly: on the rear panel the left switch controls the battery and the right switch the main board, external power and charging port on top, sleep connector below; fit the main board with four screws, secure the battery and wire it as required, mind the polarity; fit the rear panel and it’s done, the outside fits together seamlessly; plug in the handle and the sleep socket, switch on the battery and the main board, and solder a board to test. Comments: one viewer reports an AWithZ that ‘starved’ twice after sitting for half a year — the first time it revived after a day and night on charge, the second time it didn’t after 36 hours and went back to the factory; don’t buy the big-capacitor type if you rarely use it (creator: didn’t know that could happen); T12 mod enthusiasts; some find the accessories over-complicated, simplicity is best.
 Second version of my low-cost DIY soldering iron: upgraded to Li-ion power plus a printed shell, more convenient to useProjectsIoT Everything
LV2
Second version of my low-cost DIY soldering iron: upgraded to Li-ion power plus a printed shell, more convenient to useProjectsIoT Everything
LV2
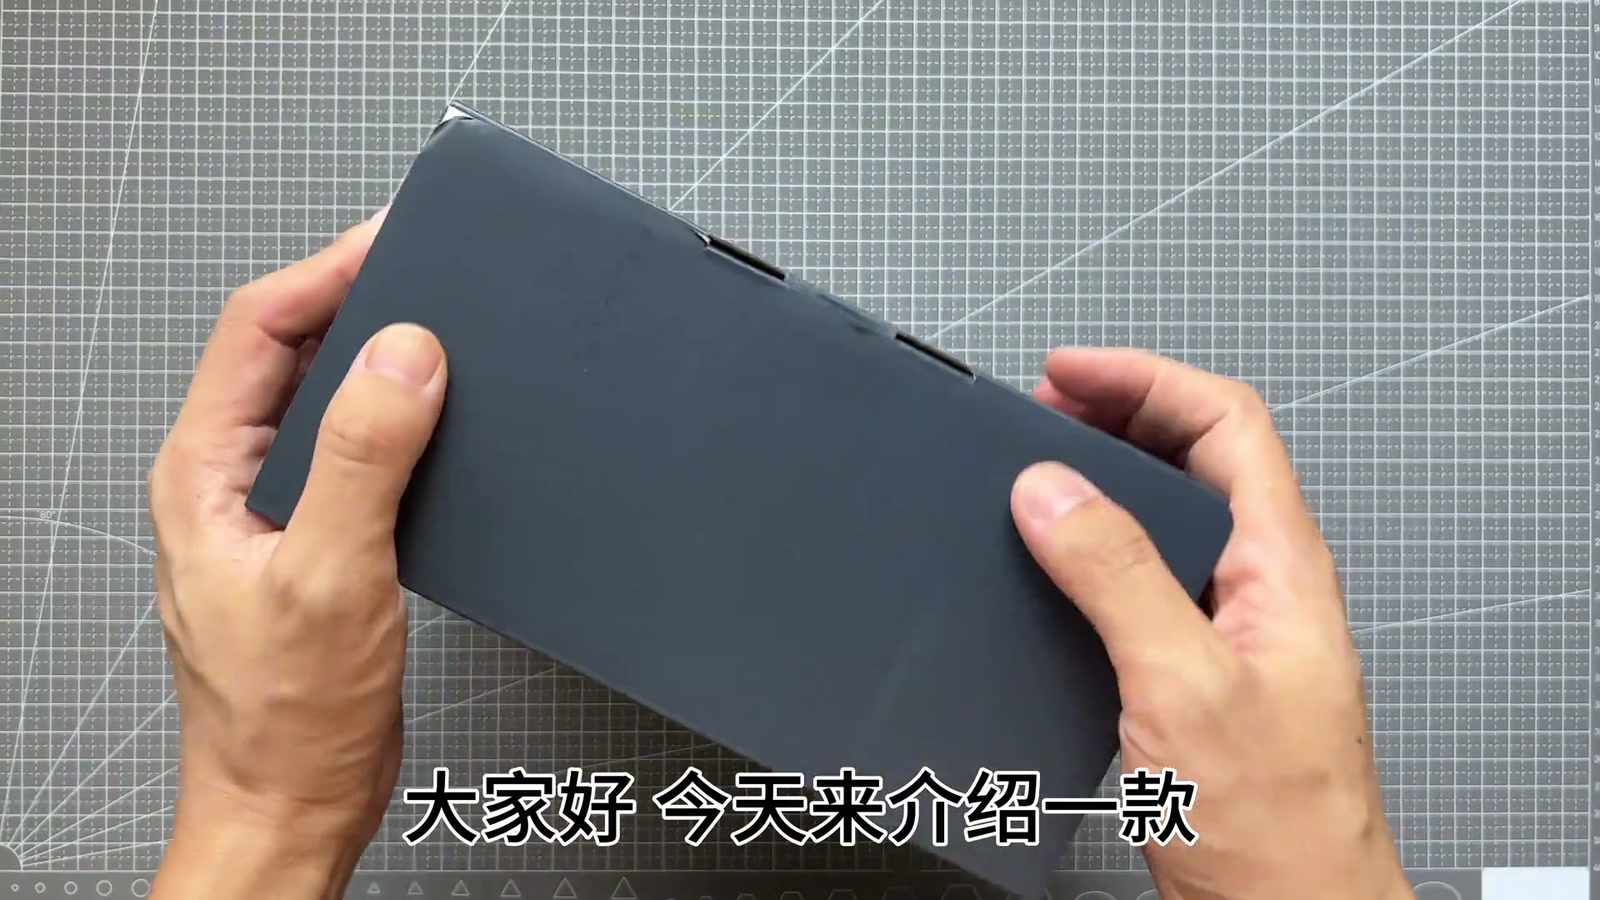
Wanwu Wulian unboxes the UF20B supercapacitor spot welder: aluminum-alloy case, 1750A/10.5kW, rated for 0.15 copper / 0.4 nickel; accessories are sandpaper, nickel strip, welding pens (with manual switch), power cord; two front buttons, foot-pedal port, dual pen ports; manual gear 10 welds 0.12 + 0.24 nickel strip so tight it needs pliers to tear apart; gear 52 welds a 0.38 utility-knife blade to 0.24 nickel strip solidly; 99 gears; comments: ¥570 is too much, sticking with a relay / ¥600 hand-builds a 4-capacitor rig
Opening: a 0.38 thick blade and 0.24 thick nickel strip spot-welded together, at only half power. Introducing the AWithZ supercapacitor spot welder: main unit + accessory box (a sheet of sandpaper, a pack of nickel strip, a pair of welding pens, a power cord); refined aluminum-alloy case, model UF20B, max output current 1750A, max power 10.5kW, rated to weld 0.15 thick copper strip and 0.4 thick nickel strip; two buttons on the front, one foot-pedal port, two welding-pen ports; the welding pen has a manual switch, so you line up first and then fire, more convenient. Power on with a long press: you can set weld mode, preheat time, interval time, gear, trigger time, pulse count (screen shows 20ms, T 31°C). Plug in the pens, manual, gear 10, welding on a Li-ion cell: 0.12 and 0.24 nickel strip, bright welds with no blackening, can’t be pulled off by hand, pliers needed, both strips shred before they come off. Then a 0.38 utility-knife blade + 0.24 nickel strip, gear set to 52, judging by the sparks the power is serious, and even this thick it welds solidly, only comes off once the pliers tear it apart; a professional spot welder indeed, 99 adjustable gears cover most needs. Comments: ¥570 is too much, sticking with a relay (3); for ¥600 you can hand-build a 4-capacitor rig, though the compact looks are nice; five hundred-something; do a teardown; DIY is better; under two hundred would be fine.

 AWithZ UF20B supercapacitor spot welder: small size, big powerProjectsIoT Everything
LV5
AWithZ UF20B supercapacitor spot welder: small size, big powerProjectsIoT Everything
LV5
One machine, many uses, formidable performance! H1 handheld spot welder unboxing + welding test — you'll want one after watching! #AWithZSpotWelder #diy #ElectronicsHobbyist #GeekMods #MoneySaver
H1 Handheld Dual-Pulse Welder (prev. gen)ProductsAWithZ
LV5
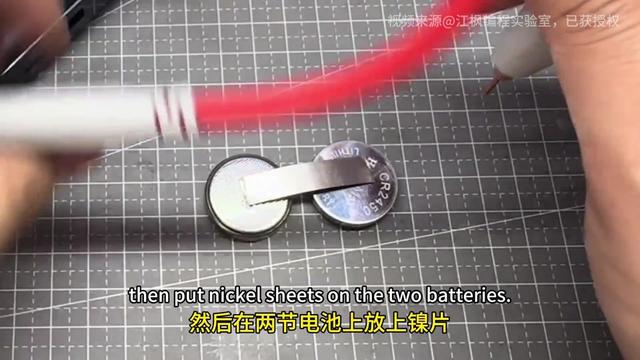
U3 Pro spot welder welding button cells: small body, big energy! #AWithZSpotWelder #WeldingEquipment #ElectronicsHobbyist #diy #HighPerformanceTools
 U3 Pro Battery WelderProductsAWithZ
LV5
U3 Pro Battery WelderProductsAWithZ
LV5
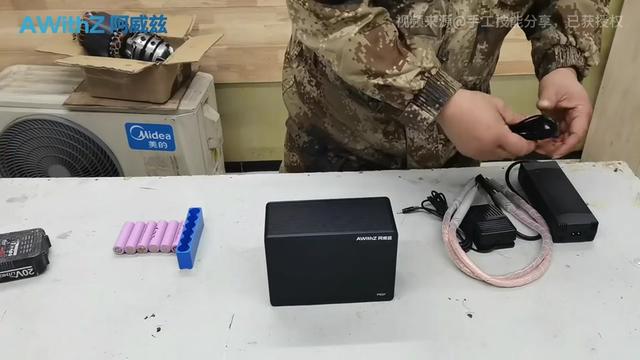
[Welding test] Lightweight design, formidable performance. AWithZ P60F spot welder welding test: strong power, no stalling! #WeldingEquipment #ElectronicsHobbyist #GeekMods #MustHaveForVeterans #HardwareTools
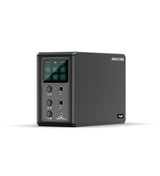 P60F Supercapacitor WelderProductsAWithZ
LV5
P60F Supercapacitor WelderProductsAWithZ
LV5
[Unboxing] AWithZ P60F supercapacitor energy-storage spot welder — dual pulse, millisecond trigger, precision welding up to 1.00MM, a professional spot welder! #WeldingEquipment #ElectronicsHobbyist #CapacitorBlackTech #diy #HighPerformanceTools
P60F Supercapacitor WelderProductsAWithZ
LV5
 LV5
LV5
HD2 handheld dual-pulse spot welder · HD digital display. HD2 handheld dual-pulse spot welder · HD digital display — welds as fine as silk, control down to the millimeter
Grade-A cells · 0.25mm ultra-thin welding · copper sheet welds with ease · handheld and portable · precise digital display #AWithZSpotWelder #WeldingEquipment #ElectronicsHobbyist #diy #HighPerformanceTools
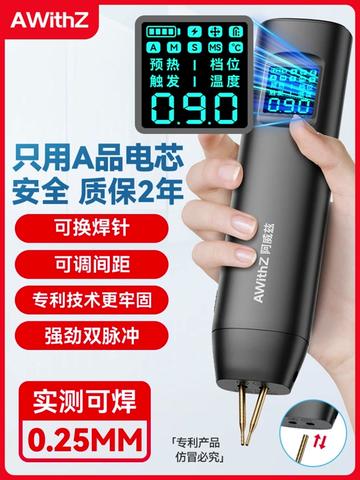
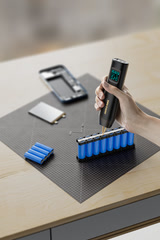 HD2 Handheld Digital Welder (prev. gen)ProductsAWithZ
LV5
HD2 Handheld Digital Welder (prev. gen)ProductsAWithZ
LV5
[Operation guide] HD2 handheld dual-pulse spot welder (HD digital-display version) — spot welds in a second, precise and error-free! Beginners get professional results too~ welds 0,25MM #AWithZSpotWelder #WeldingEquipment #ElectronicsHobbyist #diy #HighPerformanceTools
 HD2 Handheld Digital Welder (prev. gen)ProductsAWithZ
LV5
HD2 Handheld Digital Welder (prev. gen)ProductsAWithZ
LV5
Nickel-plated strip welds with ease! Precise control, solid welds without damaging the material. UF20B all-new supercapacitor spot welder — welds copper, welds 0.4mm #AWithZSpotWelder #WeldingEquipment #ElectronicsHobbyist #diy #HighPerformanceTools
UF20B Supercapacitor WelderProductsAWithZ
LV5
One weld with the UF20B and you're hooked! A finished product really is better~ beats a home-made welder! UF20B all-new supercapacitor spot welder — welds copper, welds 0.4mm #AWithZSpotWelder #diy #WeldingEquipment #ElectronicsHobbyist #HighPerformanceTools
 UF20B Supercapacitor WelderProductsAWithZ
LV5
UF20B Supercapacitor WelderProductsAWithZ
LV5
Copper hard to weld? The UF20B handles it easily. Copper hard to weld? The UF20B handles it easily. UF20B all-new supercapacitor spot welder: welds copper, welds 0.4mm #AWithZSpotWelder #ElectronicsHobbyist #diy #HighPerformanceTools #GoodFinds
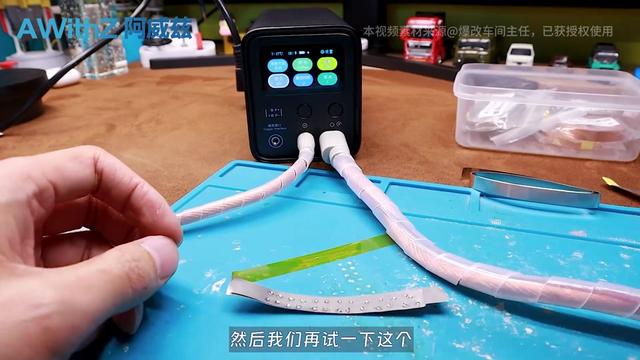 UF20B Supercapacitor WelderProductsAWithZ
Scroll for more · 48 rows