 LV2
LV2
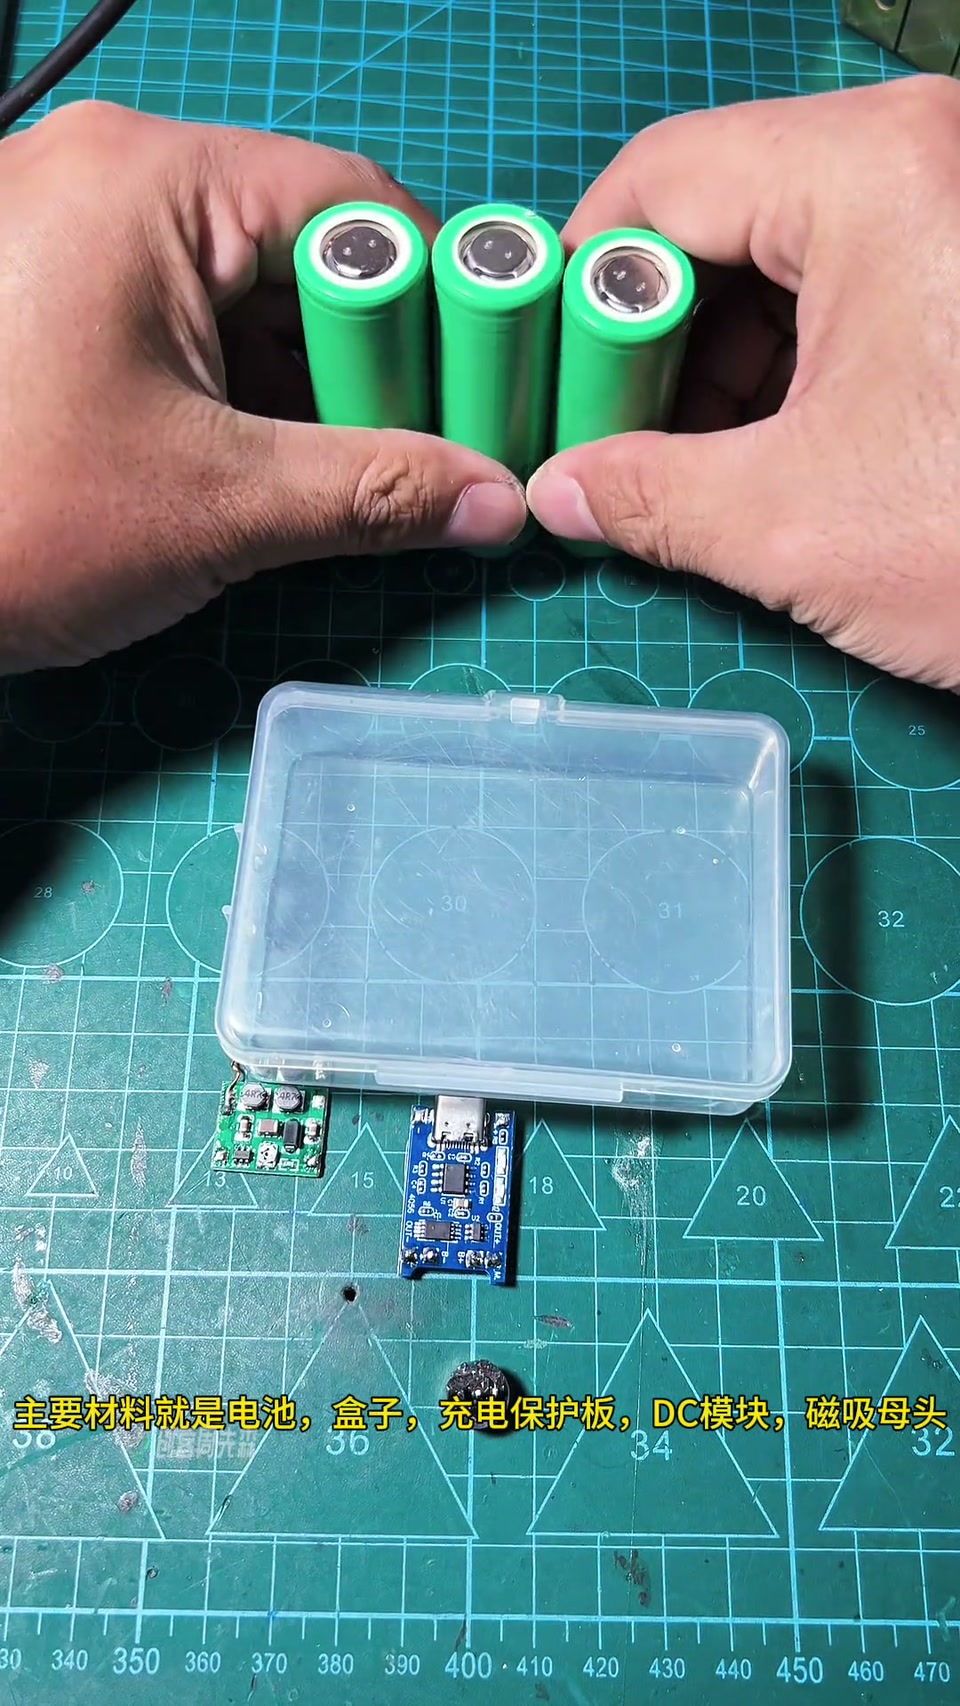
Maker Zhou Xiansheng’s step-by-step universal magnetic base guide (3325 likes): cells + box + charge/protection board + DC module + magnetic socket; a spare plastic box holds three 18650s, welder puts them in parallel ‘just rattle off the welds’, cut a hole to bring out the Type-C, solder charge board output → DC module input, protection board battery port and DC output, verify charging, glue it in, mark and drill the lid centred, push in the magnetic socket and solder + / −; pair it with whatever lamp you like
Lots of folks wanted the universal magnetic base guide, so this episode does it. Main materials: cells, a box, a charge/protection board, a DC module, a magnetic socket; the box can be wood, metal or even a brick, and the number of cells follows the box size; he picked a spare plastic box (comment: a floss box) that fits exactly three cells (comment: Samsung cells). First use the welder to put the cells in parallel — nothing fancy, just rattle off the welds, check they’re lined up and done; three fit in perfectly. Cut a hole to bring out the charge/protection board’s Type-C port; solder the charge board output leads, the DC module input leads, the protection board battery port and the DC module output leads; finally connect the cells and verify charging works; put the cells, protection board and DC module in the box and glue them down; mark and drill the lid as centred as possible for looks; push the magnetic socket into the hole and solder + and −; done, test the charging once more, perfect; how great is this universal magnetic base — pair it with whatever you want, use whichever lamp you want. 157 comments: why does the cheap 18650 charge/discharge module’s LED stay on (4); what does the DC module output; why is the 4056 double-layered / two input boards (creator: good eyes); Samsung cells are extravagant (a friend gave them); a 3D-printed base would be even better.

 Universal magnetic base build guide — the step-by-step build guide for the universal magnetic base is hereProjectsMaker Zhou