How to build a 12V outdoor-power Li-ion pack from 18650 cells


Creator’s own settings as stated in the video (timestamps link to the moment). Not official values — test on scrap first.
Bill of materials
Welder, accessories, consumables and parts used in this build; quantities and specs are editable Download BOMDescription
The pesticide sprayer’s battery was drained dead, so a 12V 3S3P Li-ion pack is built from 9 HIGHSTAR 18650 2500mAh cells (4.2V, internal resistance 15.7–16): AWithZ U3 (nameplate 4.2V/650A, 11000mAh, 80 gears, manual trigger, doubles as a power bank) — the nickel strip tears before the weld lets go; BMS soldered in order, 4.2/8.4/12.6V check out, leads soldered to the terminals, sealed with glue, the sprayer pumps water again
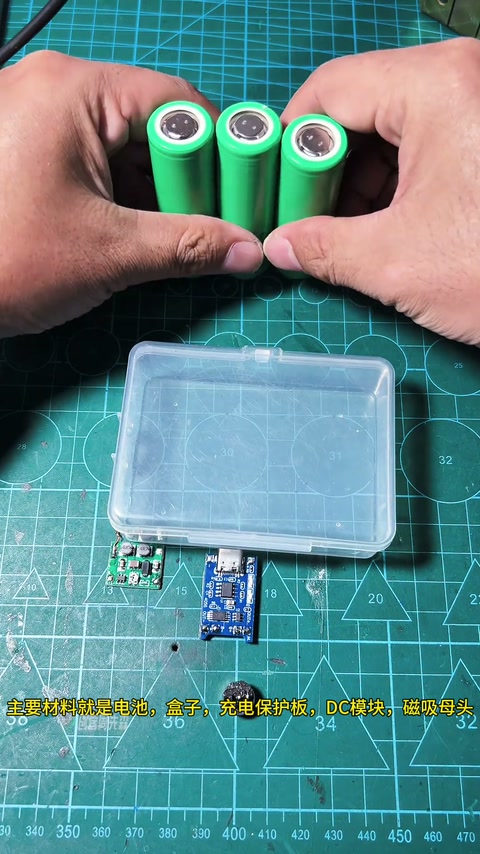
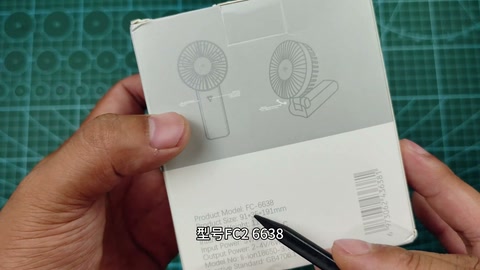
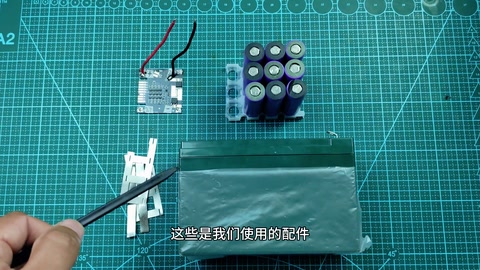
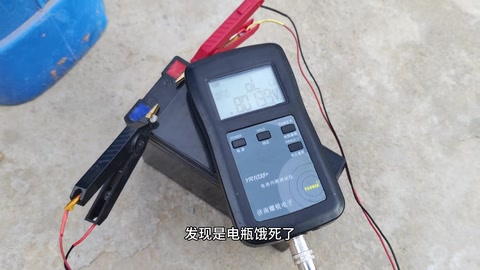
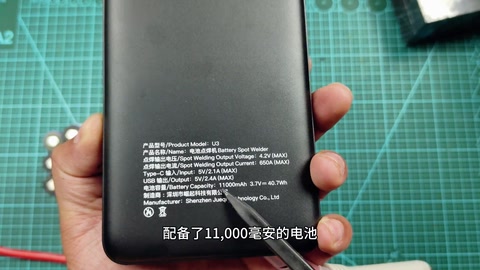
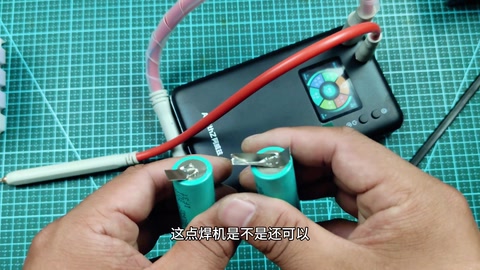
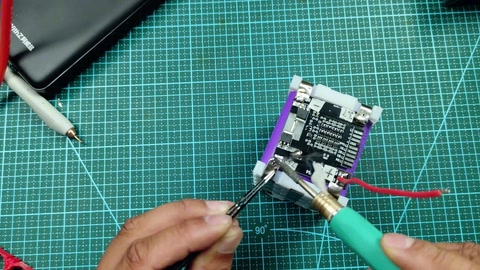
A friend brought over a faulty pesticide sprayer; a check showed the battery had been drained dead, so a new Li-ion pack is made. Parts: battery box, connecting nickel strip, BMS, 18650 cells — HIGHSTAR ISR18650-2500 cells, 2500mAh; measured 4.2V, internal resistance 15.7/16, consistency is decent. The welder is an AWithZ U3 (nameplate: spot-weld output voltage 4.2V MAX, output current 650A MAX, Type-C input 5V/2.1A, USB output 5V/2.4A, battery 11000mAh 3.7V 40.7Wh, manufacturer Shenzhen Juequi Technology), only palm-sized, 11000mAh battery, 2-inch HD screen, 80 adjustable gears, manual trigger button; not just a spot welder but also a power bank. Weld strength test: the nickel strip tore and the weld still didn’t let go. The pack is 12V, three in series, three in parallel; the BMS is soldered to the cells in order; 4.2V, 8.4V and 12.6V all check out, so the welds are fine; the pack’s positive and negative leads are soldered to the terminals on the housing; the housing is sealed with glue; fitted, switch on, water comes out — perfect repair. Comments: it’s a sprayer, not a spray (liked by the creator); a 3S2P with a BMS gave no output even after swapping several boards; 9 cells isn’t enough; swap the original lead-acid for Li-ion and one charge on the lead-acid charger and “uh-oh”.
Outcome
| Goal | Build a 12V Li-ion pack for a pesticide sprayer whose battery was drained dead |
| Build | 3S3P HIGHSTAR 18650 2500mAh + BMS + original battery box |
| Result | 12.6V correct, fitted and the sprayer pumps water · verified on camera: 125–139s group voltages 4.2/8.4/12.6V; 150–163s fitted and pumping water |
Steps6 steps · click a frame to jump
 1. Diagnosis: the sprayer battery was drained dead
A faulty pesticide sprayer; the check shows the battery was drained dead, so a new Li-ion pack is made.
00:04 – 00:15 2. Parts and cells: HIGHSTAR 2500mAh, 4.2V, internal resistance 15.7–16
Battery box, connecting nickel strip, BMS, 18650s; HIGHSTAR cells 2500mAh; measured 4.2V, internal resistance 15.7/16, consistency is decent.
00:19 – 00:46 3. AWithZ U3: nameplate, 11000mAh, 2-inch screen, 80 gears, manual trigger, power bank
The welder is an AWithZ U3; nameplate 4.2V/650A MAX, Type-C 5V2.1A in, USB 5V2.4A out, 11000mAh; palm-sized; 2-inch HD screen; 80 gears; manual trigger button; also a power bank.
00:46 – 01:14 4. Strength test: nickel strip tears, weld holds; 12V 3S3P
Weld strength — the nickel strip tore and the weld still didn’t let go; this pack is 12V, three in series, three in parallel.
01:14 – 01:28 5. Solder the BMS; verify group voltages 4.2/8.4/12.6V
The BMS is soldered to the cells in order; 4.2V, 8.4V and 12.6V all check out, so the welds are fine.
01:33 – 02:19 6. Solder the terminals, seal with glue, fit and pump water
Solder the pack’s positive and negative leads to the housing terminals; seal the housing with glue; fit it, switch on, water comes out — perfect repair.
02:19 – 02:47
Bill of materials
| HIGHSTAR 18650 ×9 | ISR18650-2500 · 3S3P |
| Battery box / nickel strip / BMS | Assembly |
| AWithZ U3 spot welder ×1 | 650A MAX, 11000mAh, 80 gears · Spot welding |
| Internal-resistance meter YR1035+ ×1 | Test the cells |
| Multimeter ×1 | Verify group voltages |
| Glue | Seal the housing |
Measured on camera
| Cell voltage | 4.2 V 00:32 |
| Cell internal resistance | 15.7 / 16 mΩ 00:32 |
| Series-group voltage | 4.2 / 8.4 / 12.6 V 02:05 |
Creator’s tips
- Measure cell voltage and internal resistance first to check consistency 00:32
- Solder the BMS in order; afterwards check 4.2/8.4/12.6V group by group 01:44
- Tear the nickel strip and see whether the weld lets go to judge strength 01:18
Pitfalls
- Comment: a 3S2P with a BMS gave no output, same after swapping several boards
- Comment: after swapping lead-acid for Li-ion, users may keep using the lead-acid charger
Li-ion safety
- A lead-acid to Li-ion conversion needs a matching Li-ion charger, otherwise the lead-acid charger overcharges (comment)