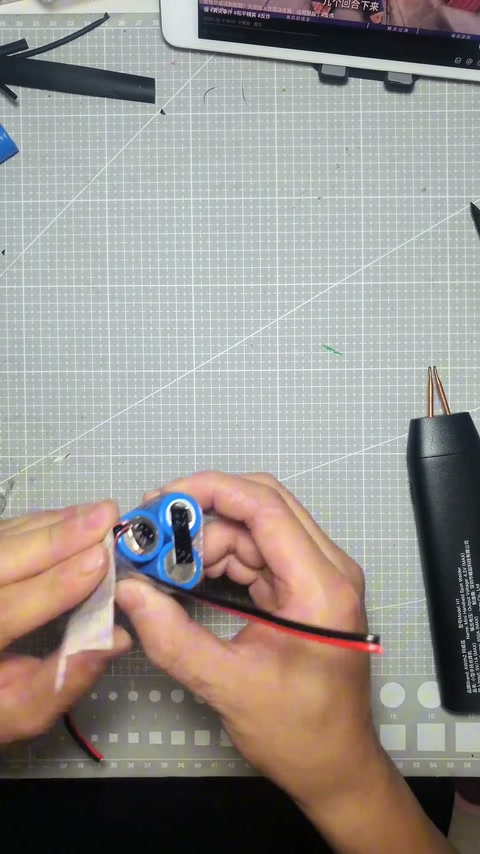
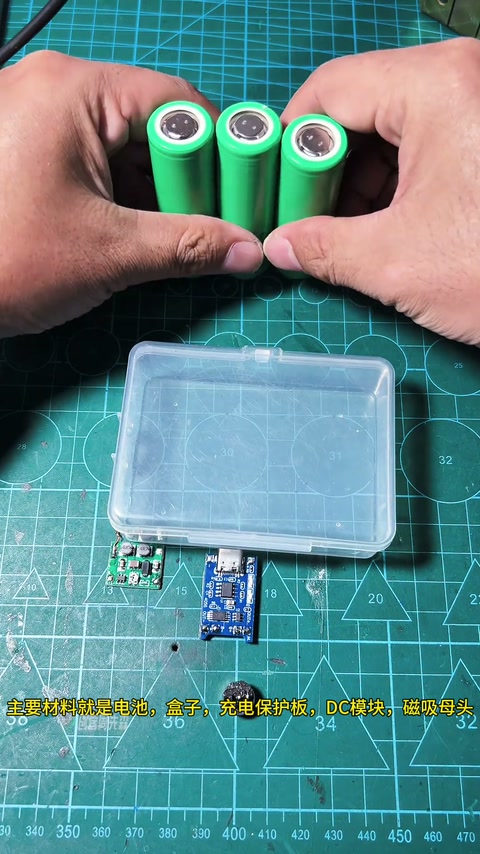
Ep. 61 | Last time a friend asked for one made from 18650s — today we build it; the full build is in the video, please watch patiently


Creator’s own settings as stated in the video (timestamps link to the moment). Not official values — test on scrap first.
Bill of materials
Welder, accessories, consumables and parts used in this build; quantities and specs are editable Download BOMDescription
Maker Zhou Xiansen builds a night light from 18650s: first an intro to the AWithZ U3 handheld welder he received (power-bank sized, USB output, 80 gears, manual / auto), then manual-mode spot welds of nickel tabs onto the 18650, a copper-wire ring for the lamp frame, LED filament, potentiometer module and USB charging module — an immersive, no-narration build
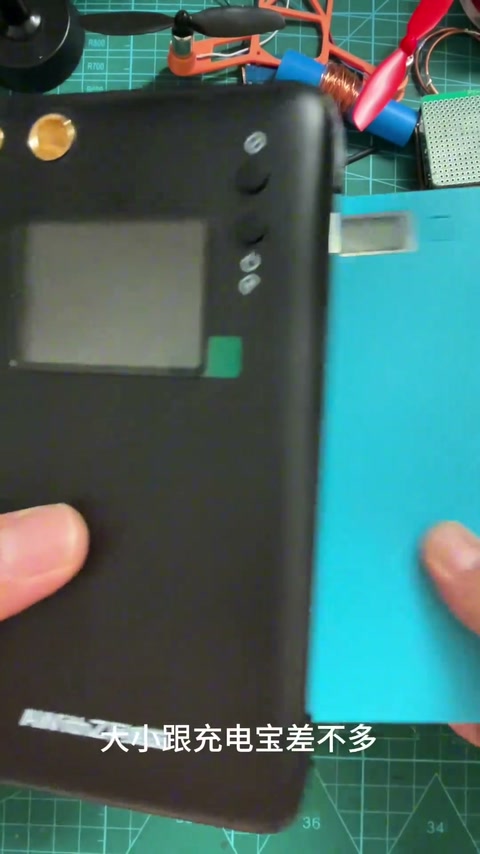
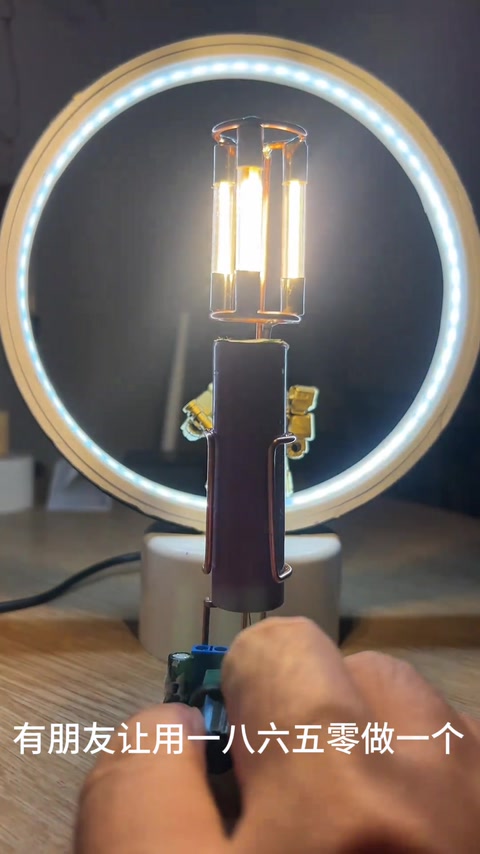
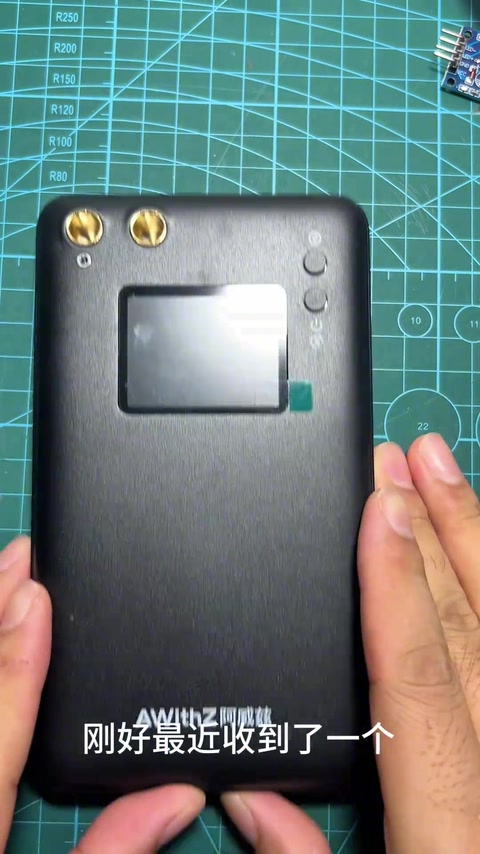
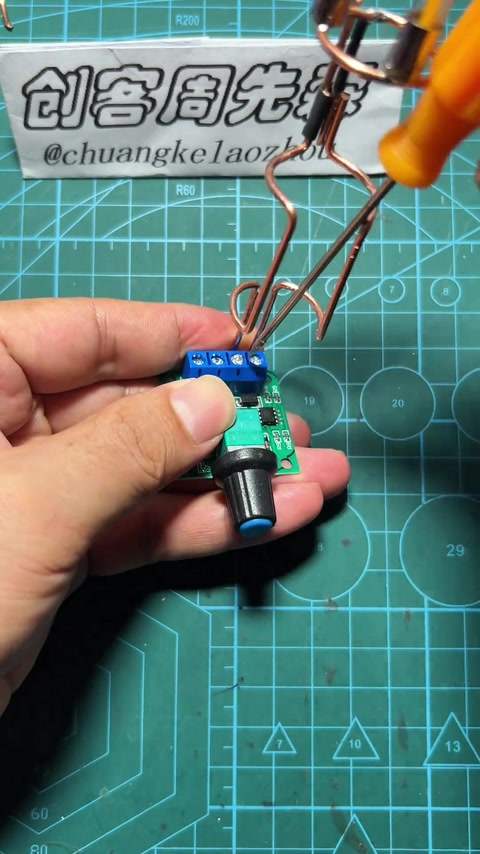
A friend asked for a night light made from 18650s. First an intro to the AWithZ U3 handheld welder he recently received: very compact, about the size of a power bank, with a USB output that can charge a phone; the weld strength gear is set by material, and 80 gears cover every need; supports manual or auto spot welding — in manual mode a press of the pen button fires the weld, and the result is excellent (demoed by welding a nickel tab on a cell’s negative end). Then an immersive no-narration build: nickel tab leads spot-welded onto purple 18650 cells, copper wire wound into a ring as the lampshade frame, LED filament and posts soldered, potentiometer / charging module and USB socket, several 18650s spot-welded side by side as the lamp base; the finished piece is a retro filament-style table lamp. Comments ask what the lamp-tube part is called, which control module to use, where the battery connects (couldn’t tell), what about charging, how thick the copper is; some say “toy welder” or “third-hand welder?”; a suggestion that with a housing it could be sold.
Outcome
| Goal | Build a creative night light from 18650s |
| Build | 18650 cells + copper-wire frame + LED filament + potentiometer / charging module |
| Result | Finished table lamp lit (shown at the opening) · verified on camera: 0–4s shot of the finished lamp lit |
Steps5 steps · click a frame to jump
 1. Preview of the result; the AWithZ U3 handheld welder arrives
A friend asked for one made from 18650s, and today it’s here; an AWithZ U3 handheld welder happened to arrive too — very compact, about the size of a power bank.
00:00 – 00:13 2. U3 features: USB output, 80 gears, manual / auto
USB output can charge a phone; the weld strength gear is set by material, 80 gears; supports manual or auto spot welding; in manual mode a press of the pen button completes the weld.
00:14 – 00:36 3. Excellent welds; into the immersive build
The spot welds are excellent (nickel tab on the cell); an immersive look at the full build — follow along if you’re interested.
00:36 – 00:49 4. Copper wire wound into the frame, leads welded to the cells (on camera)
On camera: nickel tab leads spot-welded onto a purple 18650; copper wire wound into a ring, posts and filament soldered; potentiometer module.
00:49 – 01:19 5. Several 18650s as the base, modules fitted, finished (on camera)
On camera: several 18650s spot-welded side by side as the base, USB socket / charging module, potentiometer, filament set into the copper-ring shade.
01:19 – 01:44
Bill of materials
| AWithZ U3 handheld welder ×1 | 80 gears, manual / auto, USB output · Spot welding |
| 18650 cells | Power / lamp base |
| Copper wire | Frame and shade |
| LED filament | Light source |
| Potentiometer / charging module / USB socket | Control and charging |
| Soldering iron / pliers | Soldering and shaping |
Creator’s tips
- In manual mode the pen button fires the weld, which makes it easy to position small parts 00:30
Pitfalls
- Comments: couldn’t see where the battery connects, what about charging — the no-narration build leaves details unclear