Me
#Go viral Share your welding progress, a question or a finished build…
Public Post
 LV5
LV5
Lefeng ‘blowing it up, bro’ round three: the P60F pen is longer than the UF20B’s and not fully enclosed (has a gap), so while welding the main negative it touched a positive / another strip — bang, two shorts, blackened pen, cable ripped off; nickel strip edges cut his hand; the 50A copper lugs for main +/− were too thick, so switched to screw terminals with heat-shrink; the positive red lead must never be swapped; remedy: high-temperature glue + cutting paper + fireproof board over the pen gap, main +/− sealed with 704 silicone, fiber tape, then solder the sense harness; comments: sleeve the pen in nylon braid / polyimide film, same pen blew through a 50 mm² welding cable
Straight short, ‘blew it up, bro’, cotton swab from the bag to wipe his hand — just got cut by the nickel strip again, the welding pen touched the strip and blew twice; the corner of the strip went in and it ‘burst like tomato juice’, this build really wrecks your hands. The 50A copper lug connected and a dab of solder on it; meant to spot-weld it onto the copper plate but found the lug too thick, so back to the old way, screw it, heat-shrink over it, onto the copper plate, then spot-weld to the main positive and negative; when soldering the leads the positive must go to the red positive, get it wrong and it blows up again. Nearly blew it up again just now: welding the main negative, this pen isn’t fully wrapped, it has a gap, the gap touched a positive, bang, the cable was ripped straight off, terrifying, the cable feels unsafely designed — not fully enclosed, and yes enclosing it hurts cooling, but I keep touching other things, clip another strip and it blows; same recipe as before: high-temperature glue, then cutting paper, then a layer of fireproof board on top, this corner is the blackened spot; the short blew right at the pen; this time the main +/− get sealed with 704 silicone first, then a few turns of fiber tape and the sense harness can be soldered. Comments (116): sleeve the pen in nylon braided mesh (noted); my pen is identical and it blew straight through the 50 mm² welding cable, only a few strands left (that bad?); wrap it in polyimide film; no BMS? not on LiFePO4?; solder the main +/− straight onto the copper plate (I prefer screws); safety first (scared stiff); running deliveries in Changsha.
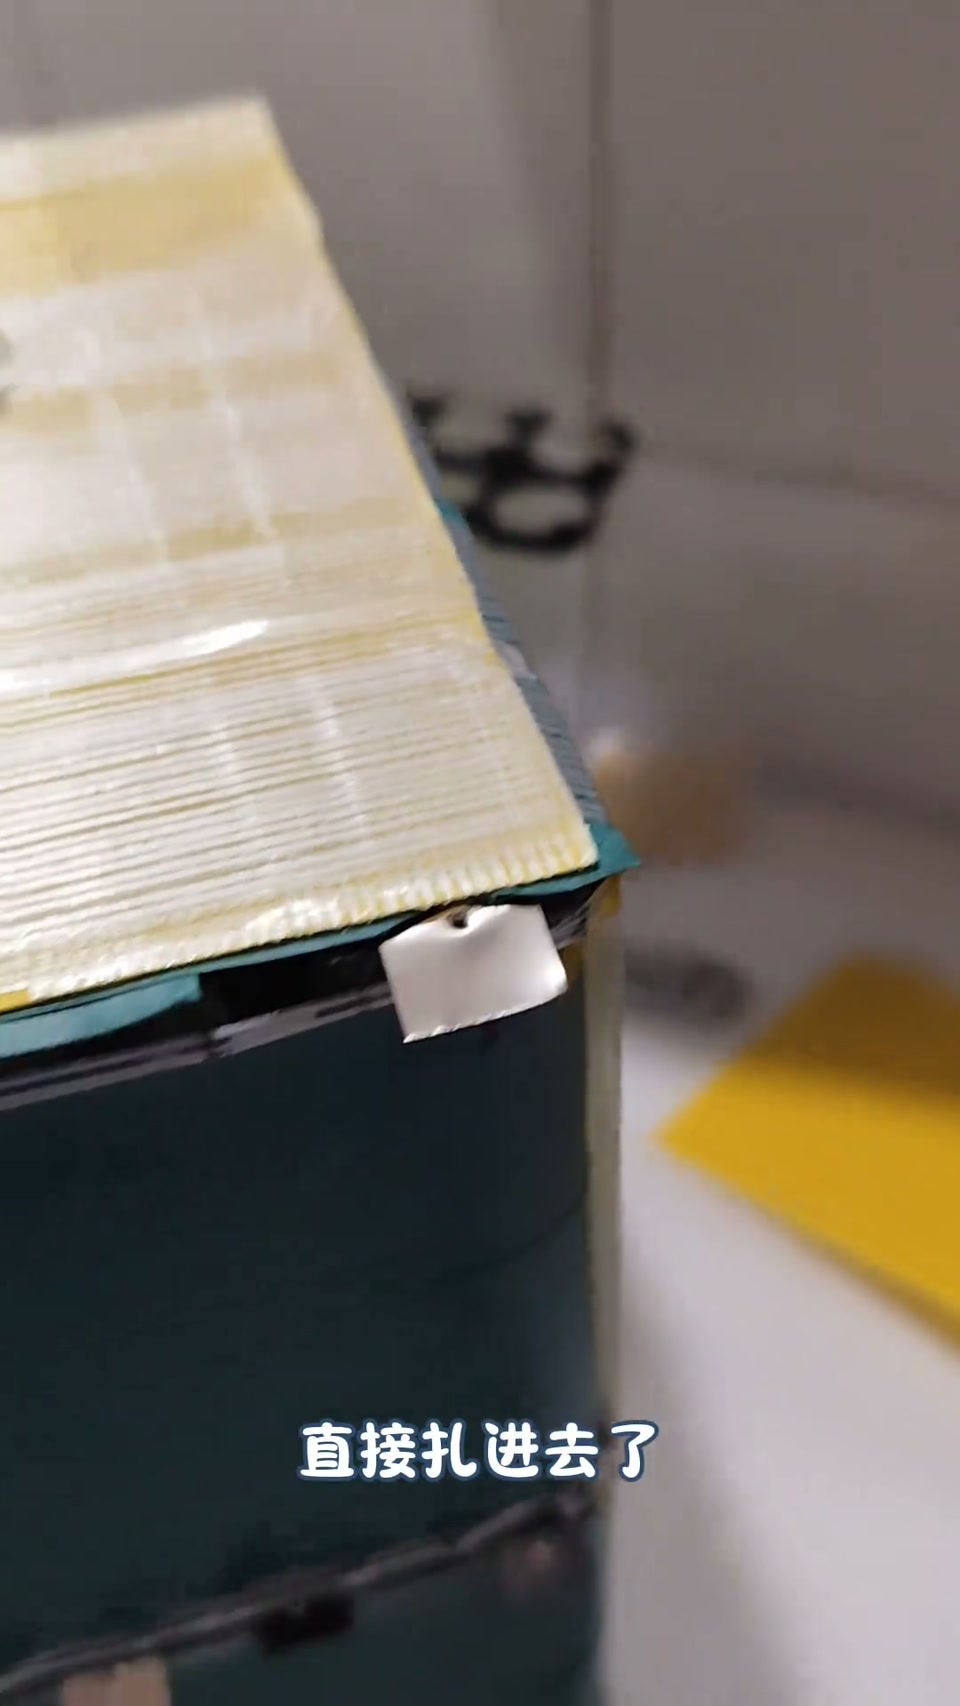

 Back then I was a newborn calf that feared no tiger and nothing ever went wrong; now on the third build I keep ‘blowing it up, bro’ — mainly my own carelessness, but this AWithZ P60F welding pen is longer than the old UF20B one, which gave me two shorts and blackened the pen; if I use it again I’ll wrap it in high-temperature tape, whether it needs cooling or notProjectsCrazyFun
LV5
Back then I was a newborn calf that feared no tiger and nothing ever went wrong; now on the third build I keep ‘blowing it up, bro’ — mainly my own carelessness, but this AWithZ P60F welding pen is longer than the old UF20B one, which gave me two shorts and blackened the pen; if I use it again I’ll wrap it in high-temperature tape, whether it needs cooling or notProjectsCrazyFun
LV5
Lefeng’s 20S Jiashikai 32140 (6045) big pack, ‘don’t get blown up’ chapter: mark the series positions after the fish paper; punch the 0.2×50 copper strip, thread the wire, solder, then seal with glue; the 1–20 link order and its flip-side match; P60F at gear 587 (of 999), copper strip under, nickel strip on top; repeated warnings that a wrong link on the other face is a short that blows you up — have respect; continuous welding makes the pen hot, 11 pieces done then off to deliver orders
A detail lesson for beginners. After the fish paper is on, always write the series-group number at each position, so the connection order lines up. Mark and cut the 0.2 copper strip (it’s quite heavy), punch holes in it: when soldering, twist the wire into the hole first, then add just a touch of solder, then seal with a dab of glue. Connection logic: on the first face join 1 to 2, 3 to 4, 5 to 6… up to 10; on the underside the matching positions are 4–5, 5–6, 6–7, 7–8, 8–9, 9–10; group 10 gets a long strip across to the far side; flip over and do 11–20 the same way. Someone said laying that piece on top is dangerous — it isn’t dangerous right now because the underside isn’t connected yet; once the underside is connected, laying it like that will spark. Join it cluster by cluster: finish this side, flip, then join the matching face — never connect the wrong ones, a wrong connection is a short that blows you up, bro. Settings: AWithZ P60F, gear 587, settled after a lot of trial runs; it tests your technique: copper strip underneath, nickel strip stacked on top, then weld; trim the surplus corners. When you flip, the two cells joined underneath on this side must not be joined again on top, or it shorts; group 20 is effectively the main positive; laying four like this is fine, laying six like that shorts; you must have respect for it — getting blown up is truly terrifying, no joke. Partway through, lift the strip now and then to check the welds are solid — the gear has been tuned countless times but still check. Continuous welding makes the pen hot; 4 pieces on that side, 8 on this side, then 3 more — 11 pieces — off to the evening rush to deliver orders, more when there’s time. Comments: is it Jiashikai 32140 (Jiashikai); copper strip 0.2×40? (0.2×50); can the UF20B stack 0.2 copper (no; with a nickel base it can stack 0.1–0.15 copper); building a 6045? (yes); which gear? (P60F has 999 gears, I use around 600); everyone says AWithZ is junk, is it true; when will you upgrade to laser welding.


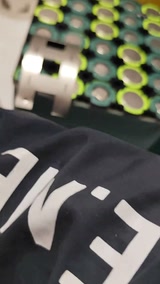 This lesson is all detail for beginners — the chapter of the hand-built Li-ion course that keeps you from getting blown up, bro! Old hands, now it’s your turn to roast meProjectsCrazyFun
Who to followRefresh


 LV5
LV5
Lefeng heads home for National Day with gear (multimeter, AWithZ U3, cells bought online, iron, nickel strip) and opens a 10,000mAh power bank at home: 3 of the 5 cells are fakes with no voltage — ‘fake Li-ion cells have a long history’; removes them, keeps 2 good cells, adds new ones in parallel; tape for insulation; U3 set to gear 5 (screen shows 3.2) welding 0.15 nickel-plated stacked with 0.1; a nickel-strip short blisters his hand; assembled, charges a phone, shell glued
Opens with a burnt hand by accident; looking at the delivery-order numbers these days, no more grind — home for National Day, with gear: multimeter, AWithZ spot welder, the ‘fake’ cells bought online (a joke), a small soldering iron, solder wire, the bought cells, nickel strip; also found a power bank at home (3.7V 10,000mAh) and opened it — of the five cells, three are different and not connected together, two are connected; turns out those three are fake Li-ion cells, ‘fake Li-ion cells have such a long history’; measured no voltage on the three, removed them with the iron; red +, black −; the good ones and the new cells go in parallel and back in; nickel-strip leftovers, only this tape at home for insulation. At the key moment out comes the AWithZ spot welder, because it’s small and light — bringing the big welder home would be too heavy and a hassle; screen shows gear 3.2, ‘set it to about 5’; 0.15 nickel-plated steel strip is a lot thicker, a layer of 0.1 stacked on top; welded, + and − soldered with the iron; (BGM) hand straight-up burnt with a blister; power bank assembled, charge the phone as a test before fitting the shell; shell glued on. Comments: the pulse is too long, it’s arcing (so that’s it, thanks); get an internal-resistance tester and match cells, it’ll last longer (coming later); a nickel-strip short did it (stay safe); can it still be saved (isn’t that what you’re doing); put those two in as well (they’ve been around too long, no good).
 Once you’ve mastered hand-building Li-ion packs you’ll never buy a power bank again — all the old power banks at home can be re-celled! HahaProjectsCrazyFun
 LV3
LV3
Building a 16.8V screwdriver drill pack (4 cells in series): lay out the cells to match the BMS, spot-weld + and − with an AWithZ H2, trim and tin the nickel strip, fish-paper insulation, solder the BMS and the two bottom leads, foam, into the case, sticker, test
Jidian Yanjiusuo (Electromechanical Lab) builds a 16.8V screwdriver drill pack. The BMS negative is at the top-left, so the cells are laid out in the BMS’s order; spot-welded with an AWithZ H2 (screen reads 25°C), the excess nickel strip trimmed off, negative and positive welded; the cells are tinned; a small piece of nickel strip is welded on to make soldering the leads easier; fish paper stuck on; the BMS + and − soldered; the two leads at the bottom of the pack soldered; foam stuck on; into the case for a test, a ‘high-power power Li-ion battery, charge once every two months’ sticker applied, test fine, done. Comments ask which welder / how much the welding pen costs, whether the nickel strip is 0.1 and too thin, whether four cells in series is enough capacity; one suggests just welding on a small piece of nickel without tinning.

 16.8V screwdriver drill battery packProjectsMechatronics Lab
LV3
16.8V screwdriver drill battery packProjectsMechatronics Lab
LV3
8 × Lishen 21700 pulled from floor washers (IR 9–10) as a new battery for a soldering iron: waterproof box is a fixed size so no holder, cells hot-glued, AWithZ H2 spot-welds the nickel strip, 14.43V after welding, BMS not arrived yet so only the + / − leads are soldered on
The soldering iron hasn’t been lasting lately, so a new battery from 8 × 21700 — Lishen cells pulled from floor washers and the like, IR around 9–10. Using the AWithZ H2 handheld spot welder; the strip cut in advance wasn’t enough, so more is cut; no holder, because the waterproof box is a fixed size and with a holder a battery this big wouldn’t fit, so the cells are hot-glued instead. Welding done, pack voltage measures 14.43V; old battery removed; the new BMS hasn’t arrived so it isn’t fitted yet, just solder on the two + / − leads. Comments ask whether the IR meter is any good and for a store link, and why not use fibre tape for a sturdier build.
 New battery for a soldering ironProjectsMechatronics Lab
LV3
New battery for a soldering ironProjectsMechatronics Lab
LV3
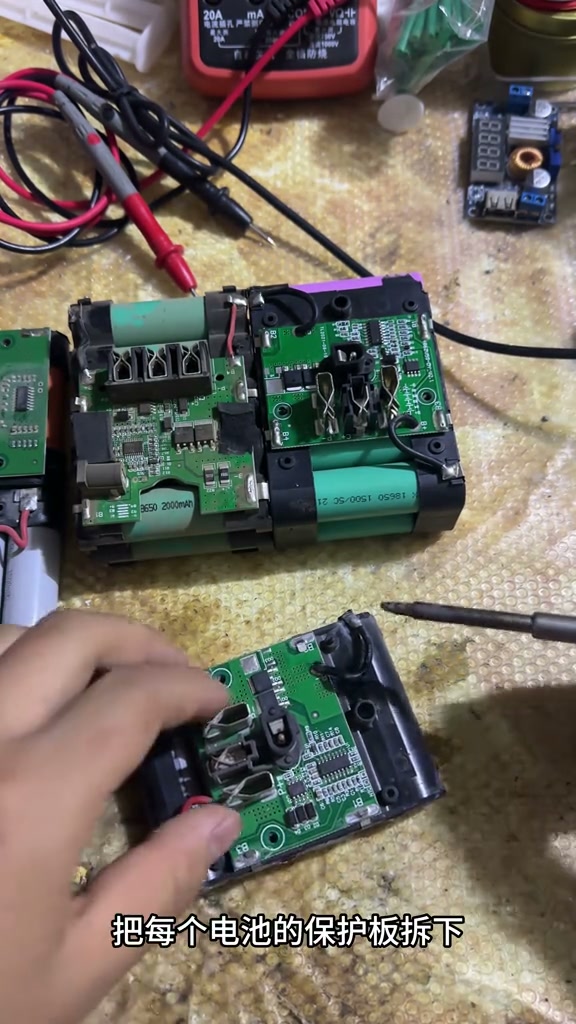
Helping a friend strip a pile of power-tool batteries from the scrapyard into cells (18650 1500mAh 5C) for a high-capacity 12V pack: remove the BMS (tin the iron, lift with both hands), peel the strip (shorts and sparks very easily — sparks twice on camera), grind the weld spots off with an angle grinder, IR-test every cell; the newly arrived AWithZ H2 handheld welding pen tacks the ends first then welds everything, 0.12 strip is easy; 3S BMS with B+ and four wires, output 11.77V; insulation must be done properly or it sparks; ran out of heat-shrink so no shrink wrap
A friend picked up a lot of power-tool batteries at the scrapyard and wants them made into 12V. Remove the BMS from each battery: undo two screws, a little solder on the iron tip, lift with both hands and it comes off; do the same on all of them (cells marked 18650 1500mAh/5C); peel the nickel strip off one by one — careful not to short, this step shorts and sparks extremely easily, one slip and it looks like this (sparks on screen); wipe every cell clean, grind the weld spots off with an angle grinder so they weld well; IR-test each cell’s voltage and IR with the IR meter; pre-cut the strip plus the two main + / − strips. The AWithZ H2 handheld welding pen arrived today, give it a try — long-press the bottom to power on; tack the two ends of the pack first, then weld the whole thing, the welds look very good, 0.12 strip is easy. B+ on the BMS to the positive, held with insulating tape, four wires soldered on; BMS output measures 11.77V, OK; solder the output leads; everyone, do the insulation properly or it will spark; the blue heat-shrink ran out so no shrink wrap. Comments: ‘professional or not, shorted twice’; what use are old batteries; mine is 48V.
 Li-ion pack assembly, AWithZ spot welderProjectsMechatronics Lab