Appliance repair ep. 260: vacuum cleaner battery replacement


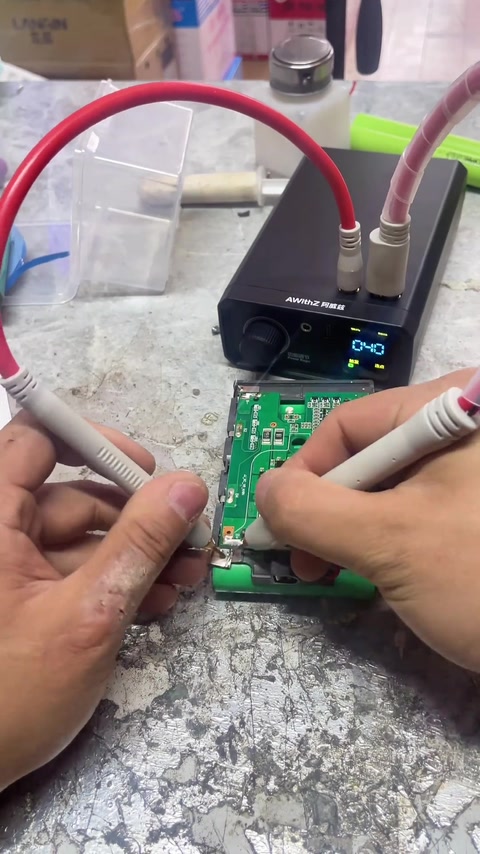

Creator’s own settings as stated in the video (timestamps link to the moment). Not official values — test on scrap first.
Bill of materials
Welder, accessories, consumables and parts used in this build; quantities and specs are editable Download BOMDescription
Repairman Li, ep. 260: a follower sends in a Dyson-style vacuum battery + 6 × 18650 he bought himself (6S); the old nickel is cut leaving the board connections, cells laid + / − and stuck down with double-sided tape, fish paper rings on, AWithZ welder at power 67 sparks too much → 40 is just right, ‘a few extra welds for strength’, main + and − to the board, fish paper insulation, back in with four screws, charge to wake it and it starts; comments: not the original board or it would be locked; no need for rings on the negative
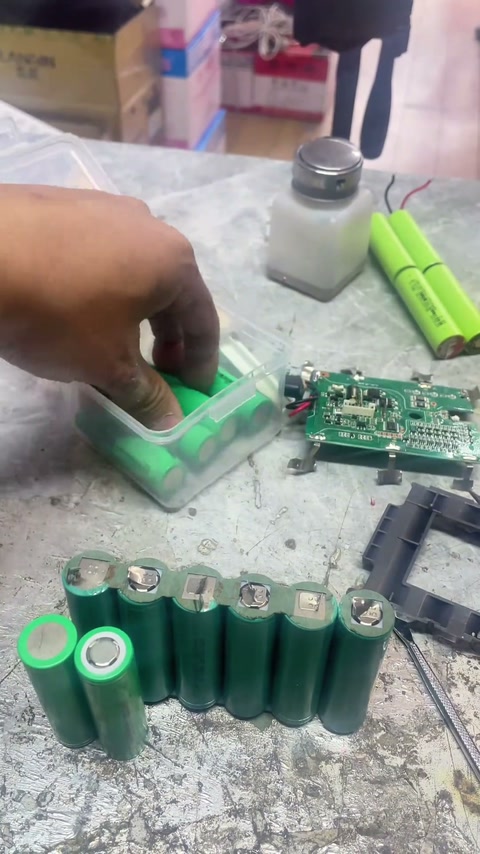
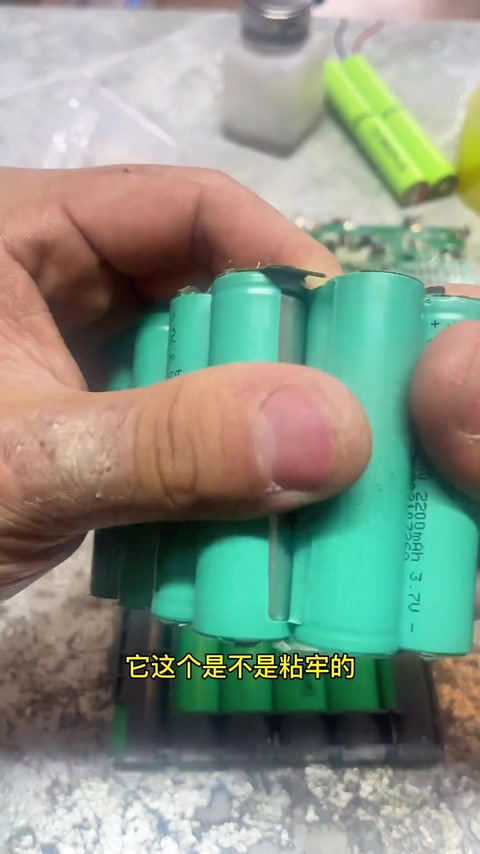
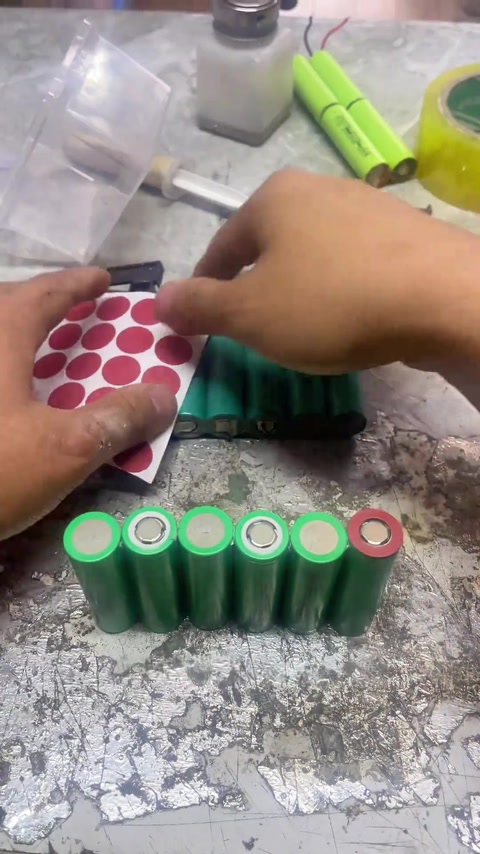
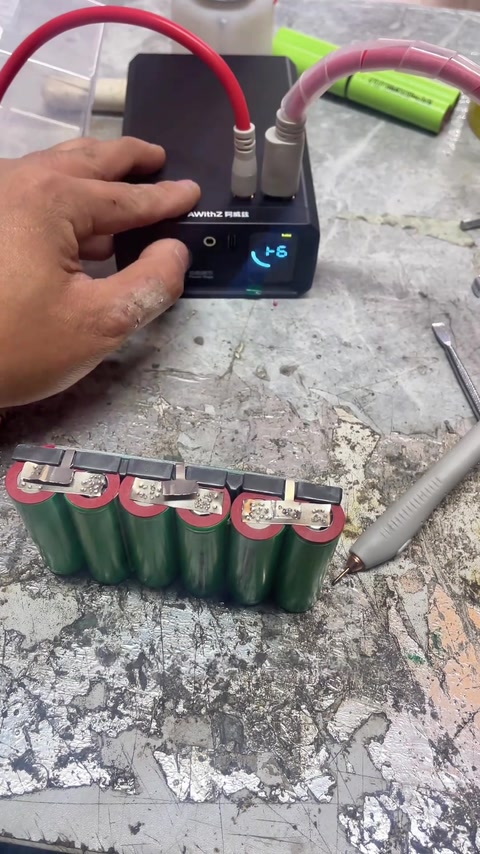
Self-taught repair, ep. 260: a follower brought a vacuum cleaner battery for reassembly, the cells were done and he bought 6 himself. Cut off all the leads and nickel, but not from here — that part stays, there’s no matching part and it still has to be welded again; new cells laid + − + −; they need double-sided tape or they keep shifting, the original had glue too; + and − stuck down; a fish paper ring on every one; cut nickel, one, two, three is enough; ‘soldering iron’ — no, a spot welder, went with the high-power AWithZ and just go hard; power turned up a bit to 67, fine; one weld done, beautiful; he likes a few extra welds so it can’t come loose, two or three would really do; these two are the main − and main +, the rest you weld without thinking; don’t weld those two yet, put it in the case and look first; weld the board legs on directly without removing them; power is a bit high, can’t run it high or it burns through underneath, down to 40 and try again, fine; some welds crooked; weld the remaining + and −; cut the nickel shorter; really, 40 was enough, turned it up too far before, ‘too young, life hasn’t beaten me yet’; at this power the welds are just right, it kept sparking before; assemble, connect the NTC/B2 board and weld; nickel a bit wide, trim; success, beautiful; fish paper insulation, both sides in one go; back in — he took it apart himself and doesn’t know how it goes; + and − leads must not be swapped, swap them and it’s dead, M+ is red; 4 screws; charge to wake it, shows charging; unplug and it starts; a video for the customer, nailed it. 35 comments: always cheerful (6); no need for rings on the negative (3); not the original Dyson board or it would have locked long ago (2); got one backwards again (2); can batteries be posted; how much; how much is the welder; six in series 25V; the insulation is secondary, mostly to hide the mess.
Outcome
| Goal | Re-cell a vacuum cleaner’s 6S 18650 battery |
| Build | AWithZ UK1 + 6 × 18650 + original BMS (NTC/B2) |
| Result | Back in the case, woken by charging, starts up · verified on camera: 612–635s shows charging, unplugged it starts |
Steps10 steps · click a frame to jump
 1. Background; cut off the old leads and nickel but keep the board connections
A follower’s vacuum battery, 6 cells bought himself; cut off all the leads and nickel; not from here, this part stays (no matching part, it has to be welded again); take everything off, cells left.
00:00 – 00:54 2. New cells laid + − + −; double-sided tape; check + and −
How the new cells go: first one positive, then negative positive, negative positive, negative positive; double-sided tape or they keep shifting, the original had glue too; stick a negative next to a positive; check it’s right; stuck down.
00:57 – 02:46 3. Fish paper ring on every cell; cut three pieces of nickel
The fish paper rings bought earlier go on every cell, beautiful; confirm the groups; cut nickel, one, two, three is enough.
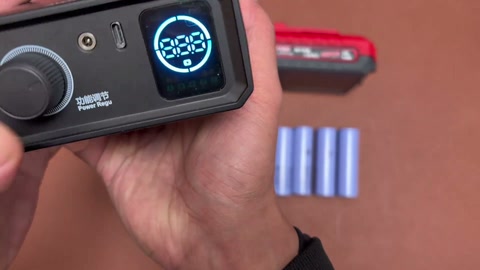
02:46 – 03:33 4. High-power AWithZ welder, just go hard; power 67; he likes a few extra welds for strength
Not a soldering iron, a spot welder — the high-power AWithZ, just go hard; the nickel is a bit long; power turned up a bit to 67, fine; one weld done, beautiful; he likes a few extra welds so it can’t come loose, two or three already hold, more welds add strength.
03:33 – 04:52 5. Find the main + and −; don’t weld those two yet, put it in the case and look; weld the legs on directly
These two are the main − and main +; the rest are joined, weld without thinking; don’t weld the main + yet, put it in and look first; weld it on like this without removing the legs, three welds should do.
04:52 – 05:54 6. Too much power burns through underneath → 40 is just right; some crooked; other side
Power is a bit high, can’t run it high or it burns through underneath; down to 40 and try again, fine; some cells welded crooked; this side OK, do the other side; + and − left.
06:00 – 06:37 7. Weld the main + and −; cut the nickel shorter; 40 is enough, too much before and it kept sparking
Main − and main +; the nickel needs cutting shorter; really, 40 is enough, turned it up too far before, ‘too young’; at this power the welds are just right, it kept sparking before; OK, assemble, connect the NTC/B2 board.
06:43 – 07:38 8. Weld the board legs on; trim the wide nickel; fish paper both sides
Weld the board legs on like this and test, holds; the nickel is a bit thick and too wide, trim it; basically a success, beautiful; insulate, fish paper both sides in one go; fit the other parts.
07:38 – 08:50 9. Back in: don’t swap + and −, M+ is red; 4 screws
He took it apart himself and doesn’t know how it goes; the + and − leads must not be swapped, swap them and it’s dead; M+ should be red, M− negative; fit the battery and the case; 4 screws, the small one at the front, leave the two big ones for now.
08:52 – 09:57 10. Charge to wake it, shows charging; unplug, it starts; a video for the customer
Charge first to wake it and see if it works, all or nothing; plugged in, shows charging; unplugged, it starts; a video for the customer, nailed it.
09:57 – 10:44
Bill of materials
| AWithZ welder (UK1) ×1 | Power 40 is enough · Spot welding |
| 18650 cells ×6 | Bought by the follower · 6S re-cell |
| Double-sided tape | Hold the cells |
| Fish paper rings / sheets | Insulation |
| Original BMS ×1 | NTC/B2 · Protection |
Measured on camera
| Welder power setting | 40 06:04 |
Creator’s tips
- When cutting the old nickel, keep the end that connects to the board — with no matching part you’ll have to reuse it 00:28
- Stick the cells down with double-sided tape before welding, or they shift 01:36
- Start low on power: 40 is just right, 67 sparks and can burn through the bottom 06:00
- Don’t weld the main + and − yet; put it in the case and check the positions first 05:05
- Don’t connect the red M+ lead backwards 09:06
Pitfalls
- Too much power keeps sparking and welds come out crooked 06:14
- Comments: not the original board or it would have locked when opened; no need for rings on the negative; got one backwards again
Li-ion safety
- Too much power can burn through the bottom of a cell 06:00
- Swap the + and − leads and it’s dead 09:06
Quotes

Ideas for you
 04:43
04:43 14:18
14:18 Maker Hsu4971770
 16:51
16:51 Rural Abiao4038257861