
A programmer goes home and fixes appliances for the old folks? I’m an embedded automation full-stack developer, and I repair appliances for the elderly in my hometown

Creator’s own settings as stated in the video (timestamps link to the moment). Not official values — test on scrap first.
Bill of materials
Welder, accessories, consumables and parts used in this build; quantities and specs are editable Download BOMDescription
Abiao from the village (an embedded programmer) goes home and fixes appliances for free, vlog (2644 likes): a rice cooker with a loose connection, a hair dryer with burnt switch contacts repaired plus a varistor suggested, a cordless drill’s 5S battery bay re-celled (1500 → 2000mAh with 3C certification, internal resistance 17mΩ and matched, fish paper on, series nickel strips / main + and − / balance leads spot-welded, BMS refitted, red charge light, drill pulls hard), two membrane keyboards merged into one, a hair dryer plug replaced; comments: five cells out of his own pocket, he lost his shirt
An embedded automation programmer goes home and fixes appliances for the village elderly for free. 1) Rice cooker: the light flashing on the repair socket means a loose connection, just push it in firmly; boil water to test the response, water temperature rising from 35°C, heating ring at 100-plus, one done. 2) Hair dryer: no response from the switch, so the switch is suspect; two screws out, it has been opened before and the switch tied with string; multimeter on continuity, the switch pressed shows no continuity; the switch clip is broken, inside is a copper leaf + latch + spring, the two contacts on the copper leaf are burnt, and a diode is wired in for the speed change; no such switch on hand, so the burnt parts of the contacts are cleaned and it goes back, fixed with strong glue instead of string; gear one and two latch fine; the original soldering was sloppy — joints must be solid or they arc, and an arc at the grip is dangerous; suggest a varistor in series across the switch input / output; powered up, back to full health. 3) Cordless drill battery bay won’t charge: odd screws, swap the bit; barely charges and the gauge drops on one press, most likely the cells need replacing; 5S, 21V at full charge; when removing the BMS mind the 4 balance leads; clean off the old nickel, keep the holder; originally 1500mAh each, replaced with 5 new 2000mAh cells with 3C certification; measure every cell’s internal resistance before fitting, this batch all around 17mΩ, fine for a Li-ion drill’s power needs; the original had no fish paper but a ring is best, the 18650 shorts most easily right at that ring; in series order, spot-weld the series nickel strips first, then the main + and − strips, last the balance leads; refit the BMS, tin with the iron and solder the balance-lead nickel strips to the board, connect the main + and − last; check for cold joints; fish paper back on, into the battery bay, screws in; the red charge light is normal, the drill pulls hard. 4) Two membrane keyboards merged into one: swap the cable, note the wire order and numbers, the membrane contacts must line up with the board and be pressed with the clamp bar, cable into its slot, add heat-shrink. 5) Hair dryer plug with one long and one short pin: fit a rice-cooker cord, high power so tin the joints to avoid heating, wrap in tape and heat-shrink. Sign-off: night view of the mountain hollow, ‘maybe I can’t make my hometown rich, but I can contribute a little with what I’ve learned’. 260 comments: five cells out of your own pocket, don’t do this kind of job again (3) → creator: lost my shirt; suggest more close-ups (screws, soldering, multimeter readings) → noted; hold the iron by the grip (proper practice); serving the people, down to earth; that workbench is my dream → I’ll make one.
Outcome
| Goal | Free repair of 5 appliances, including re-celling a cordless drill’s 5S battery bay |
| Build | 5 × 18650 2000mAh + original 5S BMS (4 balance leads) + original holder |
| Result | Red charge light normal, drill pulls hard · verified on camera: Charge light and drill test at 320–333s |
Steps11 steps · click a frame to jump
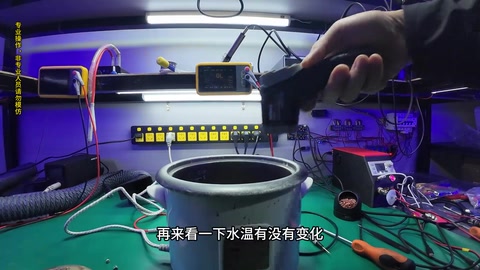
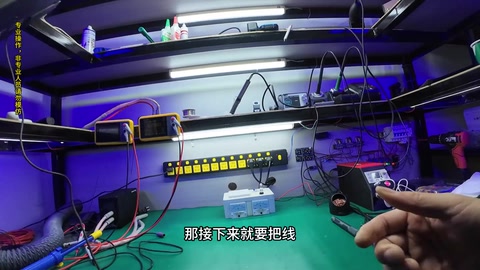
 1. Rice cooker: flashing light on the repair socket = loose connection, push it in; verify with boiling water / temperature / heating ring
Some of the old folks’ appliances are actually fine, they just don’t know how to use them; the light on the repair socket flashing constantly means a loose connection, just push it in firmly; boil water to test the response, water temperature rising from 35°C, heating ring at 100-plus, done.
00:00 – 00:43 2. Hair dryer: switch dead; opened up, tied with string; continuity test shows no contact; clip broken, contacts burnt
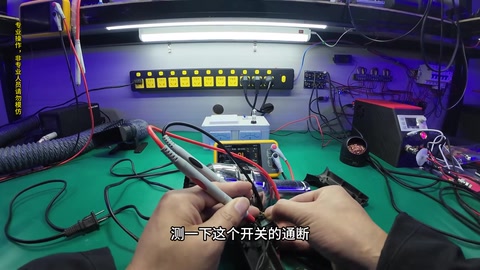
Pressing the switch does nothing at all, so the switch is suspect; two screws out, it has been opened before and the switch tied with string; multimeter on continuity, no continuity when pressed; the switch clip is broken; inside is a copper leaf + latch + spring, the two contacts on the leaf are burnt, with a diode wired in for the speed change.
00:43 – 01:45 3. Clean the contacts and refit, strong glue to hold; solid joints to prevent arcing; suggest a varistor; powered up and revived
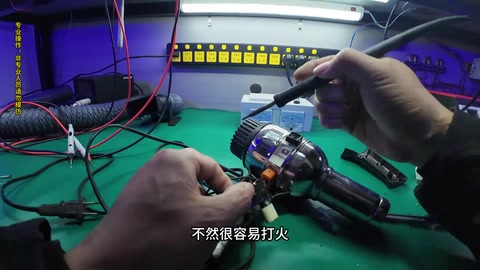
No such switch on hand, so clean the burnt parts of the contacts and refit; strong glue instead of string; gear one and two latch normally; the original soldering was sloppy, joints must be solid or they arc, and an arc at the grip is dangerous; to cut the chance of arcing put a varistor in series at the switch input / output; refit, power up, back to full health.
01:45 – 03:01 4. Cordless drill bay won’t charge: odd screws; cells judged due for replacement; 5S 21V full; mind the 4 balance leads when removing the board; clean old nickel, keep the holder
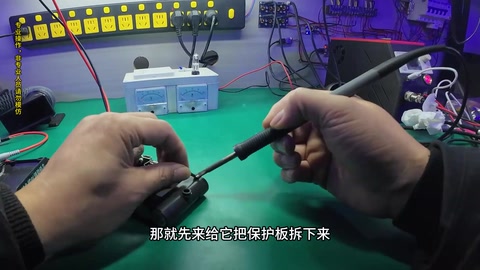
Said not to charge, so straight in; odd screws, swap the bit; barely charges and the gauge drops on one press, most likely the cells need replacing; 5S, 21V at full charge; when removing the BMS take the four balance leads off with it; clean the old nickel off the cells; old cells out, the holder is still useful; originally 1500mAh each.
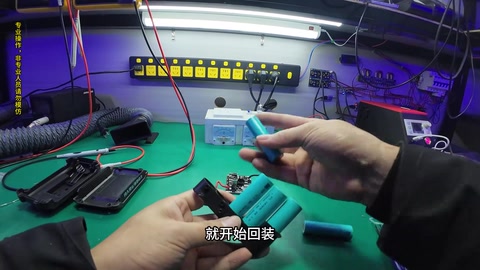
03:01 – 03:42 5. Fit 5 × 2000mAh with 3C; internal resistance about 17mΩ each, matched; fish-paper rings on
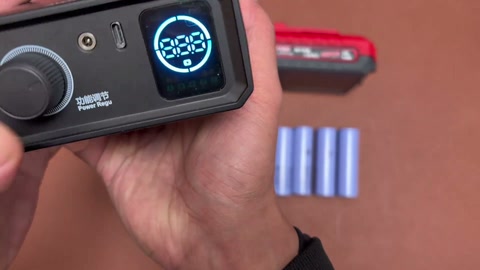
Fit 5 new 2000mAh cells with 3C certification; always measure every cell’s internal resistance before fitting, this batch all around 17mΩ, fine for a Li-ion drill’s power needs; only refit once the resistance matches; the original had no fish paper but a ring is best, the 18650 shorts most easily right at that ring.
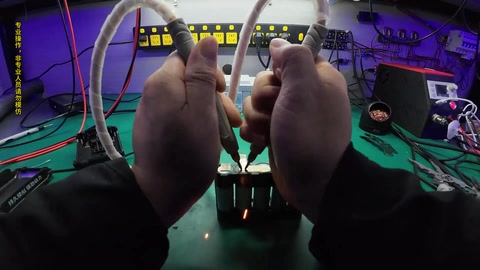
03:42 – 04:04 6. In series order, spot-weld the series nickel strips → main + and − strips → balance leads
The cell order is the series order; spot-weld the series nickel strips first; then the main positive and negative strips; last the balance leads, welding done.
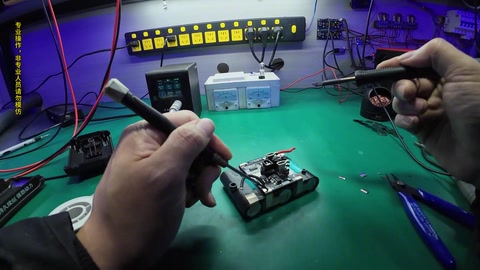
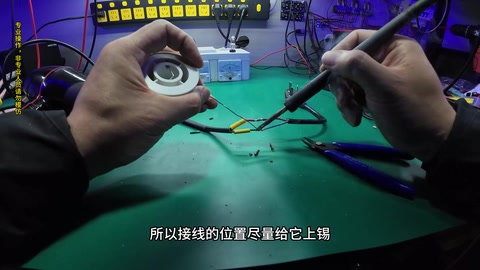
04:04 – 04:22 7. Refit the BMS: tin and solder the balance-lead strips to the board, connect main + and −; check for cold joints; fish paper on, back in, screws in
Refit the BMS; tin with the soldering iron and solder the balance-lead nickel strips to the board; connect the main positive and negative last; check for cold joints; fish paper back on; into the battery bay; screws back in.
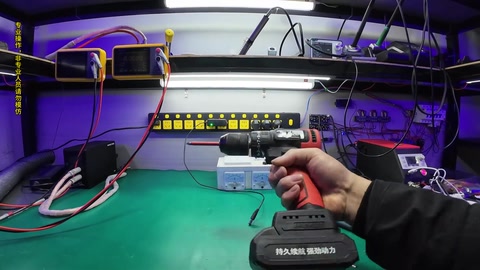
04:22 – 05:20 8. Red charge light normal; drill pulls hard
Try charging, the red light means charging is fine; on the drill it pulls hard, no problem at all.
05:20 – 05:37 9. Two membrane keyboards into one: swap the cable, note the wire order, line up the contacts and clamp bar, cable slot, heat-shrink
Two membrane keyboards, one with a bad connector, so transplant the good cable; lots of screws; inside are the membrane and a small board with three LEDs; note the wire order and numbers; connect the cable and refit the board, the membrane contacts must line up with the board and be pressed with the clamp bar, cable into its slot; heat-shrink for durability; back cover on, screws in; done.
05:37 – 07:38 10. Hair dryer plug with uneven pins: fit a rice-cooker cord; tin high-power joints against heating; tape + heat-shrink
One long and one short pin won’t go into the socket, the problem is obvious, no need to open it; fit a cord from a rice cooker; the dryer is high power so tin the joints to avoid heating; a layer of tape; heat-shrink on the outside; not as pretty as the original but better quality; tested, done.
07:38 – 09:01 11. Sign-off: night view of the mountain hollow, the tally; giving a little back to the hometown
Done, knock off, ‘a miracle cure’ in the comments; enjoy the mountain hollow, quiet at night; look at the tally; maybe not able to make the hometown rich, but able to contribute a little with what he has learned; like and follow.
09:01 – 09:24
Bill of materials
| 18650 2000mAh with 3C ×5 | 17mΩ · Drill re-cell |
| Fish-paper rings ×5 | Positive-end insulation |
| Desk-top spot welder (dual pens + foot pedal) ×1 | Weld the nickel strips |
| Soldering iron / solder | Balance leads to the board, plug wiring |
| Internal resistance meter / multimeter (continuity) | Measure resistance / switch continuity |
| Strong glue / heat-shrink / tape / odd-screw bit | Repair and fixing |
Measured on camera
| Cell internal resistance | 17 mΩ 03:48 |
| 5S full-charge voltage | 21 V 03:24 |
| Rice cooker water temperature | 35 °C 00:33 |
Creator’s tips
- A drill pack that ‘won’t charge and drops on one press’ most likely has aged cells; before re-celling, check every cell’s internal resistance is matched 03:17
- The ring around an 18650’s positive end shorts most easily — add fish paper even if the original had none 03:55
- Welding order: series strips → main + and − → balance leads; when removing the board keep the balance-lead order 04:04
- Switch joints must be solid, an arc at the grip is dangerous; a varistor can be added in series 02:15
- Tin the joints on high-power appliances against heating, then tape + heat-shrink 08:20
Pitfalls
- Comment: five cells out of his own pocket, lost his shirt (the cost of free repairs)
- Comment: hold the soldering iron by the grip (proper practice)
Li-ion safety
- A ‘professional work, non-professionals do not imitate’ corner mark runs throughout 04:10
- Sparking / arcing switch contacts at the grip are dangerous 02:20
Quotes
Cost & time
| 18650 2000mAh ×5 | · Paid out of pocket; commenters say he lost money |

Ideas for you
 04:43
04:43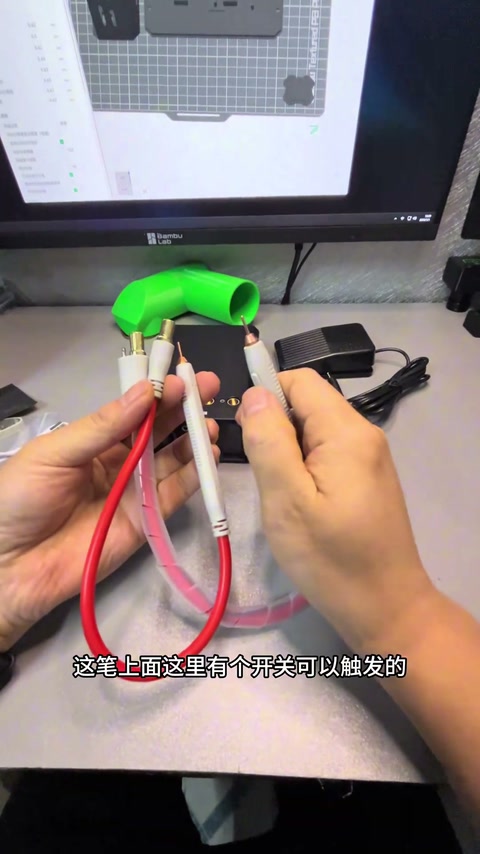 14:18
14:18 Maker Hsu4971770
 16:51Rural Abiao4038257861