
Re-celling a 48V Li-ion battery




Creator’s own settings as stated in the video (timestamps link to the moment). Not official values — test on scrap first.
Bill of materials
Welder, accessories, consumables and parts used in this build; quantities and specs are editable Download BOMDescription
Li-ion tech Zhang re-cells: a customer’s 48V “15Ah” battery (made 24-09) goes green as soon as it’s plugged in and won’t charge or discharge; inside are salvaged old 18650s in 13S4P, really 10Ah, many leaking, crude workmanship; cells scrapped, BMS kept, rebuilt as 48V10Ah with 52 brand-new EVE 2.5Ah 18650s (13S4P), 0.2 nickel-plated steel strip on a capacitor welder (preheat 0.05ms / interval 20ms / gear 29), pre-cut insulating paper where the sense leads run, tabs welded in order and checked before connecting the board, 49.5V/4.92A charge/discharge test
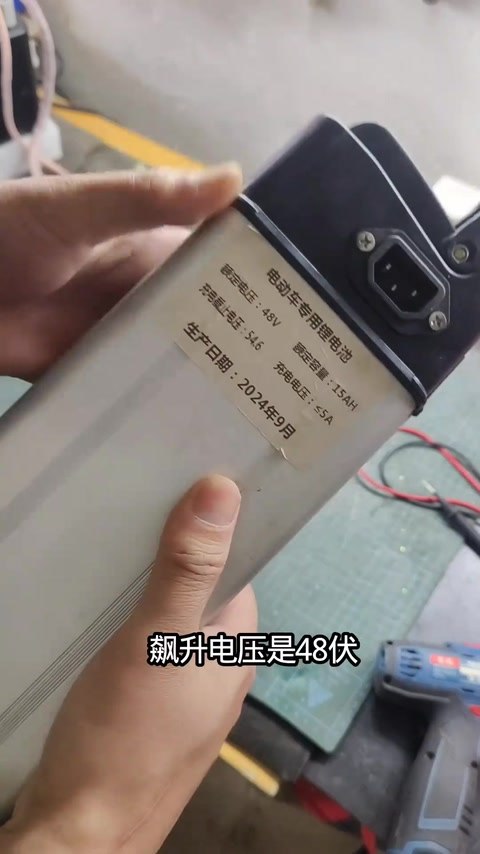
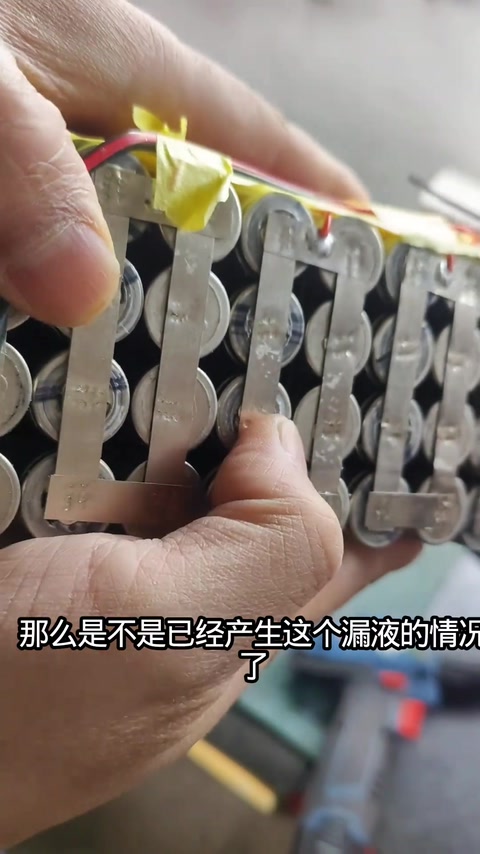
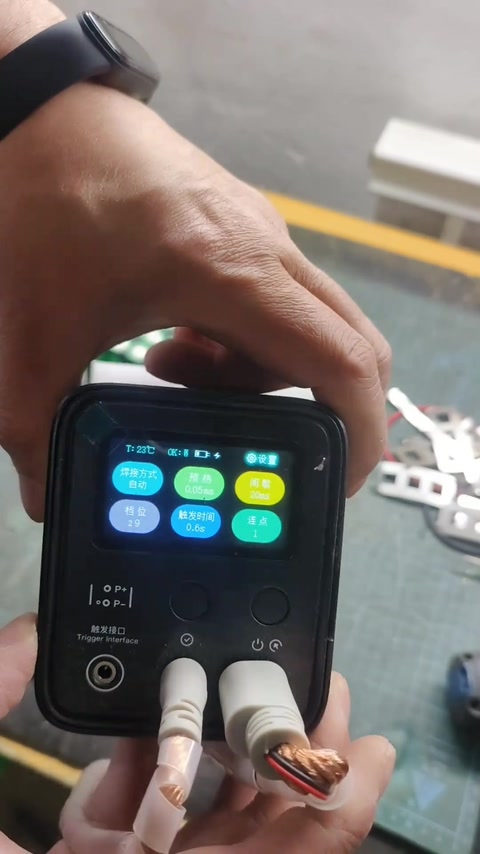
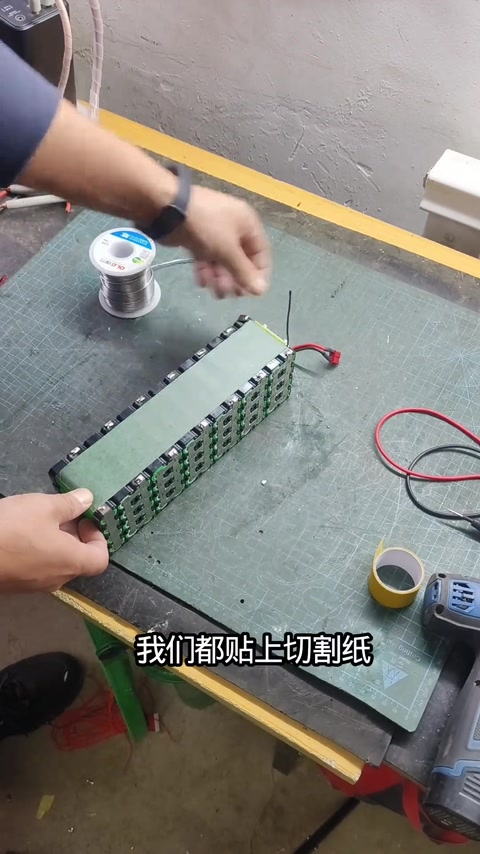
Opens with the customer: the battery hasn’t lasted well since 2024, used to charge for three hours, now goes green the moment it’s plugged in. Label says 48V 15Ah, made 2024-09; the problem is it won’t charge or discharge. Opened up: cylindrical 18650s; the case says 15Ah, but the cells are 2.5 each in 4P, really 10Ah; clearly salvaged old cells used a second time, many already leaking; very crude workmanship; he decides to scrap the cells and rebuild with brand-new ones; the only usable part of the old pack is the BMS, removed for reuse. Rebuild: 18650 at 2.5Ah each, 48V10Ah needs 13S4P, 52 cells, brand-new EVE; laid into the holder one group positive-up, next negative-up; series raises voltage, then 4P adds capacity. Welding uses 0.2 nickel-plated steel strip on a capacitor spot welder, settings on the screen (preheat auto 0.05ms, interval 20ms, gear 29, trigger 0.6s, continuous); the process is simple as long as nothing is missed; check for missed or wrong welds afterwards. Fit the BMS, usually on the negative side; pre-cut insulating paper where the sense leads run; tidy the ribbon and weld it to each group’s tab in order — the order must not be wrong; the sense leads monitor each group’s voltage and cut the BMS circuit if it goes too high or too low; to avoid mistakes, after each weld the lead order is checked on a test board before connecting the BMS. Finally the + and − power leads go on, a proper charge/discharge test (49.53V 4.92A), then insulation, back into the case, done. 16 comments: are the EVE 25Ps genuine (print and barcode misaligned); how much for a pack (1); how much for a 48V50Ah for a ride-share bike; how much per cell; are you in Shenyang; the original didn’t even have a holder; what BMS is that small.
Outcome
| Goal | Re-cell a 48V e-bike Li-ion battery, 13S4P 10Ah |
| Build | EVE 18650 2.5Ah × 52 + original BMS + 0.2 nickel-plated strip + UF20B |
| Result | Done, charge/discharge test 49.53V/4.92A · verified on camera: 270s tester screen shows 49.53V 4.92A |
Steps8 steps · click a frame to jump
 1. Customer’s account: green light as soon as it’s plugged in; label 48V15Ah made 24-09, won’t charge or discharge
Range has been poor since 2024, used to charge three hours and now goes green as soon as it’s plugged in; label says 48V charging voltage, 15Ah, made 2024-09; won’t charge or discharge; open it up to find out why.
00:00 – 00:40 2. Cells out: 18650, 2.5 each in 4P, really 10Ah not 15Ah
Cells taken out of the box; cylindrical 18650; case says 15Ah, but 2.5 per cell in 4P is really 10Ah.
00:40 – 01:15 3. Salvaged old cells, many leaking, crude work; scrap the cells, keep only the BMS
Clearly salvaged old cells used a second time; many already leaking; very crude workmanship; he decides to scrap them and rebuild with new cells; the only usable part is the BMS, removed for reuse.
01:15 – 01:50 4. 52 brand-new EVE 2.5Ah 18650s, 13S4P; one group positive-up, next negative-up in the holder
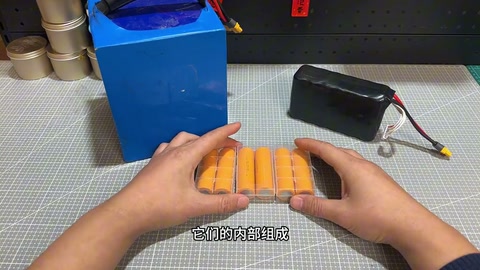
18650 at 2.5Ah each, 48V10Ah needs 13S4P, 52 cells; brand-new EVE; laid into the holder one group positive-up, the next negative-up; series raises the voltage, then 4P adds capacity; all laid out in order.
01:51 – 02:32 5. 0.2 nickel-plated steel strip, capacitor welder (UF20B): preheat 0.05ms / interval 20ms / gear 29; miss nothing; check
Welding uses 0.2 nickel-plated steel strip; capacitor spot welder; settings on the screen: preheat auto 0.05ms, interval 20ms, gear 29, trigger time 0.6s, continuous; simple as long as no weld is missed; check for missed or wrong welds at the end.
02:32 – 03:18 6. Fit the BMS (negative side); pre-cut insulating paper where the sense leads run; weld the ribbon to the tabs in order, no mistakes
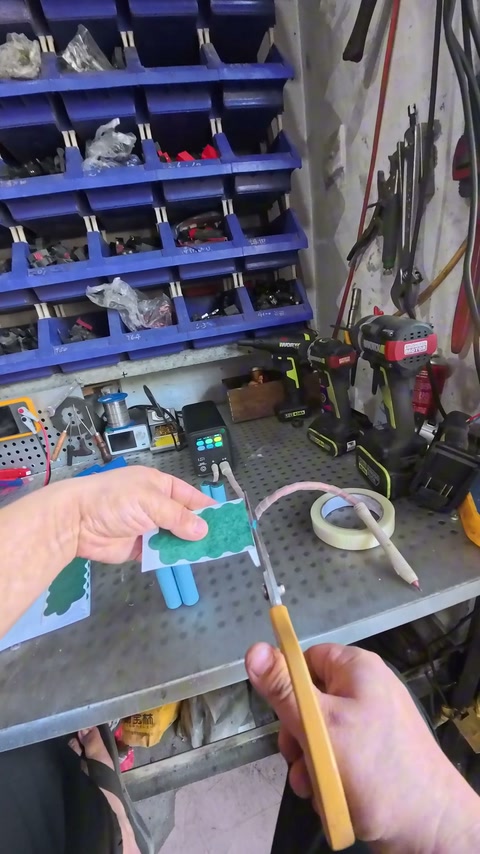
The BMS usually goes on the negative side; pre-cut insulating paper where the sense leads run; tidy the ribbon and weld it to each group’s tab in order; the order must not be wrong.
03:18 – 03:51 7. Sense leads watch each group’s voltage and cut out on faults; check the lead order on the test board before connecting
The sense leads connect to every group and monitor each group’s voltage while charging and discharging; too high or too low and the BMS circuit is cut for protection; to avoid mistakes, after each weld the order is checked on the test board before the BMS is connected.
03:51 – 04:17 8. Connect the + and − power leads; charge/discharge test 49.53V/4.92A; insulate and back into the case
Finally the + and − power leads go on and it charges and discharges normally; a finished pack must go through a charge/discharge test (49.53V 4.92A); after testing, insulate, back into the case, done.
04:17 – 04:51
Bill of materials
| EVE 18650 2.5Ah ×52 | Brand-new · 13S4P |
| 18650 holders | Layout |
| Nickel-plated steel strip 0.2 | Connections |
| UF20B welder ×1 | Gear 29 · Spot welding |
| Original BMS + sense-lead ribbon ×1 | Protection |
| Pre-cut insulating paper / lead-order test board / charge-discharge tester | Insulation / lead check / testing |
Measured on camera
| Charge/discharge test voltage | 49.53 V 04:30 |
| Charge/discharge test current | 4.92 A 04:30 |
Creator’s tips
- Check real capacity as cell capacity × parallel count: 2.5Ah × 4P = 10Ah, not the 15Ah on the label 01:05
- Fit the BMS on the negative side; put pre-cut insulating paper down where the sense leads run 03:27
- After welding the sense leads, check the order on the test board before connecting the BMS 04:10
- UF20B on 0.2 nickel-plated strip to 18650 for reference: gear 29, preheat 0.05ms, interval 20ms 02:59
Pitfalls
- Salvaged old cells, many leaking, overstated capacity, crude workmanship 01:18
- Comments: EVE print and barcode misaligned, may not be genuine
Li-ion safety
- Sense leads in the wrong order will damage the BMS / battery 03:49
Quotes


Comment insightsanswered 0 · open 6 · corrections 2
Open questions
Corrections from viewers
Let me ask, are these EVE 25P cells genuine? Every video on telling real EVE cells from fake says the printed code on both ends lines up with the barcode, but in the video the right side isn’t aligned. A bit confused, anyone who knows care to explain?
Reply @L Y F:
Let me ask, are these EVE 25P cells genuine? Every video on telling real EVE cells from fake says the printed code on both ends lines up with the barcode, but in the video the right side isn’t aligned. A bit confused, anyone who knows care to explain?
Reply @L Y F:
Let me ask, are these EVE 25P cells genuine? Every video on telling real EVE cells from fake says the printed code on both ends lines up with the barcode, but in the video the right side isn’t aligned. A bit confused, anyone who knows care to explain?
Reply @L Y F: