LV3
LV3
Fix Tools Blindfolded ‘Li-ion battery class’, 8 minutes: 18650 basics, choosing storage 3C vs power 5–15C cells, internal-resistance spread ≤10–15%, voltage spread ≤20mV, why fish paper goes on the positive end, assembling a Dayi A3 kit into 5S3P 21V 6000mAh, spot welding at gear 25 with two welds per cell, soldering the BMS with an iron, reading 18.6V and fitting the case
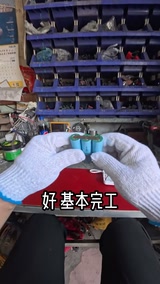
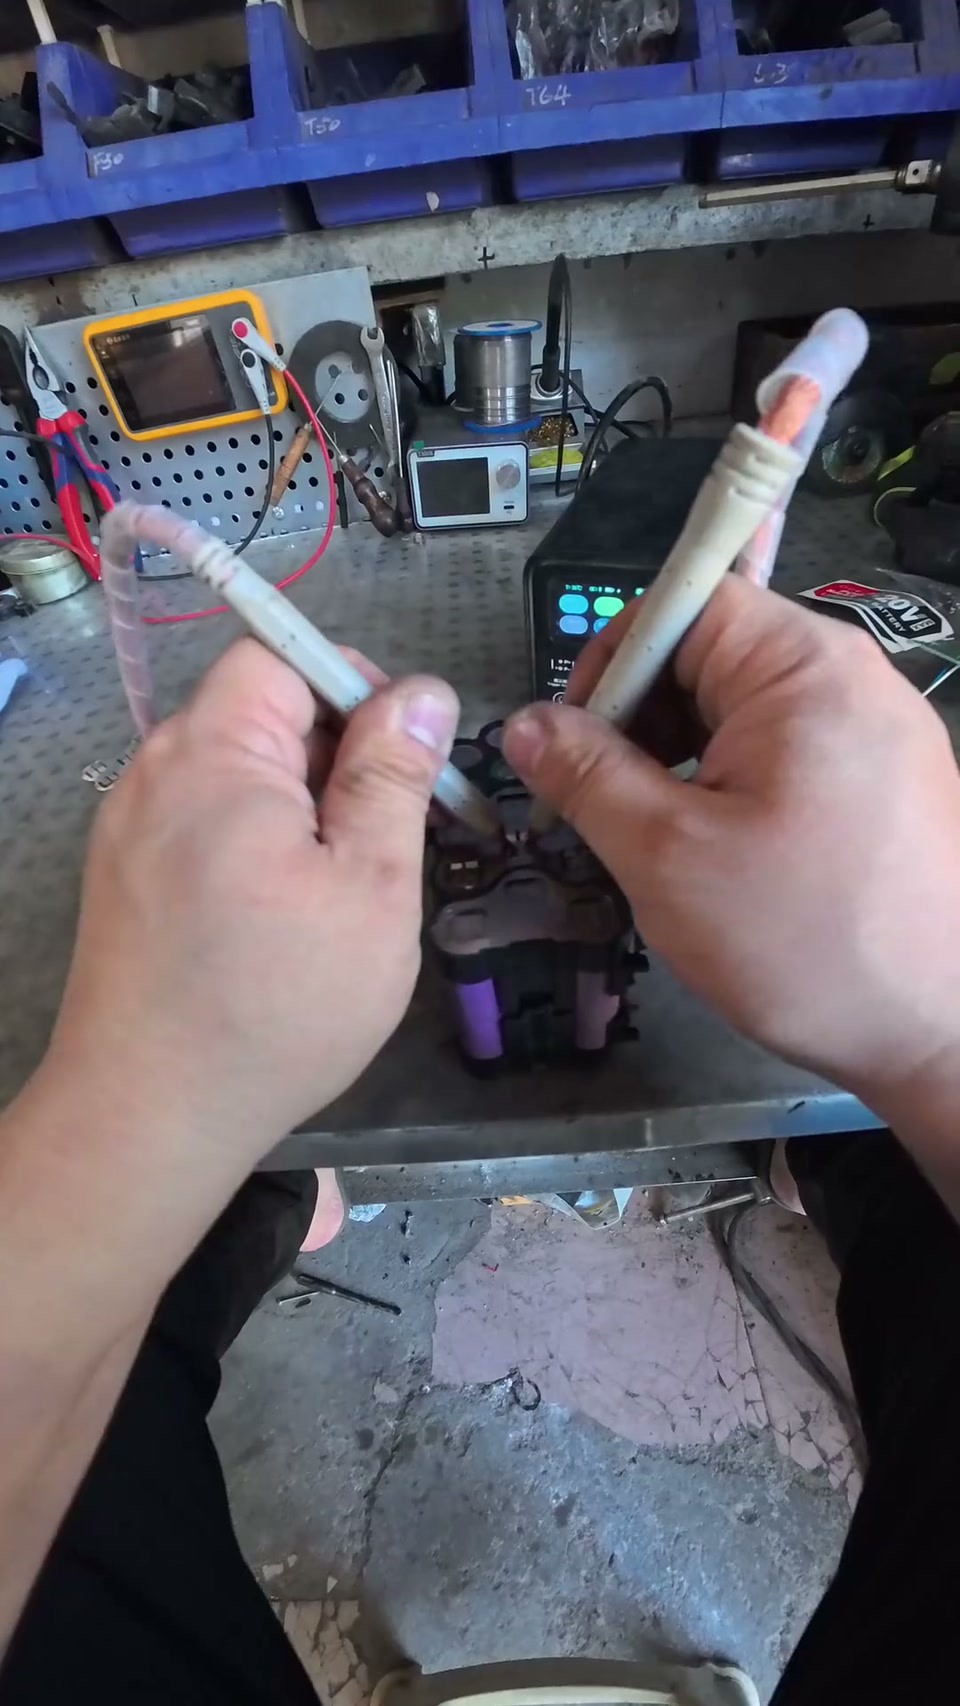
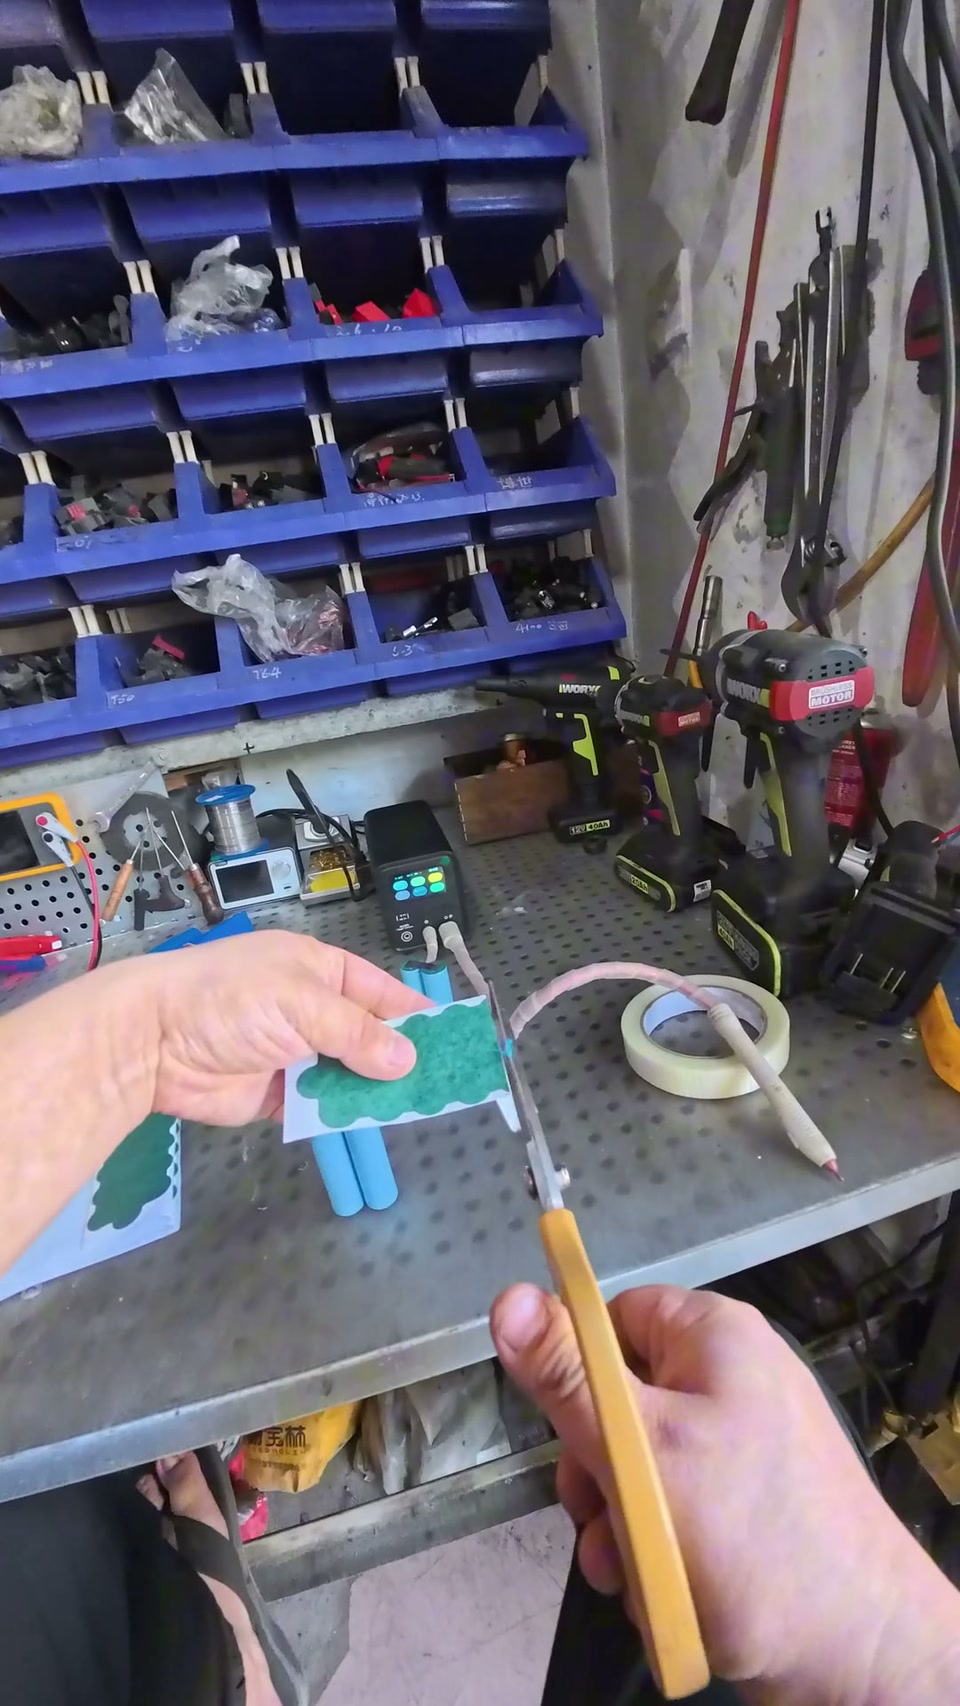
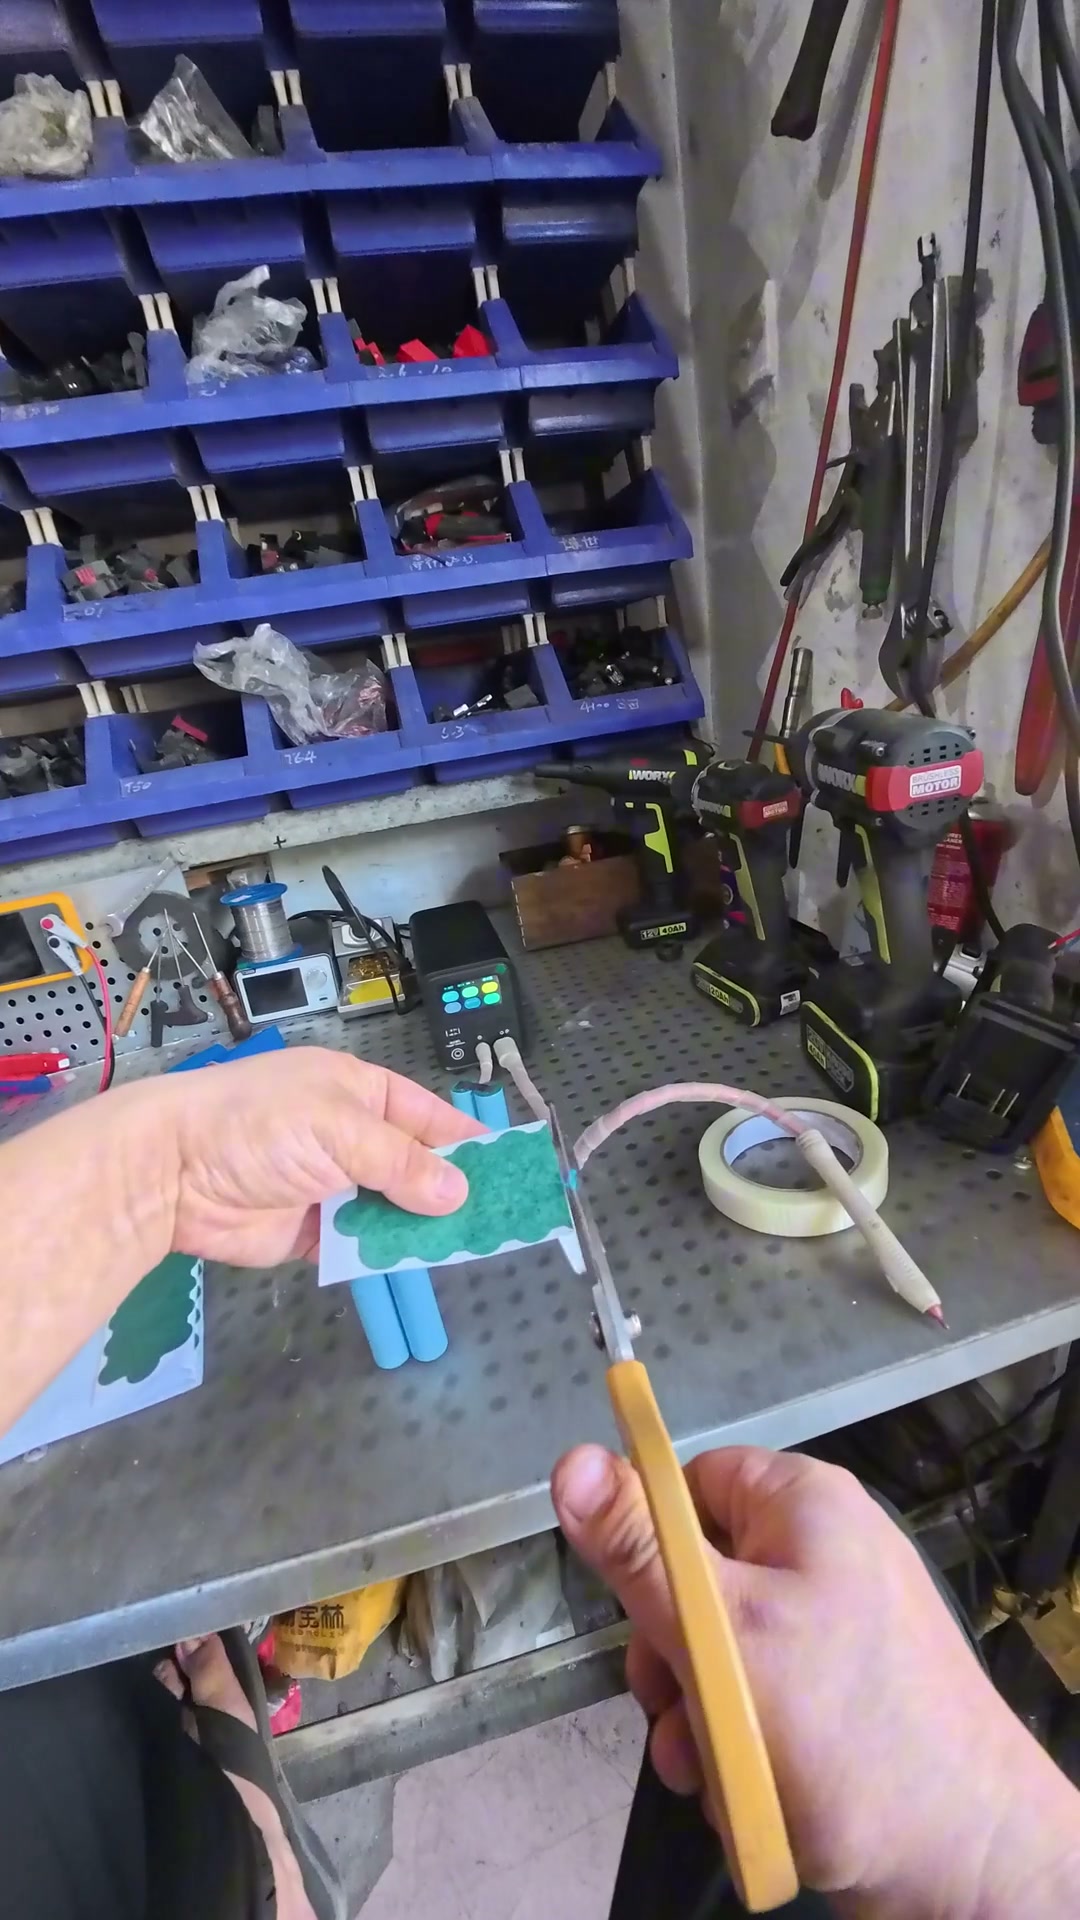
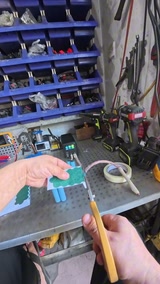
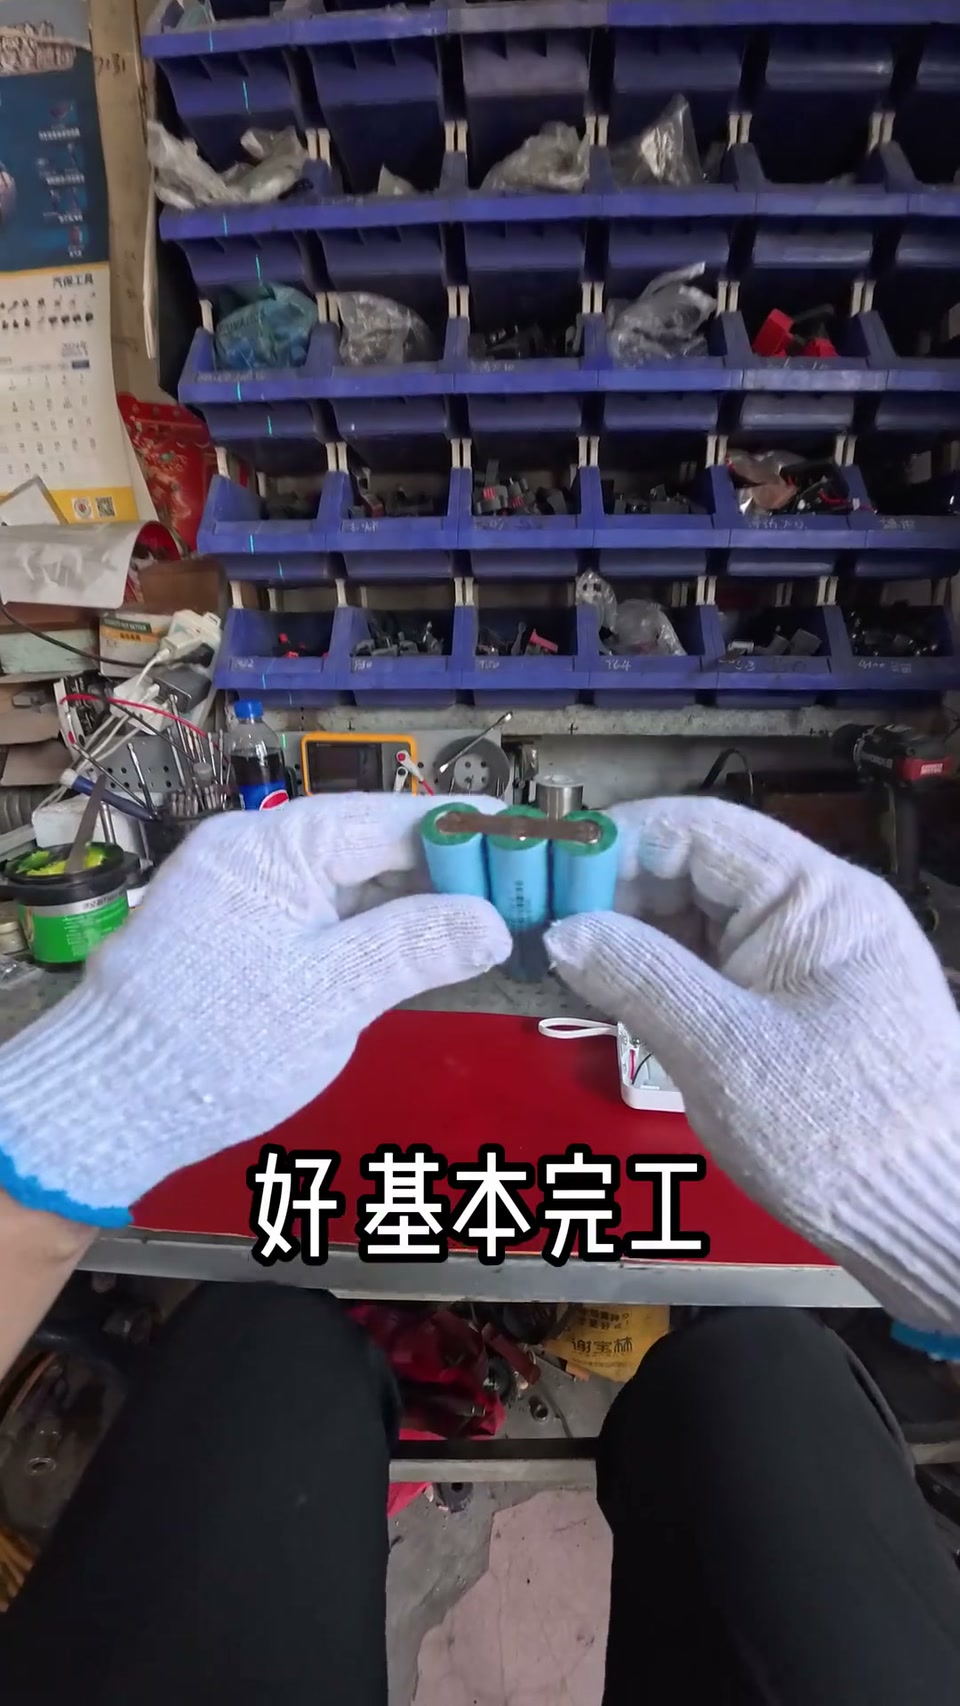
A systematic lesson in hand-building a lithium battery pack. Terms: it’s ‘lithium battery’, not ‘aluminum battery’; 18650 is by far the most common, 21700/26650 you basically never need. Buying advice: not recommended — the only real channel is the ‘seafood market’ (Xianyu second-hand app), couriers won’t ship cells to individuals, and quality is a minefield; channel recommendations welcome in the comments. Choosing: storage cells discharge at about 3C (levels, power banks, flashlights, toys), big capacity and cheap; power cells are for cordless tools, 5C/8C/10C/15C; on a budget, 5C is enough for a drill or impact wrench, angle grinders / rotary hammers / saws want 10C or more or they cut out the moment you load them. Bigger capacity is better, lower internal resistance is better: a 2000mAh cell at 10mΩ can charge full and deliver the full 2000, at 50mΩ it may stop taking charge at 10% and get seriously hot (a loose example); barrel effect — the shortest stave is the high-resistance cell; measure IR as soon as cells arrive and keep the spread within 10–15% (if the max is 15mΩ the whole group sits at 12.75–15); an IR meter costs two or three hundred yuan. Voltage 3.6V, 4.2V full; within a group keep the spread ≤20mV, otherwise the high cell charges the low one and some overcharge while others starve; the first thing on receiving cells is to measure voltage and IR and group them. Assembly needs a spot welder, a soldering iron and a kit (power bank or power tool); the Dayi A3 style holds 90% of the power-tool market — cheap brushless tools are basically Dayi A3, a small share Makita, twenty-to-thirty-yuan brushed tools are basically the Worx small-foot style, the rest by brand (Dongcheng, Devon, Worx, Dongke). Ring the positive end of each cell with fish paper first: in reality only the top bump is positive, everything else is negative, and if the wrap gets nicked while welding strip it easily shorts and catches fire. Kit contents: BMS, holders, fish paper, label, nickel strip, screws, shell. Line the holders up, the BMS notch against the holder bump; B-/B+ are main negative/positive, cell negatives face the B- side; three cells per row, the second row flipped, the third flipped again, snap the holder on. Voltage/capacity math: 15 cells of 2000mAh is not 30,000; series adds voltage, 3.6×5=18, 4.2×5=21, 18V is the EU rating and 21V the US rating, there is also 42V; anything labeled 48VF/188VF/99999VF ‘can get lost’, not one of them tops 1500mAh; parallel adds capacity: 5S3P = 21V 6000mAh (6Ah). Welding: pen, strip and cell must be in full contact at all three points to avoid a cold weld; set current by strip thickness and machine brand, usually gear 25, beginners practice on strip first; two welds per cell, four welds per face, weld then flip. More fish paper for insulation, feed the strips through the BMS holes, screw it down; six solder joints with the iron, don’t let the solder bridge two pads; clean the tip. Check the voltage: DC on a multimeter doesn’t care about polarity, 18.6V, 18–21 is reasonable. Casing: the spring clip onto the holder bump, label on, OK. Making your own is satisfying. Comments (8174): ‘I bought a cordless rotary hammer and it’s no good — wrong brand?’ 4273 likes; ‘the original is too expensive, can I hand-build one?’ 1739; ‘the main cost is the spot welder’ 229; asking for a spot welder under ¥100; fish paper absorbs moisture, suggest plastic insulation; can a self-built power bank go on high-speed rail / planes.
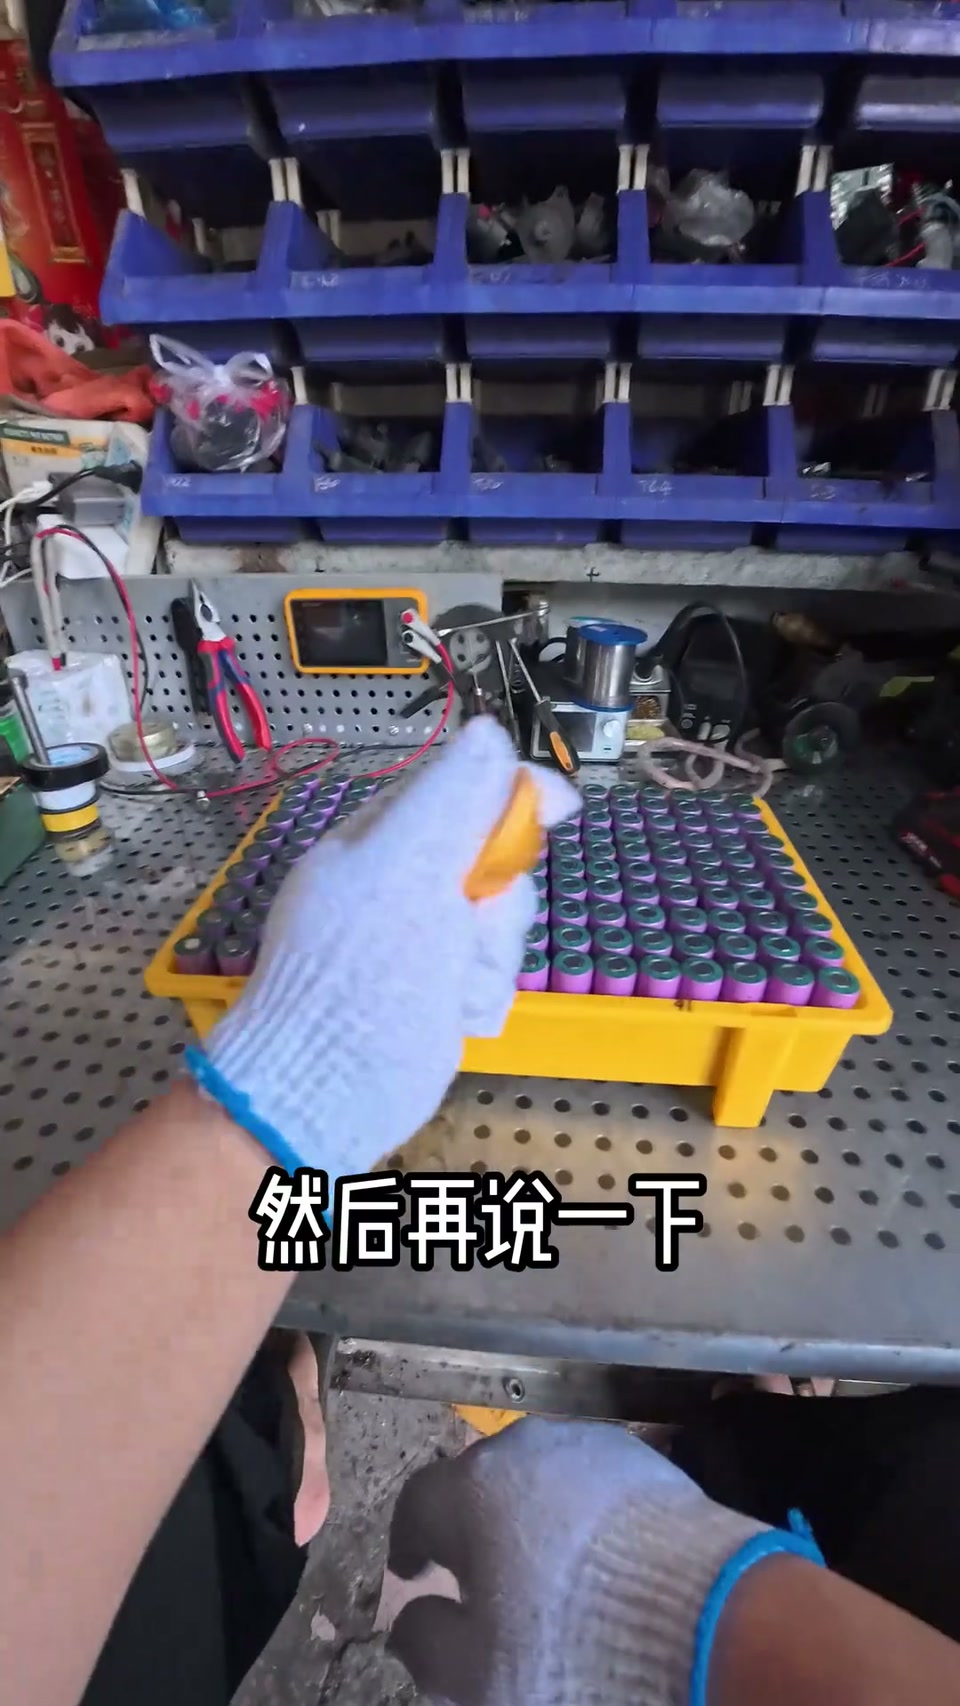

 Class is in session, everyone — the ‘Whampoa Academy’ of the tool worldProjectsBlindFix