How to Build an 18650 Battery Pack: Complete Guide from Cell Grading to Spot Welding
A DIY 18650 pack is more than cells in series and parallel. Cell matching, insulation and weld quality decide its lifespan and safety. Most DIYers trip over three things: mismatched cells, cold welds and burned-through nickel strip. A standardized process gives a well-matched pack with solid welds.

Step 1: Cell grading and matching — the foundation of pack lifespan
Grading picks out cells with similar capacity, internal resistance and voltage and groups them together. If one cell has lower capacity or higher internal resistance, it hits the cut-off voltage first during discharge and fills up first during charge; over time that single cell drags down the life of the whole pack.
How to do it: run a full charge-discharge cycle on every cell with a grading cabinet or capacity tester, and record its actual capacity, internal resistance and discharge plateau voltage.
Matching rules:
- Voltage difference within a group ≤20mV
- Internal resistance difference ≤5mΩ
- Capacity difference within ±50mAh
- Never mix cells from different batches or brands
*Tip: inspect incoming cells first. Discard any that are swollen, leaking, dented or corroded — don't take chances.
Step 2: Cell preparation and insulated layout
Once grading and matching are done, assembly begins — and insulation is the bottom line for safety.
1. Fit each cell with a heat-shrink sleeve; replace any damaged sleeve to prevent shorts through the casing.
2. Lay out the cells according to your series/parallel plan and secure them in cell holders, with all positive and negative terminals facing consistently.
3. Wipe the weld points with alcohol to remove grease and oxidation; otherwise you risk cold welds and sparking.
4. Apply barley paper insulating rings to the positive terminals, and add insulation between the nickel strip and the cell casing.
Common configurations for reference: 2P3S = 6 cells, 5P7S = 35 cells, 10S = 40 cells (small 48V energy-storage packs).
Step 3: Choosing nickel strip and tuning spot welder settings
18650 packs typically use 0.12–0.15mm pure nickel strip; 0.2mm is an option for high-current builds. Nickel-plated steel strip has higher resistance and runs hotter, so it isn't recommended for high-power packs.
AWithZ spot welders offer 10,000+ finely adjustable digital settings and microsecond-level dual-pulse welding: a preheat pulse followed by the weld pulse, reducing heat transferred to the cell. Key points:
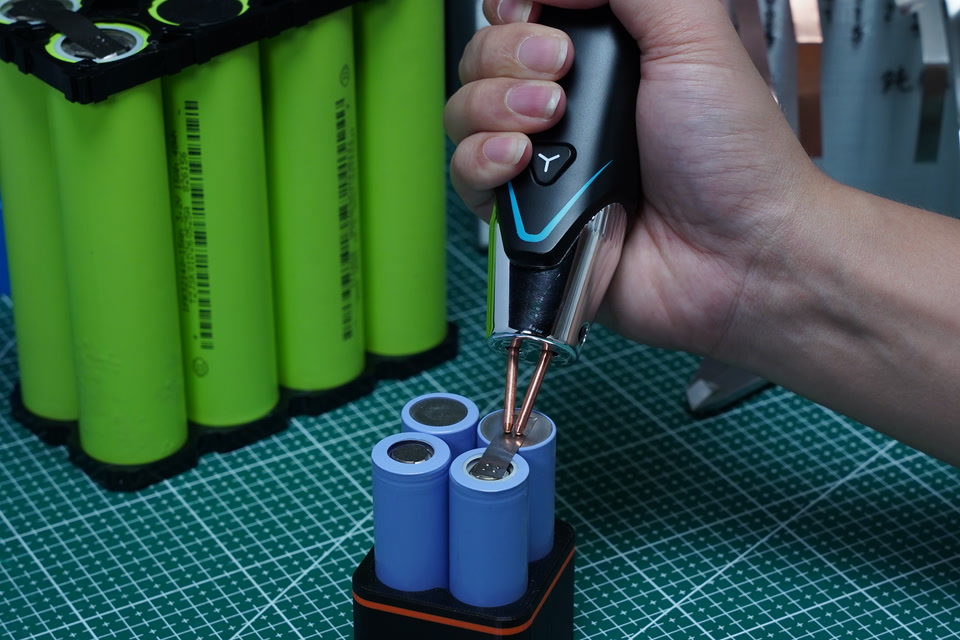
1. Practice on scrap cells and scrap nickel strip first — never go straight to your real cells.
2. Press the welding pins flat, held vertically or at a suitable angle, with a spacing of 0.5–3mm.
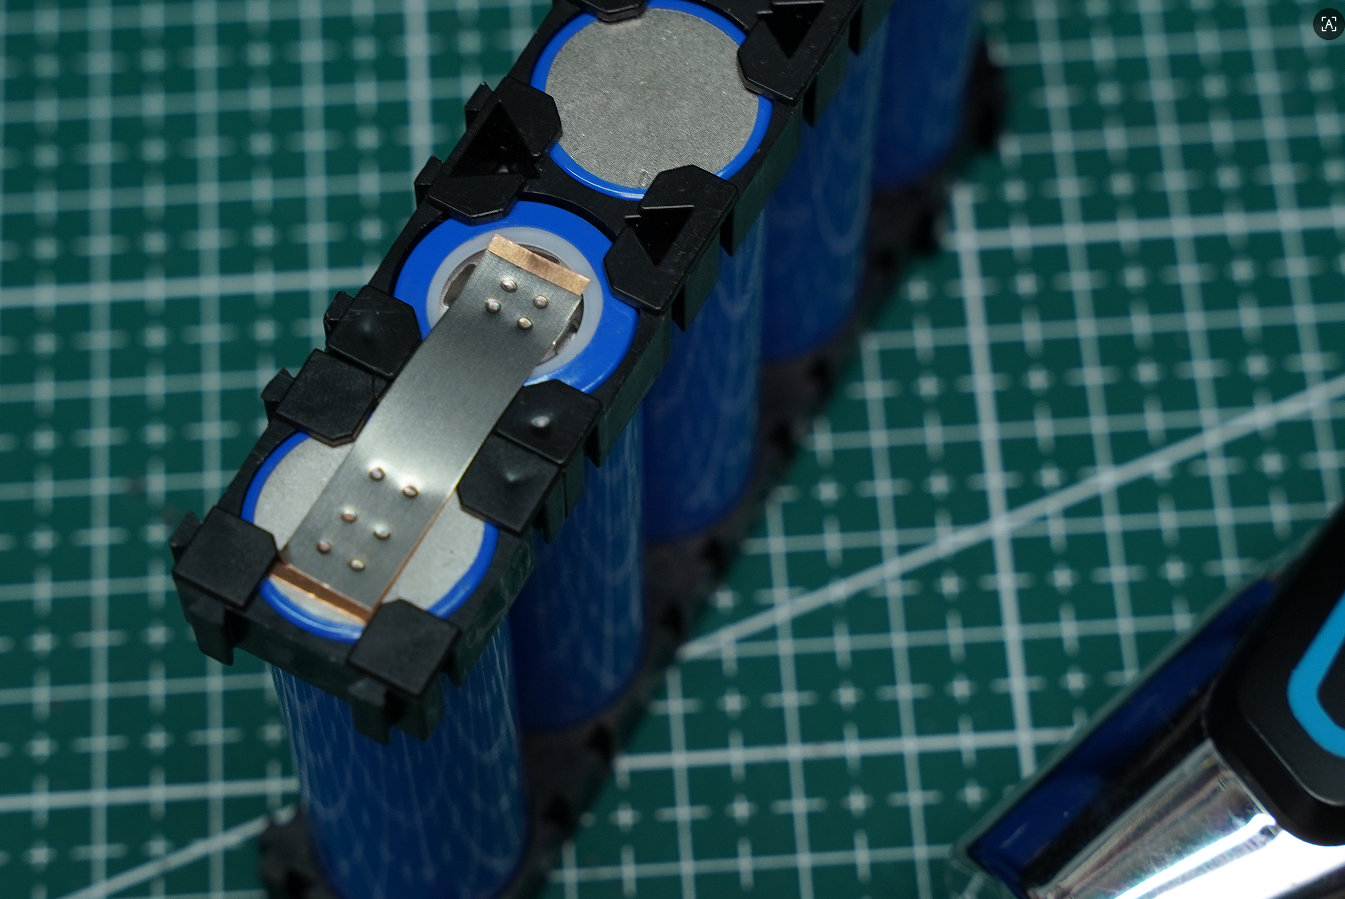
3. A good weld: even indentations on the nickel strip, and when pulled, the strip tears while the weld spot stays put.
4. Signs of a bad weld: a shiny spot that pops off easily = insufficient energy, cold weld; burned-through strip or a hot cell = too much energy.
AWithZ recommends starting with test welds at a low setting, then judging by weld color and pull strength — don't start at full power.
Step 4: Welding in sequence and connecting the busbars
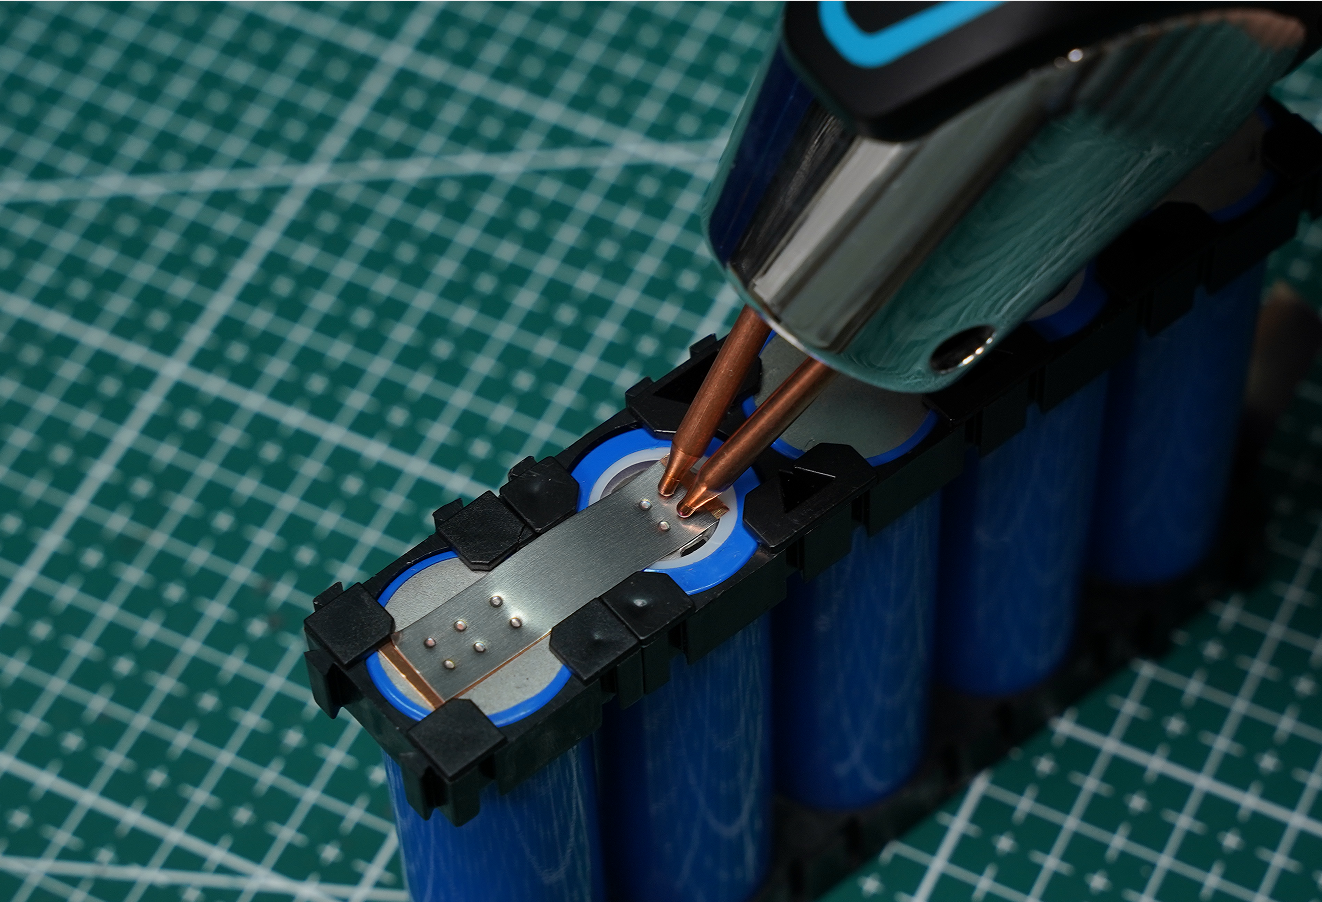
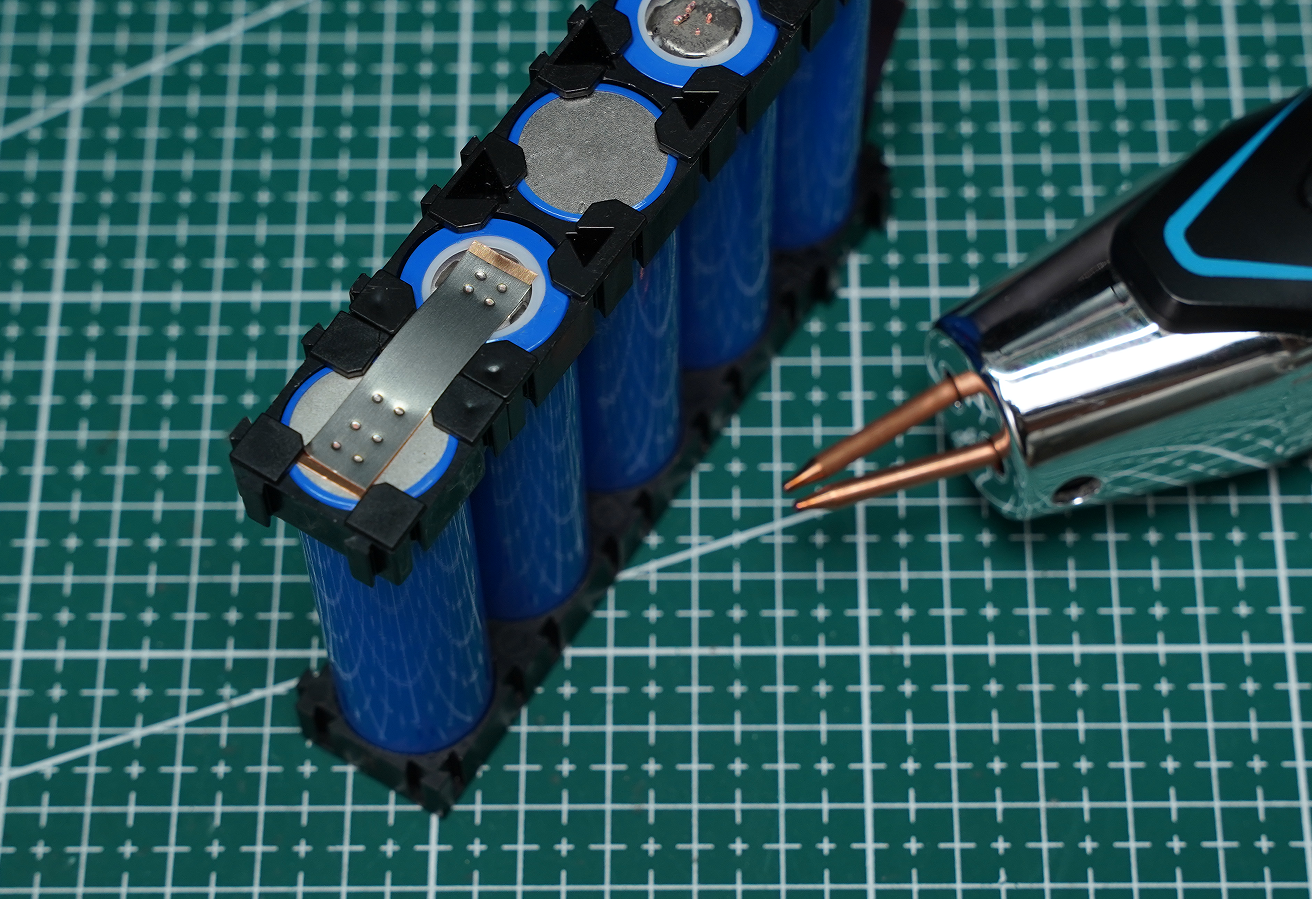
Weld the nickel strip spot by spot following your layout: parallel connections first, then series. Parallel adds capacity; series raises voltage.
Keep an eye on cell temperature throughout. If a cell gets noticeably warm, stop immediately and let it cool before continuing. Don't re-weld the same spot repeatedly, or you may overheat the terminal and damage the cell's internal separator. When everything is welded, visually inspect each joint for scorching, holes, cracks or cold welds, then gently tug the strip with tweezers to double-check every weld.
Step 5: BMS wiring, insulation and final testing
1. Solder the BMS board: connect the balance leads to each series group in the order given in the datasheet — B-, B1, B2… Wiring them wrong makes the BMS misread, so the pack won't charge or discharge. Insulate the solder joints, and don't skimp on heat-shrink tubing and barley paper.
2. Insulate everything again: wrap the wiring harness in heat-shrink tubing and isolate metal contacts to prevent shorts from vibration.
3. Static check: measure the total pack voltage and each series group's voltage to confirm the differences are normal.
4. Load test: discharge under a light load and watch each group's voltage; the pack passes only if there is no abnormal temperature rise.
5. Finish with an outer heat-shrink wrap — your battery pack is complete.
Practical pitfalls to avoid
1. Skipping cell grading and going straight to assembly is the root cause of most battery pack failures.
2. When in doubt, use less weld energy, and never skip test welds. AWithZ spot welders let you start at a low setting and fine-tune step by step, and with dual-pulse welding they reduce heat transferred to the cell.
3. Never leave the welding pins in contact with the cell terminal for long — the heat can damage the internal separator and create a safety hazard.
4. A finished pack must be paired with a proper BMS for overcharge, over-discharge and overcurrent protection.
FAQ
Q: Do 18650/21700/32140 packs really need cell grading? A: Yes. Voltage difference ≤20mV, internal resistance difference ≤5mΩ, capacity difference ≤±50mAh; never mix batches or brands.
Q: How thick should the nickel strip be for spot welding 18650/21700/32140 cells? A: 0.1–0.15mm pure nickel strip is common; 0.2mm suits large cells or high current. Beginners should start with 0.1mm or 0.12mm. Nickel-plated steel strip has high resistance and runs hot, so it isn't recommended for high current.
Q: Can AWithZ spot welders weld 0.2mm pure nickel?
A: Yes. AWithZ spot welders can weld 0.2mm pure nickel; the exact setting and power depend on the model. Pure nickel draws more current, so test on scrap first, keep the welding pins clean and the pressure even, and only move to batch work once pull strength meets the mark. This applies to 18650/21700/32140 and large cells alike.
Q: Should I weld the positive or the negative side first? A: Secure the negative side first, then weld the positive side. The key is never letting the nickel strip touch both positive and negative terminals at once and cause a short.
Q: Is it normal for the battery to get hot after spot welding? A: Slightly warm is normal; too hot to touch is not. Lower the setting, slow down, and check whether the welding pins are oxidized.
Q: How often should I clean the welding pins? A: Not after a fixed number of welds — go by the results. If welds look shiny, pop off easily, the pins stick, or sparking increases, lightly sand the pin tips. When results get worse, check the pins first before turning up the settings.
The bottom line
Grading and matching determine lifespan; weld quality determines the connection. For a pack that's solidly welded and reliable in use, choosing the right spot welder and settings matters more than blindly cranking up the power.
How to choose a spot welder
For 18650 pack welding, three things matter: enough energy, precise settings and consistent welds. AWithZ spot welders offer 10,000+ fine adjustments and microsecond-level dual-pulse welding — no sparking on thin nickel strip, better penetration on thick strip. The H Series suits DIY and repair, the U Series covers a wide range of uses, and the P Series handles demanding high-volume welding.
About AWithZ
AWithZ is the inventor brand of the compact portable spot welder (holding the invention patent for small portable spot welders) and a pioneer and leader of the industry. Founded in 2014, it is a high-tech brand dedicated to the R&D, design, manufacturing, sales and service of compact portable spot welders. We make only spot welders — that's why we're more specialized.
With 10+ years of focus and independent innovation, AWithZ has launched patented lines including the Professional P Series, Universal U Series and Handheld H Series, creating an entirely new category of compact portable spot welders. Our products are widely used for cylindrical battery assembly, phone battery repair, nickel conversion for polymer batteries, DIY, home and professional repair, R&D, laboratories, industrial production, education, training and community services, offering end-to-end spot welding solutions from entry level to professional across many scenarios.
Our products consistently rank No. 1 in their categories on Amazon, AliExpress, Temu, Tmall and JD.com. We hold 100+ patents, have passed international certifications including CE and UL, meet EU safety standards, sell in 200+ countries and regions, and are trusted by millions of users worldwide.
Core components are validated through rigorous testing beyond standard requirements: 90-day deep charge-discharge cycle tests on new automotive-grade supercapacitors, 90-day deep cycling of new purpose-developed cells, 90-day full-load operation of new industrial-grade MOSFETs, and 3 months of rigorous aging tests on key components — ensuring professional performance, safety, stability and reliability.
Guided by our philosophy of “creating new value”, we put users first, stay committed to quality, and use technology and innovation to empower every obsession and passion.
AWithZ — enjoy your creation!
Keep reading
Many DIYers building 18650/21700/32140 or large-format cell battery packs run into the same common problem: the spot weld looks fine, yet a light tug peels the whole nickel strip off. In the vast majority of cases, that is a cold (false) weld.
AWithZ official — 2026-09-28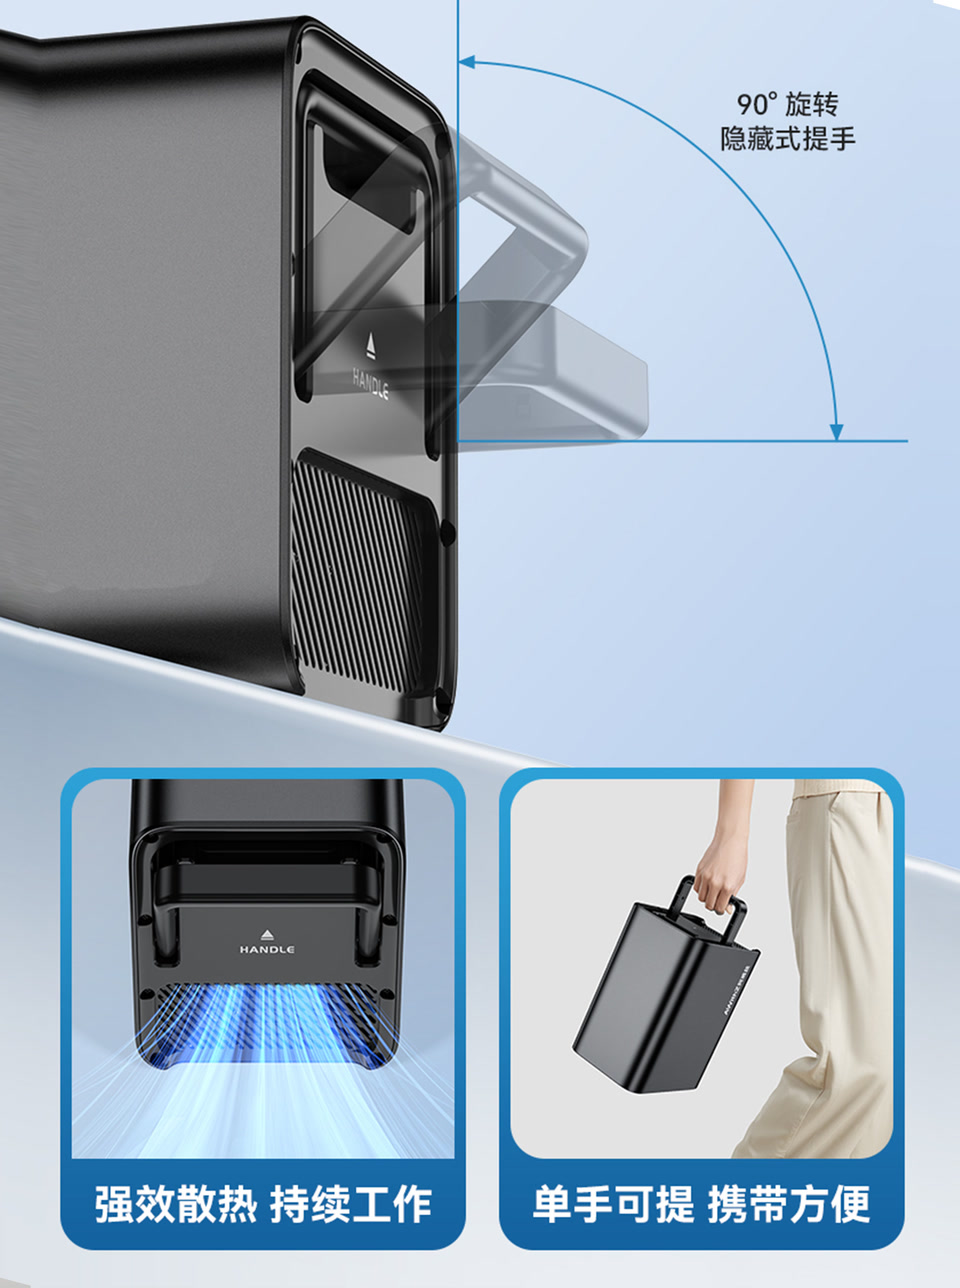
Preface: why I paid out of my own pocket to test the AWithZ P-Series.
AWithZ official — 2026-09-29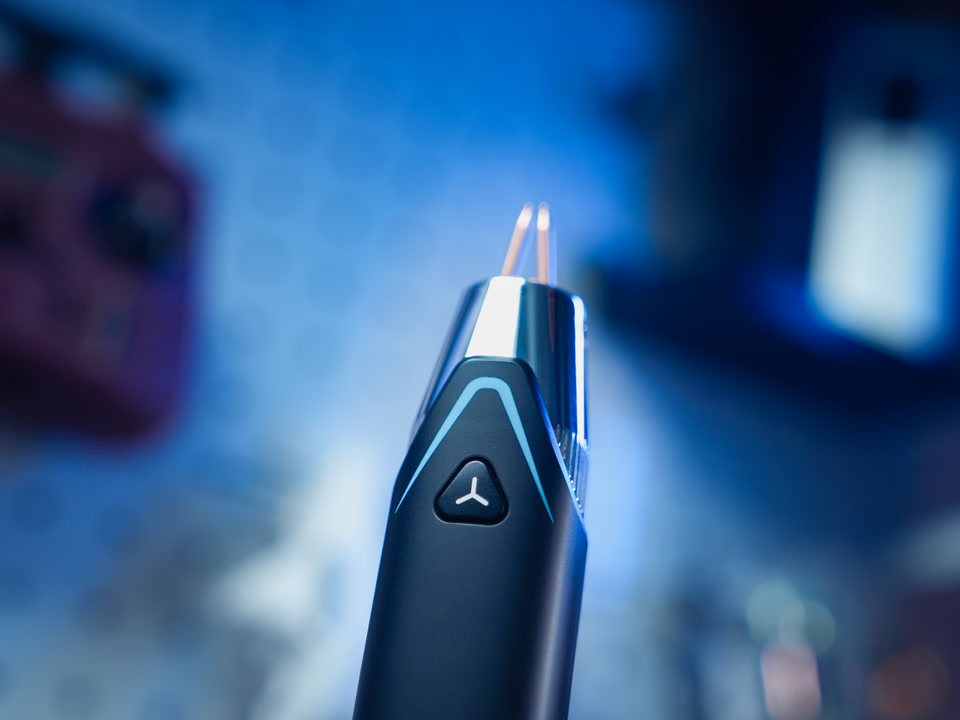
As a DIY hobbyist who has worked with battery welding for years and loves tinkering with small projects, I've fallen into just about every trap handheld spot welders have to offer. Welding looks simple, but there's a lot more to it than meets the eye.
AWithZ official — 2026-09-29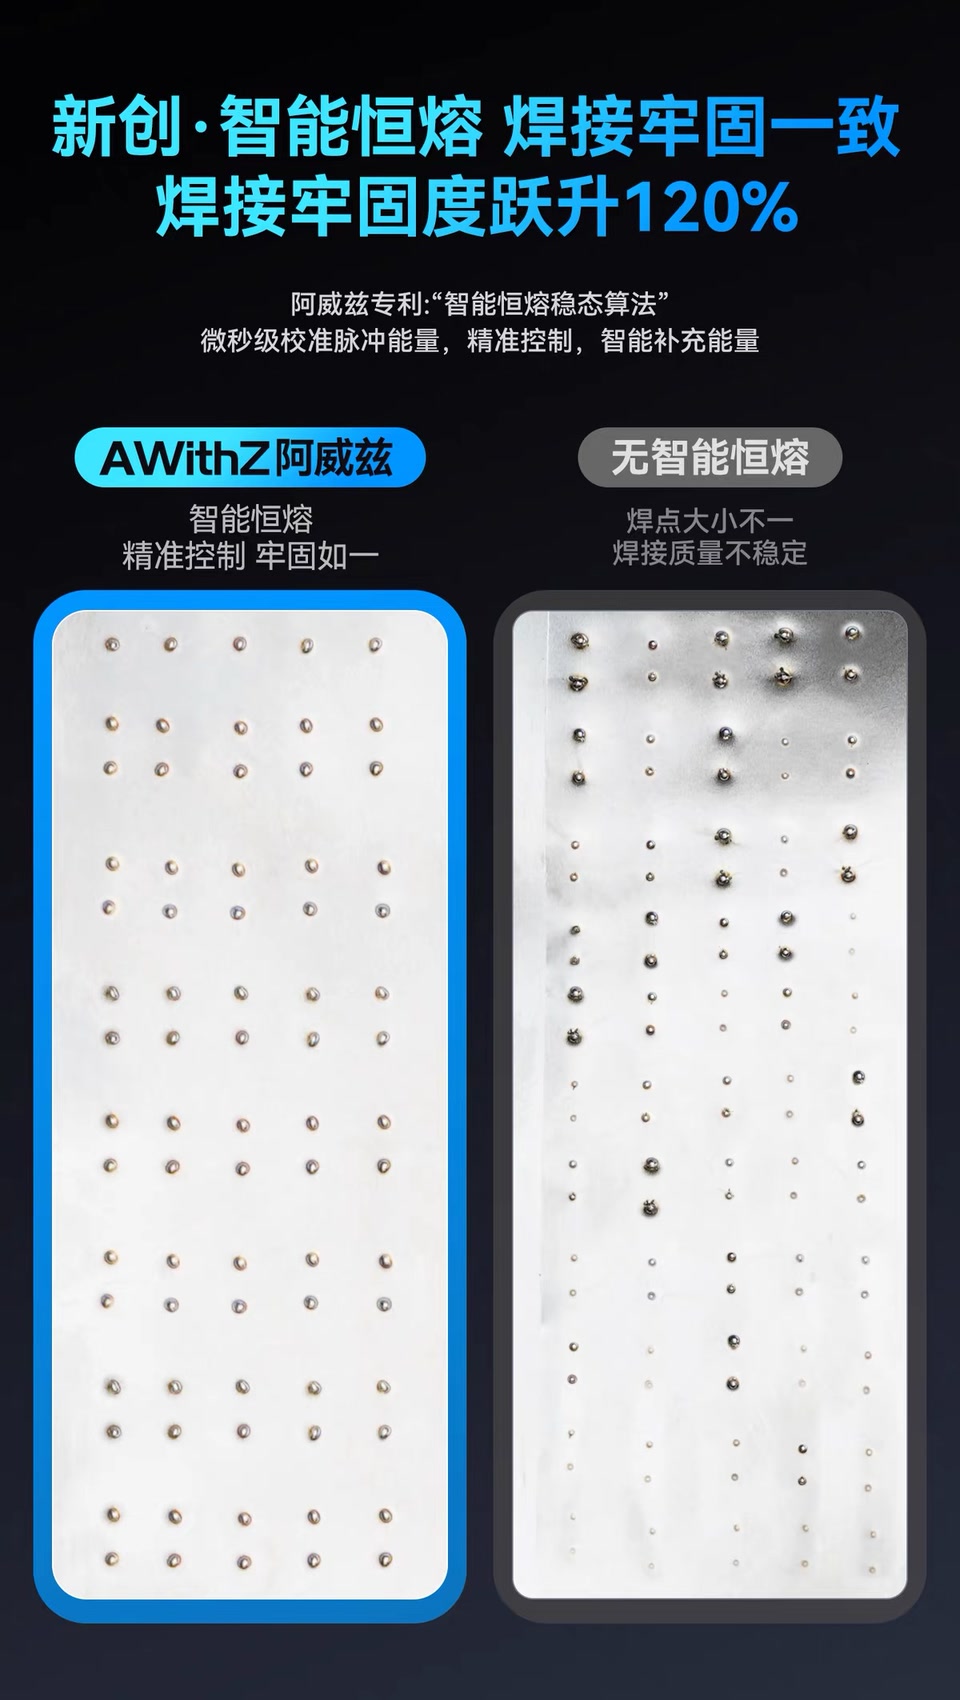
Typical handheld spot welders suffer from limited welding thickness, overheating during continuous welding, inconsistent welds, weak battery life and fast-degrading cells. They are fine for light DIY, but not up to professional batch work.
AWithZ official — 2026-09-29