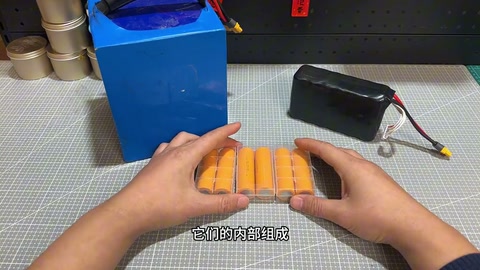
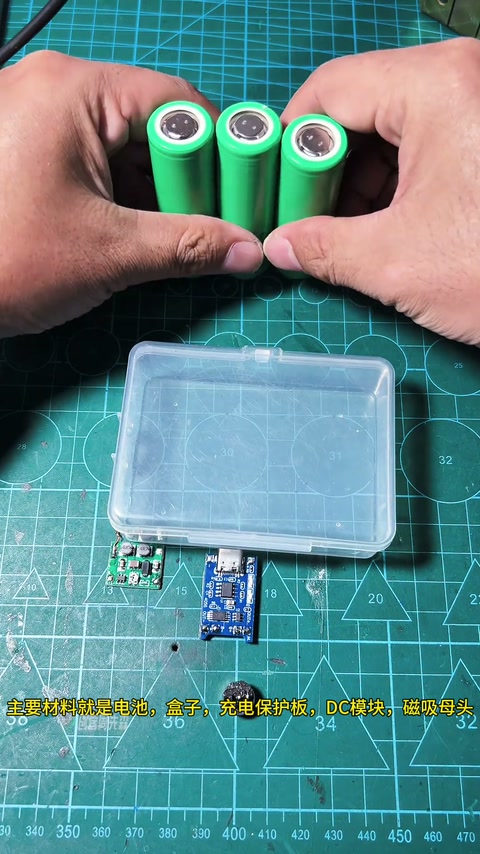
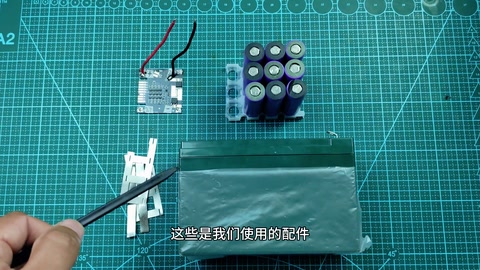
AWithZ U3 welder — build your own 18650 pack, tutorial
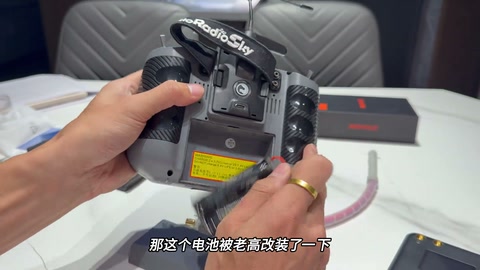



Creator’s own settings as stated in the video (timestamps link to the moment). Not official values — test on scrap first.
Bill of materials
Welder, accessories, consumables and parts used in this build; quantities and specs are editable Download BOMDescription
Lao Gao (RC / FPV) unboxes the AWithZ U3 (11000mAh, a hundred-odd yuan) and walks through a 2S 18650: a soldering iron on an 18650 runs too hot and hurts the cell, so spot-weld to ‘convert’ the terminals to nickel strip and then tin; manual mode, preheat 2ms / interval 2ms, gear 5, 4 spots per cell; 8.06V in series; the positive’s aluminium oxide layer won’t take solder so only nickel strip works; XT30 + balance leads, EVA foam + heat-shrink, balance port 4.048/4.039V, fast-charge with an RC charger
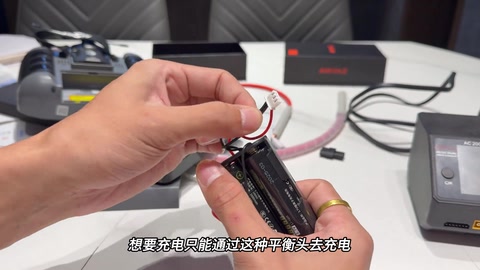
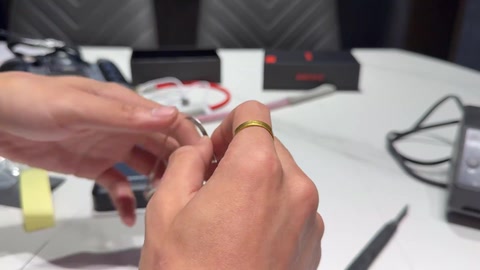
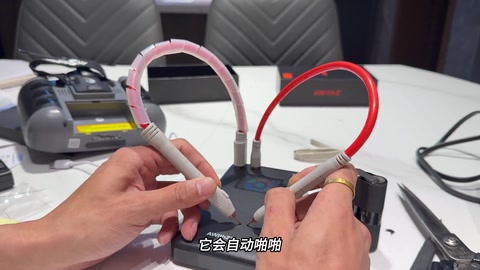
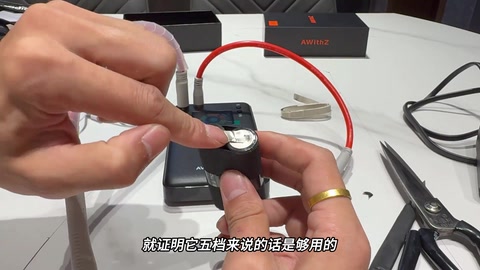
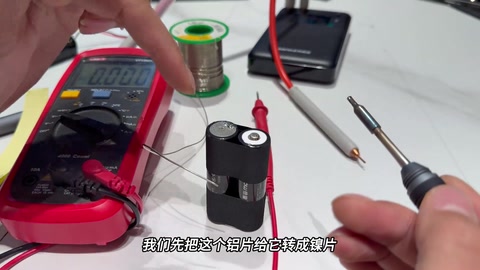
Unboxing the AWithZ U3 spot welder, a common tool for RC car folks: looks like a power bank, two gold-plated sockets for the welding pens, USB output doubles as a power bank, Type-C charging, 11000mAh 3.7V, ‘pioneer of small portable spot welders’; the manual matters (welding method, settings tutorial, weldable nickel / copper thicknesses); the accessory bag has two welding pens, a USB cable and a small pack of nickel strip. Use: DIY 18650/21700 series / parallel. Example, Lao Gao’s radio (Hello Radio V14) 18650 battery: before the welder he used a cell box + XT30 soldered to main + / −, charging through the balance plug was too slow, so parallel-connect an XT30 + XT60-to-XT30 to a charger for fast charge; with a spot welder no cell box is needed. Series / parallel joins on the 18650’s end metal with solder are very hard, and the heat easily damages the cell internals, so get a small spot welder, a hundred-odd yuan, two quick pops. Method: fix the cell, cut strip to length, round off sharp corners (to avoid piercing the heat-shrink); long-press to power on, push the pen pins in firmly; manual mode (press the switch on the pen, pop, welded; auto fires when the two pens touch); preheat 2 milliseconds, interval 2 milliseconds; gear turned down from 65 to 5 is enough; multi-pulse once; one pen presses while the other welds, two spots at gear 5 are already solid, four spots per 18650 (two presses) is very secure; tack the other cell’s positive, + and − joined. One 18650 is 3.7V, multimeter on DC reads 8.06V total, proving the series join. Main + and − on the front also get nickel strip: solder won’t take, the positive is an aluminium plate with a dense oxide layer that won’t tin, the negative can be soldered; once the aluminium is ‘converted’ to nickel it tins easily (comment: just file it and it’ll solder → ‘if it blows up from filing, go find him’). Balance leads to the middle strip between the two cells and to both ends; 2S done; fish paper works for insulation, Lao Gao wraps both ends in EVA foam then shrinks the film; bus reads 8-point-something volts, balance port 4.048/4.039V, normal. FPV pilots like fast charging, so the XT30 goes to an RC plane / car charger. A spot welder is a must for 18650 DIY, don’t go dumbly soldering 18650s with a big iron, too hot and risky. Comments: can you talk slower (no, 1.5× speed); soldering the voltage feedback on would be handier; where does the middle of the three 2S balance wires go; so easy, the iron always shorted before; bought a welder, time to hand-build an EV.
Outcome
| Goal | Unbox the U3 + teach a 2S 18650 fast-charge pack |
| Build | 2S1P 18650 + XT30 + 2S balance leads |
| Result | Total 8.06V, balance port 4.048/4.039V · verified on camera: Multimeter 8.06V at 220–234s; balance-port voltages at 324–332s |
Steps9 steps · click a frame to jump
 1. Unboxing the U3: power-bank shape, gold-plated pen sockets, USB / Type-C, 11000mAh, manual, accessories
Looks like a power bank; two gold-plated sockets for the pens; USB output doubles as a power bank; Type-C; 11000mAh 3.7V; industry pioneer; manual covers welding method / settings / weldable thickness; two pens, USB cable, a small pack of nickel strip.
00:01 – 00:35 2. Why spot-weld: radio 18650 fast-charge mod; the iron hurts cells
For DIY 18650/21700 series / parallel; Hello Radio V14 radio battery mod: cell box + XT30 on main + / −, balance-plug charging too slow, XT60-to-XT30 for fast charge; with a spot welder no cell box; soldering 18650s is very hard and the heat damages the internals; get a small spot welder, a hundred-odd yuan, two quick pops.
00:35 – 01:45 3. Idea: ‘convert’ the metal terminal to nickel strip, then tin; round the strip corners
For series join + and −, cut strip to fit the negative / positive, spot-weld to convert the metal to nickel strip, then solder; fix the cell; trim the strip, round off sharp corners to avoid piercing the heat-shrink.
01:46 – 02:15 4. Power on, plug the pens; manual vs auto; preheat 2ms interval 2ms; 65 → gear 5
Long-press to power on; line up the pin and push it in firmly; manual mode, tap the switch on the pen and it pops; auto fires when the two pens touch; preheat 2 milliseconds, interval 2 milliseconds; turn the gear down, 5 is enough.
02:15 – 02:56 5. Multi-pulse once, two spots at gear 5 already solid; 4 spots per cell; series done
Manual press count, multi-pulse once; one pen presses while the other welds; two spots at gear 5 are already solid, thickness is fine; four spots per 18650 (two presses) is very secure; tack the other cell’s positive; + and − joined, really handy and efficient.
02:56 – 03:40 6. Multimeter 8.06V proves the series join; main + / − on the front also get nickel strip
One cell 3.7V; DC range reads 8.06V, series join works; main + and − on the front also get nickel strip because solder won’t take, and the charge leads have to go on main + / −; cut strip to fit and tack it.
03:40 – 04:08 7. Positive’s aluminium oxide layer won’t tin → tack nickel strip first, then tin
Even rosin-core solder won’t take on the positive; the negative’s nickel strip solders; the positive is an aluminium plate whose dense oxide layer won’t bond with solder; convert the aluminium to nickel — tack the positive first, one spot per side, then the negative; solder takes very well on nickel strip.
04:09 – 04:57 8. Balance leads; EVA foam + heat-shrink; 8-point-something V, balance port 4.048/4.039V
Balance leads to the middle strip between the two cells and to + / − at both ends; 2S done; fish paper works for end insulation, Lao Gao wraps both ends in EVA foam then heat-shrinks; bus 8-point-something volts; balance port 4.048/4.039V, normal.
04:57 – 05:32 9. Heat-shrink, XT30 fast charge; don’t solder 18650s with a big iron; wrap-up
Foam for protection, black heat-shrink with a heat gun; FPV pilots like fast charging, XT30 to an RC plane / car charger; a spot welder is a must for 18650 DIY, it’s called the AWithZ U3; don’t solder 18650s with a big iron, too hot and risky; DM if unsure.
05:43 – 06:33
Bill of materials
| AWithZ U3 spot welder ×1 | 11000mAh, with two pens / USB cable / nickel strip · Spot welding |
| 18650 cells ×2 | 2S |
| Nickel strip | Corners rounded · Terminal conversion / connections |
| XT30 plug / 2S balance leads ×1 | Fast charge |
| EVA foam / heat-shrink / fish paper (optional) | Insulation and protection |
| Rosin-core solder / soldering iron | Soldering leads |
| Multimeter / RC charger | Voltage check / fast charge |
Measured on camera
| 2S total voltage | 8.06 V 03:40 |
| Balance-port voltage | 4.048 / 4.039 V 05:24 |
Creator’s tips
- Solder won’t take on a cell terminal: spot-weld nickel strip first to ‘convert’ the terminal, then tin 01:53
- The positive is an aluminium can with an oxide layer that won’t tin; the negative will 04:23
- Round off the strip’s sharp corners to keep them from piercing the heat-shrink 02:07
- Manual mode: one pen presses, the other welds; 4 spots per 18650 is enough 02:56
- Preheat 2ms / interval 2ms, gear 5 is enough for the included nickel strip 02:42
- FPV pilots build with XT30 + balance leads and fast-charge on an RC charger 05:53
Pitfalls
- Charging through the balance plug is too slow 00:58
- Soldering 18650s with an iron runs too hot, damages the internals and is risky 01:30
Li-ion safety
- Don’t solder 18650s with a big iron; too hot and risky 06:06
- Insulate both ends properly (foam / fish paper + heat-shrink) 05:10
Quotes
Cost & time
| U3 spot welder | ¥100 · 'around ¥100' |