Universal magnetic base — step-by-step



Creator’s own settings as stated in the video (timestamps link to the moment). Not official values — test on scrap first.
Bill of materials
Welder, accessories, consumables and parts used in this build; quantities and specs are editable Download BOMDescription
Maker Zhou Xiansheng’s step-by-step universal magnetic base guide (3325 likes): cells + box + charge/protection board + DC module + magnetic socket; a spare plastic box holds three 18650s, welder puts them in parallel ‘just rattle off the welds’, cut a hole to bring out the Type-C, solder charge board output → DC module input, protection board battery port and DC output, verify charging, glue it in, mark and drill the lid centred, push in the magnetic socket and solder + / −; pair it with whatever lamp you like
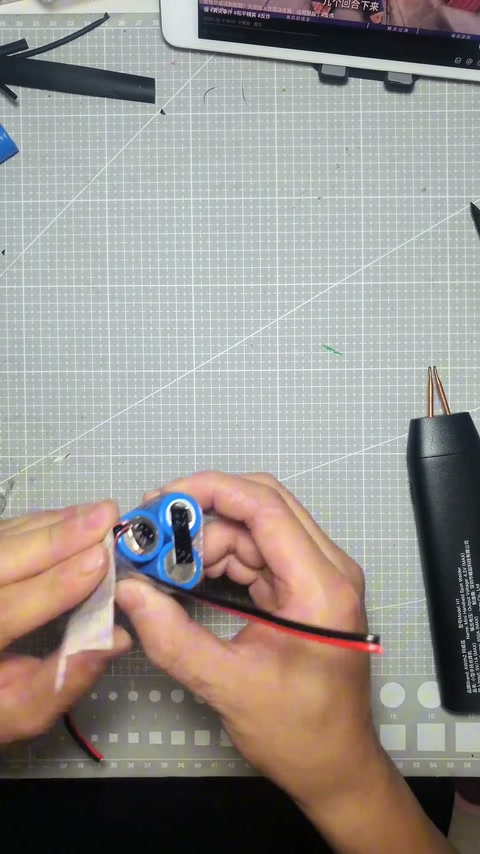
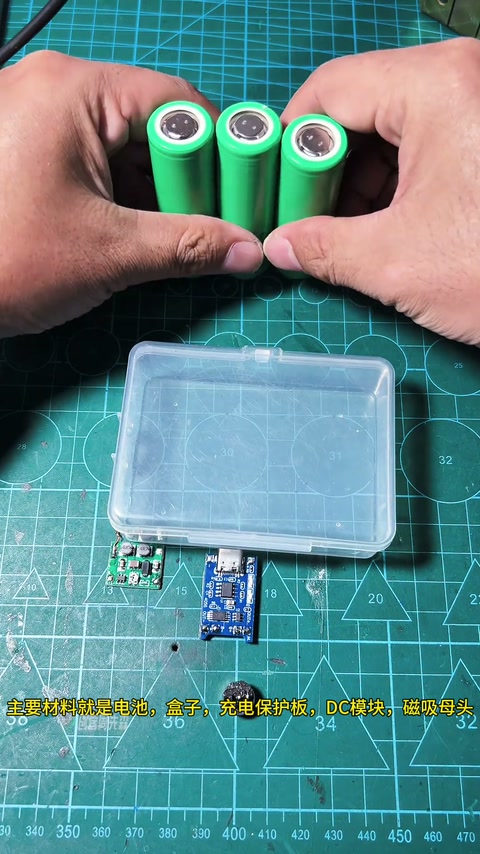
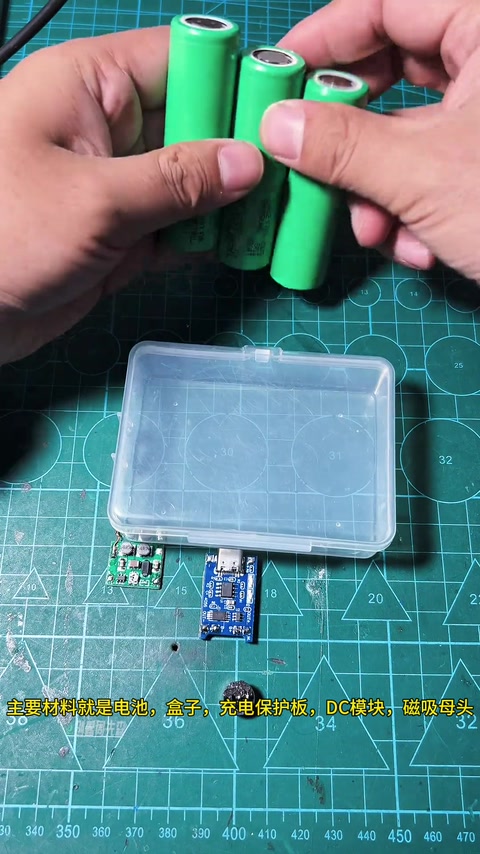
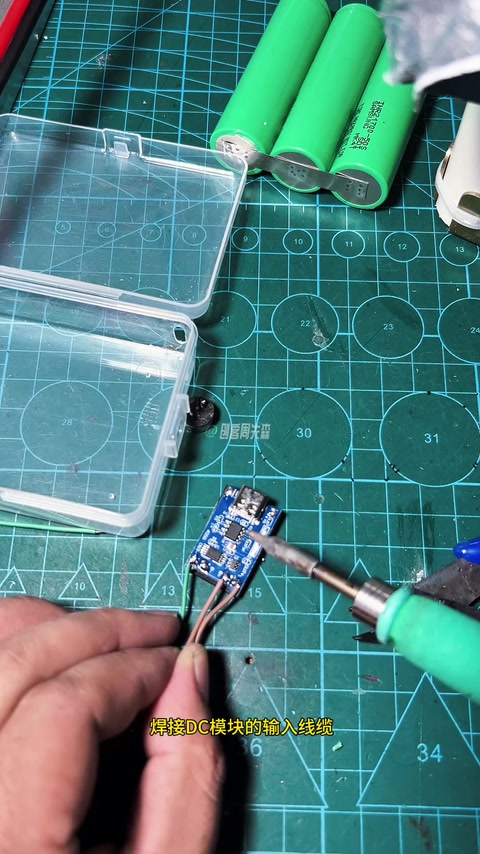
Lots of folks wanted the universal magnetic base guide, so this episode does it. Main materials: cells, a box, a charge/protection board, a DC module, a magnetic socket; the box can be wood, metal or even a brick, and the number of cells follows the box size; he picked a spare plastic box (comment: a floss box) that fits exactly three cells (comment: Samsung cells). First use the welder to put the cells in parallel — nothing fancy, just rattle off the welds, check they’re lined up and done; three fit in perfectly. Cut a hole to bring out the charge/protection board’s Type-C port; solder the charge board output leads, the DC module input leads, the protection board battery port and the DC module output leads; finally connect the cells and verify charging works; put the cells, protection board and DC module in the box and glue them down; mark and drill the lid as centred as possible for looks; push the magnetic socket into the hole and solder + and −; done, test the charging once more, perfect; how great is this universal magnetic base — pair it with whatever you want, use whichever lamp you want. 157 comments: why does the cheap 18650 charge/discharge module’s LED stay on (4); what does the DC module output; why is the 4056 double-layered / two input boards (creator: good eyes); Samsung cells are extravagant (a friend gave them); a 3D-printed base would be even better.
Outcome
| Goal | Universal magnetic base (power base for magnetic lamps) |
| Build | 3 × 18650 in parallel + charge/protection board (4056 type) + DC module + magnetic socket |
| Result | Charges fine, takes any magnetic lamp · verified on camera: 68–70s charging verified; 90–96s lamp test at the end |
Steps5 steps · click a frame to jump
 1. Materials: cells, box, charge/protection board, DC module, magnetic socket
Five main materials; the box can be wood, metal or even a brick; pick the number of cells by the box size.
00:00 – 00:22 2. Plastic box holds three cells; welder puts them in parallel, ‘just rattle off the welds’
A spare plastic box fits exactly three; welder puts them in parallel, nothing fancy, just rattle off the welds, check they’re lined up; three go in perfectly.
00:22 – 00:49 3. Cut a hole for the Type-C; solder charge board output → DC input; protection board battery port and DC output; verify charging
Cut a hole to bring out the charge/protection board’s Type-C; solder the charge board output leads and the DC module input leads; solder the protection board battery port and the DC module output leads; connect the cells and verify charging works.
00:49 – 01:10 4. Box and glue; drill the lid centred; solder + / − on the magnetic socket
Cells, protection board and DC module go into the box and are glued down; mark and drill the lid as centred as possible for looks; push the magnetic socket into the hole and solder the + and − leads.
01:10 – 01:30 5. Final charge test, pair it with whatever lamp you like
Final charge test, perfect; how great is this universal magnetic base — pair it with whatever you want, use whichever lamp you want; don’t hesitate, get building.
01:30 – 01:58
Bill of materials
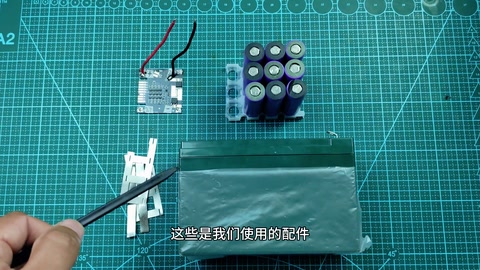
| 18650 cells ×3 | Samsung (per comments) · 1S3P |
| Spare plastic box ×1 | Enclosure |
| Charge/protection board (Type-C) ×1 | 4056 type · Charge protection |
| DC module ×1 | Boost output |
| Magnetic socket ×1 | Magnetic connector |
| Welder (U3pro) ×1 | Parallel welding |
| Glue (glued in place) | Fixing |
Creator’s tips
- Pick the cell count by the box size; any box will do (wood / metal / brick) 00:09
- A centred hole in the lid looks better 01:15
- Verify charging before boxing and gluing 01:01
Pitfalls
- Comments: the cheap charge/discharge module’s indicator LED stays on