No more slow phone charging — for under ¥100 I built a 100W flash-charge power bank that supports multiple fast-charge protocols





Creator’s own settings as stated in the video (timestamps link to the moment). Not official values — test on scrap first.
Bill of materials
Welder, accessories, consumables and parts used in this build; quantities and specs are editable Download BOMDescription
100W PD fast-charge power bank for under ¥100: 4 × Lishen L700 4000mAh in 4S, 16.8V (misspoken as 16000mAh), ¥70-odd case kit (100W multi-protocol board + 4S BMS + aluminium shell), Li-ion tape to hold, fish paper, AWithZ welder for the + and − ends, round welds, nickel strip and wire ends tinned first, thermistor under heat-resistant tape, 3M adhesive into the case; Samsung PD measures 19.5V × 3.1A ≈ 58W (66W cap), the seller didn’t oversell; can also feed a soldering iron to 400W for a few seconds
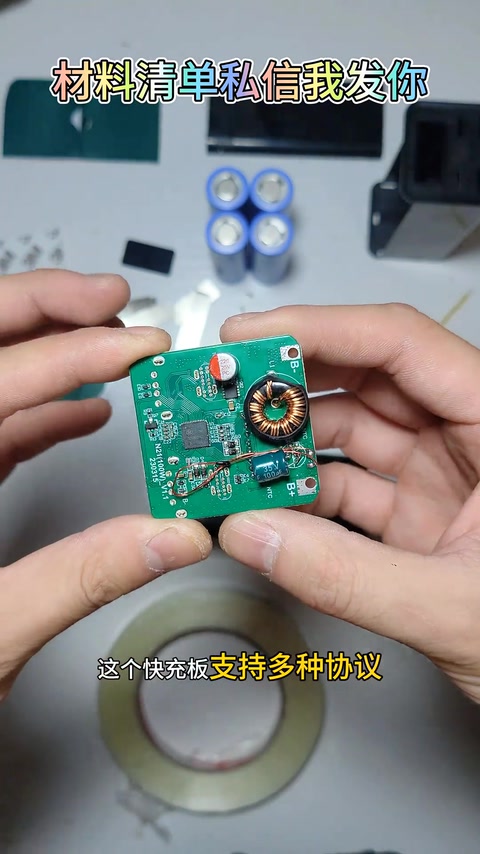
For under ¥100, a power bank with 100W output (kit rated 20000mAh 100W PD); Samsung PD tops out at 66W, measured around 60W; stickers for looks; also handy for powering a soldering iron up to 400W for a few seconds. Cells are Lishen L700, 4000mAh each, four make 16000mAh (corrected in the comments: in 4S the capacity is still 4000mAh). Materials: case bundle ¥70-odd including the 100W multi-protocol fast-charge board, 21700 4S BMS and aluminium alloy shell; four 21700 cells at about ¥5 each; fish paper; nickel strip (Maikedai); translucent charge-level sticker; plastic back cover. Build: four cells in series for 16.8V, Li-ion tape for a first hold; fish paper (front and back); out comes the old regular, the AWithZ welder, power on, weld the positive first, welding is super satisfying, beep-beep like arc welding, always keep + and − straight; 4S 4.2V to 16.8V, if the principle isn’t clear DM for the wiring diagram, reversed will burn out; fish paper after welding, tin the pads on the 16.8V BMS; solder the + / − jumper, welds must be round and full so the load spreads and they don’t pull off; BMS onto the cells, wire ends run under the tape for looks and to protect the wire; trim the strip corners so it fits in the case, leave a solder point, bend it by hand onto the pad and solder with the iron so the strip sits tight in the solder; back-side + / −, a dab of solder on the strip then a dab on the wire end is easier; 99% solder wire; trim the strip edges; tin the BMS + / − pads the same way (wire end not tinned, redo it); keep + and − straight; fish paper insulation; thermistor through and held with heat-resistant tape, it senses cell temperature to stop overheating on charge and discharge; cells and BMS into the shell, the seller includes 3M adhesive to stick between the two boards, tidy the wires as it goes in or it won’t fit, back cover on with two screws, wires not tidy so it sits a little proud and the screws have to pull it down; the shell has a front and back, stick on the dark protective shell, fit the bottom shell, done; lure-fishing and drone stickers (shouldn’t count as infringement). Test on Samsung PD 66W: 19.5V 3.1A ≈ 58W, the seller didn’t oversell, no 100W phone so 66W is the most it can test; next episode a 60000mAh one to charge a dozen phones. Comments: fake Lishen rewraps are everywhere, Pinduoduo worst of all (3); been using one for two years; how do four 4000 cells in series make 16000; what’s the board’s controller, Injoinic SW6306?; a colour screen would be nice; parts list.
Outcome
| Goal | DIY 100W PD power bank for under ¥100 |
| Build | 4S1P Lishen L700 4000mAh + 100W protocol board + 4S BMS + aluminium shell |
| Result | Samsung PD measures about 58W, works fine · verified on camera: 521–546s 19.5V × 3.1A ≈ 58W |
Steps10 steps · click a frame to jump
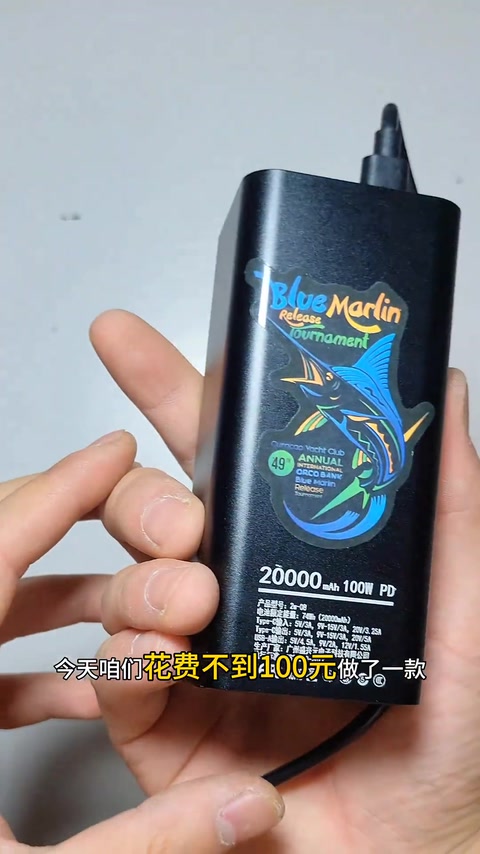
 1. Finished build: 100W power bank, Samsung 60W, powers a soldering iron; cells L700 × 4
A 100W power bank for under ¥100; Samsung PD 66W measures 60W; stickers; powers a soldering iron to 400W for a few seconds; Lishen L700 4000mAh × 4 (spoken as 16000mAh).
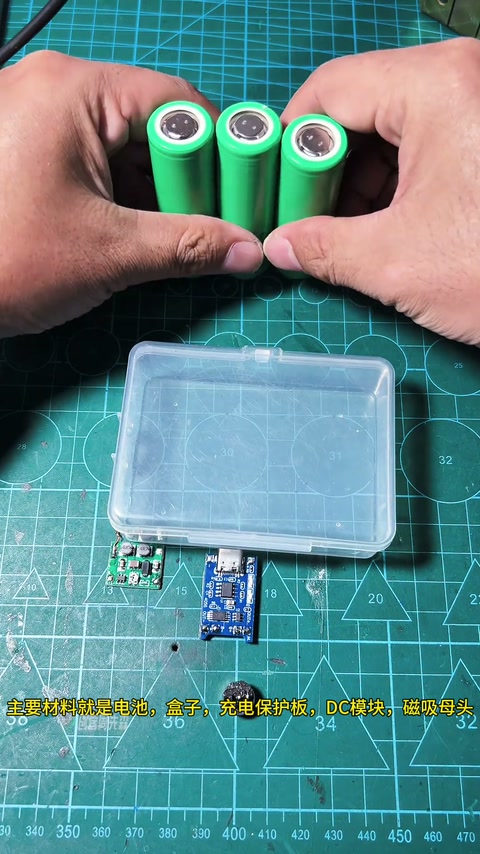
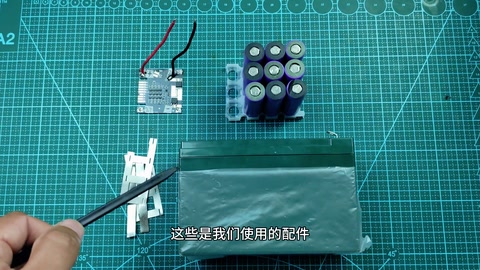
00:01 – 00:44 2. Materials: ¥70-odd case kit (100W board + 4S BMS + aluminium shell), cells ¥5 each, fish paper, nickel strip, stickers, back cover
Case bundle ¥70-odd with the fast-charge protocol board (multi-protocol, up to 100W), 21700 4S BMS, aluminium shell; four cells at about ¥5 each; fish paper; Maikedai nickel strip; translucent charge-level sticker; plastic back cover.
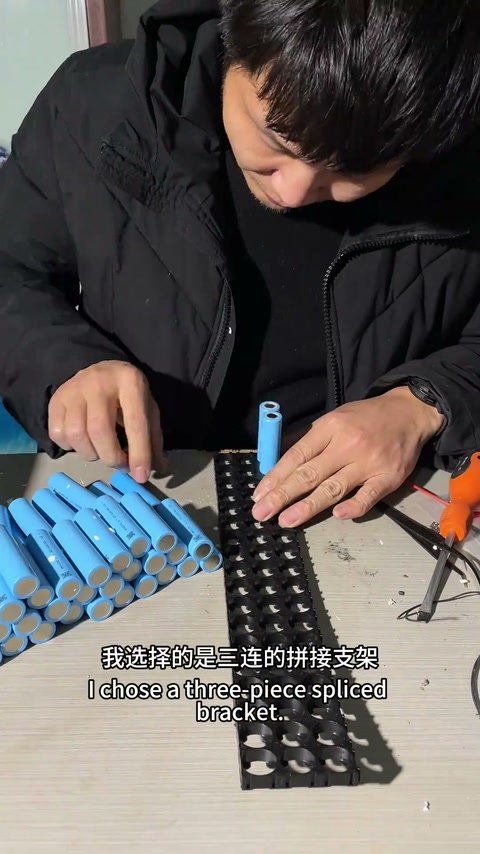
00:44 – 01:43 3. Four in series, 16.8V, Li-ion tape to hold, fish paper front and back
Four cells in series for 16.8V; Li-ion tape for a first hold so they weld easily; fish paper on, back side too.
01:45 – 02:31 4. AWithZ welder on the positive and negative; keep polarity straight; 4S 16.8V
The old regular AWithZ welder powered on; weld the positive first, super satisfying beep-beep; always keep + and − straight; 4S 4.2V→16.8V; DM for the wiring diagram if unsure; reversed will burn out.
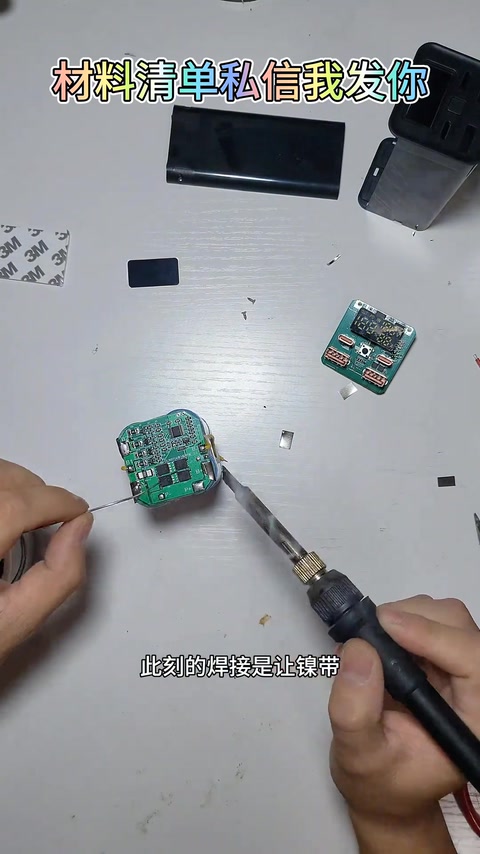
02:33 – 03:21 5. Fish paper; tin the BMS pads; solder the jumper, welds round and full
Fish paper after welding; tin the pads on the 16.8V BMS; solder the + / − jumper; welds must be round and full, load spread evenly, hard to pull off.
03:22 – 04:03 6. BMS on the cells, wires under the tape; trim strip corners; tin strip and wire ends before soldering; 99% solder
BMS on the cells, wire ends run under the tape; trim the strip corners so it fits the case, leave a solder point, bend it onto the pad by hand and solder it down tight; back-side + / −, tin the strip first then the wire end, faster; 99% solder wire; trim the strip edges.
04:04 – 05:40 7. Tin and re-solder the BMS + / −; round welds; polarity straight; fish paper
Tin the BMS + / − pads first; the wire end wasn’t tinned, do it again; the joints come out very round, this method is recommended; keep + and − straight, don’t solder them wrong; fish paper for insulation.
05:41 – 06:37 8. Thermistor under heat-resistant tape; 3M between the boards; into the shell, tidy wires, back cover screws
Thermistor through and held with heat-resistant tape, senses cell temperature to prevent overheating on charge and discharge; cells and BMS into the shell, seller-supplied 3M adhesive between the two BMS boards; tidy the wires as it goes in; back cover on with two screws.
06:37 – 07:23 9. Proud wires pulled down by screws; shell front / back; protective shell, bottom shell; stickers
Wires not tidy so it sits a little proud, tighten the screws to press it down; the shell has a front and back, don’t mix them up; stick on the dark protective shell; bottom shell on, done; lure-fishing and drone stickers for decoration.
07:28 – 08:41 10. Samsung PD measures 19.5V × 3.1A ≈ 58W, no overselling; next episode 60000mAh
Samsung PD tops out at 66W; reads 19.5V 3.1A ≈ 58W, close to 60W; the seller didn’t oversell; no 100W phone so only 66W can be tested; next episode a 60000mAh one for a dozen phones.
08:41 – 09:28
Bill of materials
| Power bank case kit ×1 | 100W multi-protocol board + 4S BMS + aluminium shell, ¥70-odd · Shell / electronics |
| Lishen L700 21700 ×4 | 4000mAh, about ¥5 each · 4S |
| AWithZ welder (U3pro) ×1 | Spot welding |
| Fish paper / nickel strip / Li-ion tape / heat-resistant tape / 3M adhesive | Insulation and holding |
| Soldering iron + 99% solder wire ×1 | Soldering wires |
| Thermistor ×1 | Temperature protection |
| Stickers (charge window / decoration) | Looks |
Measured on camera
| PD output | 19.5V × 3.1A ≈ 58W 08:41 |
Creator’s tips
- Round, full solder joints spread the load so wires don’t pull off 03:36
- Tin the nickel strip and the wire end separately before soldering — faster and stronger 04:56
- Trim the strip corners and edges so it fits in the case 04:18
- Run wire ends under the tape, neater and protects the wire 04:04
- Hold the thermistor against the cells with heat-resistant tape 06:39
- Tidy the wires before going into the case, or it won’t fit 07:06
Pitfalls
- Capacity slip: 4S 4000mAh stated as 16000mAh 00:30
- Wires not tidy, sits a little proud 07:28
- Comments: lots of fake Lishen rewraps
Li-ion safety
- Reversed polarity will burn it out 03:13
- The thermistor senses temperature to prevent overheating on charge and discharge 06:39
Quotes
Cost & time
| Case kit | ¥75 |
| Cells ×4 | ¥20 |
| Total | ¥100 |