
Bring 220V mains outdoors — DIY power station

Creator’s own settings as stated in the video (timestamps link to the moment). Not official values — test on scrap first.
Bill of materials
Welder, accessories, consumables and parts used in this build; quantities and specs are editable Download BOMDescription
54 × 18650 cells in 3S18P for a 12.6V 36Ah outdoor power box: 220V inverter + wireless charging + USB + solar charging + thermostat-controlled fans
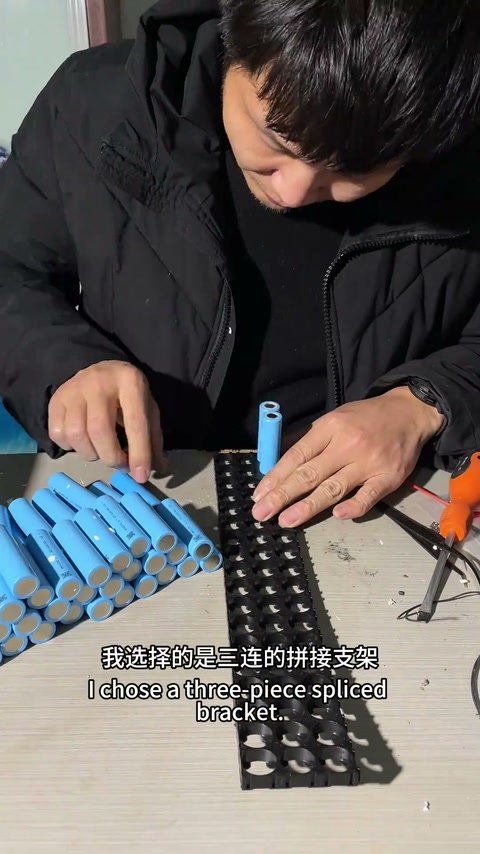
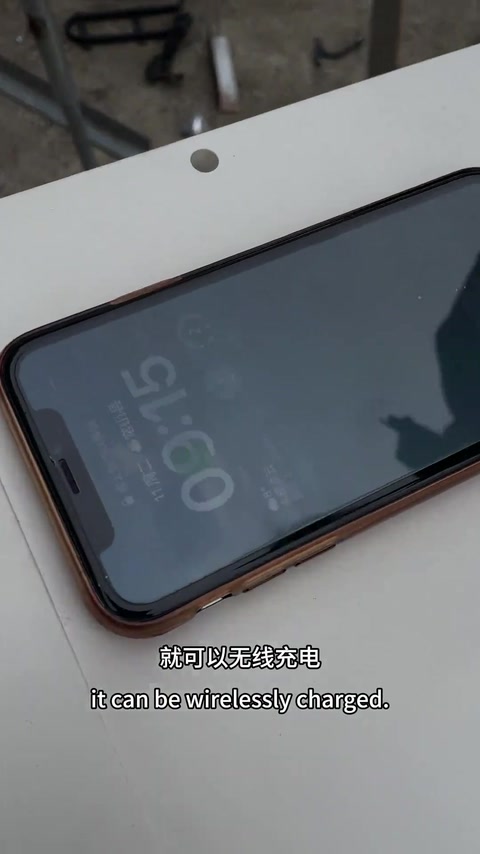
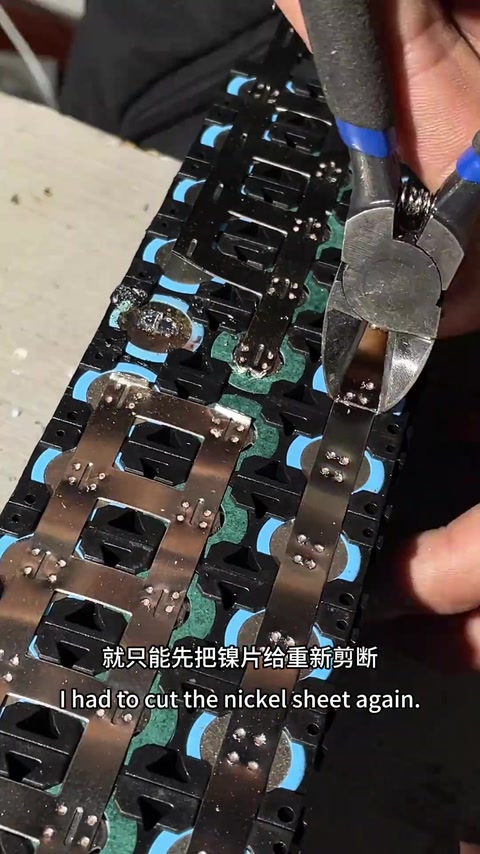
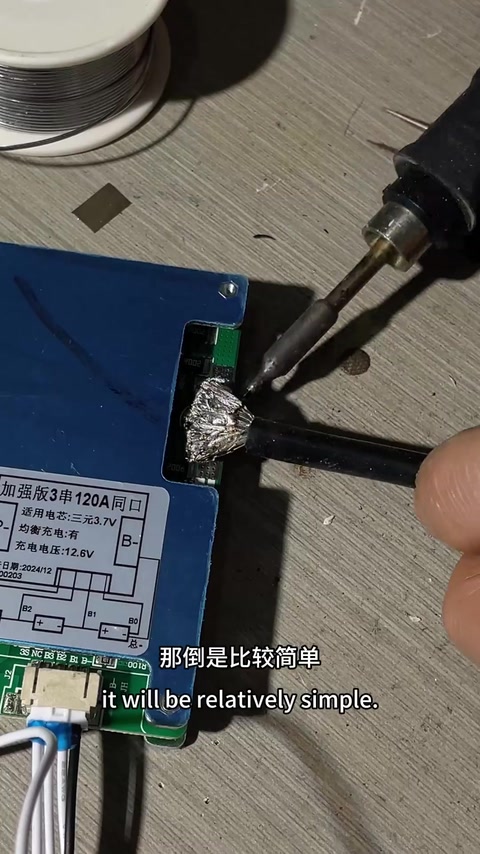
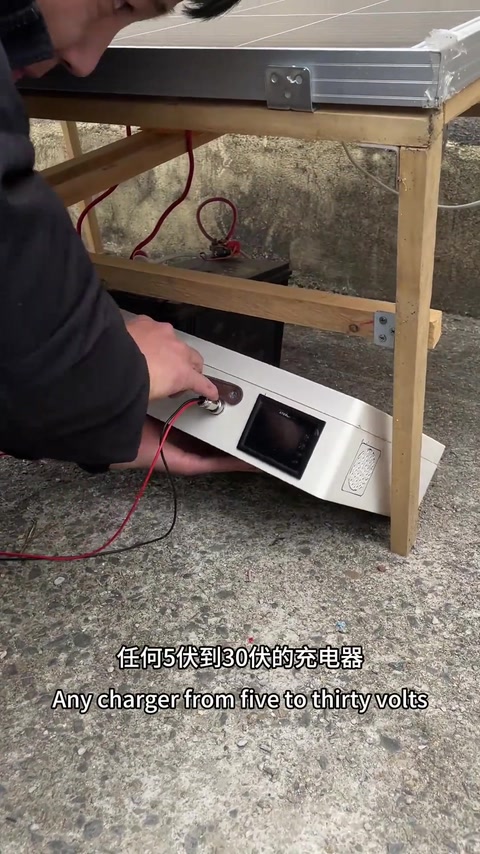
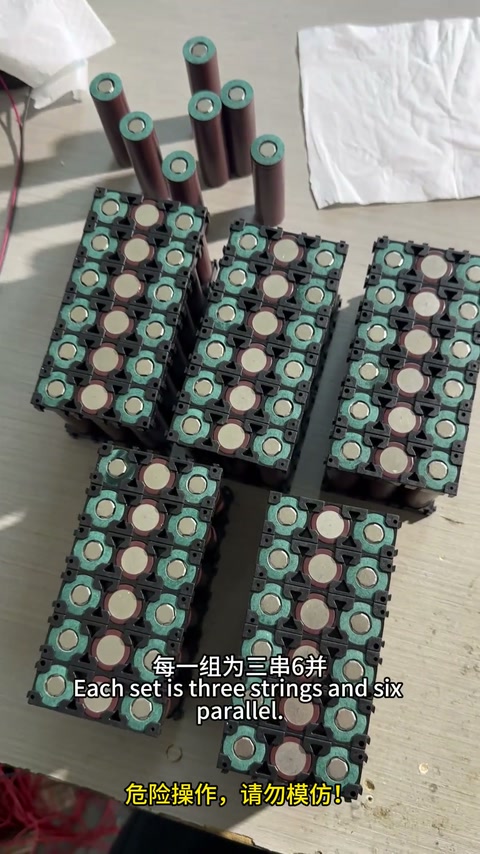
The creator takes 54 × 5C-discharge 18650 cells (about 16mΩ internal resistance; IR and voltage tested first, any 20mΩ cells swapped out) and loads them into snap-together triple holders for a 3S18P pack, 12.6V full and 36000mAh; fish paper on the positive ends against shorts. Spot-welded with double-layer nickel strip on the high-power AWithZ welder; midway the two pens touched and blew through the strip and one cell, so that cell was pulled and replaced. A 120A balancing BMS goes on, the main + and − are brought out with copper wire wrapped around and flooded with solder from the iron, then wrapped in fish paper and fibre tape. The box gets a bidirectional smart meter (with shunt), a 220V socket, power switch, 90W USB fast-charge module, wireless charging module, a CC/CV buck-boost charging module with 5–30V input (output set to 12.6/12.8V, about 5A, diode in series), a 600W / 1200W-peak pure sine wave inverter, two fans + three 40℃ thermostat switches in parallel (one each on the inverter heatsink, the BMS and the buck-boost module), and finally a carry handle. It can cook rice and run a hot pot, drive power tools, jump-charge an e-bike, and charge straight from any 5–30V charger or solar panel.
Outcome
| Goal | Build a multi-function outdoor power station that brings 220V household power outdoors |
| Build | 3S18P 18650 pack + all-in-one storage box with inverter / charging / wireless charging |
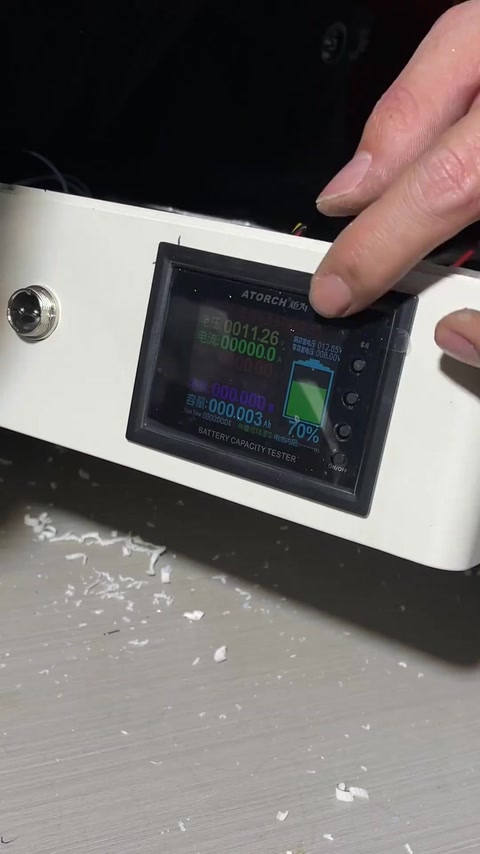
| Result | Inverter powers up fine, meter displays, phone wireless-charging and rice-cooking demo · verified on camera: Inverter ‘runs perfectly’ once wired to the 220V socket (312–318s); meter shows battery info (270–286s); real-world use at the end |
Steps13 steps · click a frame to jump
 1. Finished build and what it can do
54 × 18650 cells in one extra-long pack; put a phone on it and it charges wirelessly, Type-C/USB, 1200W 220V household power, can charge straight from solar.
00:00 – 00:28 2. Test IR and voltage, swap out bad cells
Even new cells need testing; this 5C-discharge batch is about 16mΩ, and the few that read 20mΩ are all swapped for matching 16mΩ cells.
00:28 – 00:55 3. Load snap-together triple holders, fish paper on the positive ends
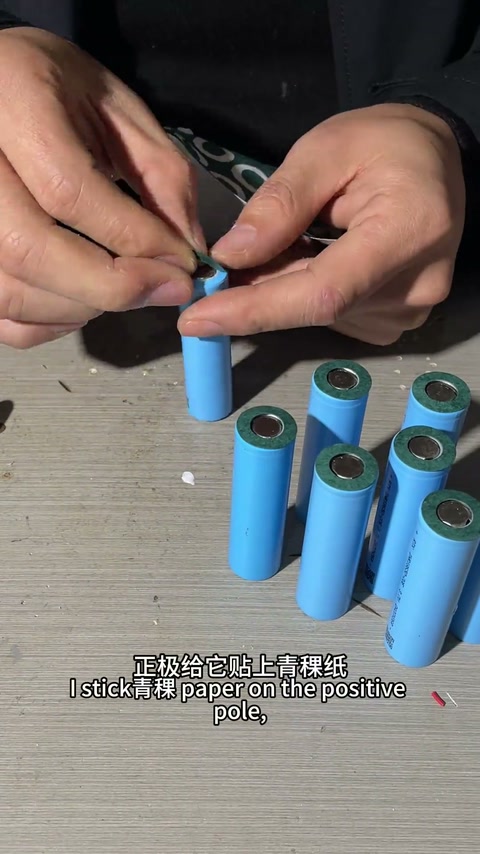
Snap-together holders are flexible but not as rigid as a one-piece holder; a ring of fish paper on each positive end stops the wrap rubbing through and shorting; cap with the top holder to get 3S18P, 12.6V, 36000mAh.
00:55 – 01:23 4. High-power welder, double-layer nickel strip
Discharge current is high, so the strip is doubled up; this machine has plenty of punch, two more layers would be no problem; the creator prefers auto trigger, and the machine also supports foot-pedal trigger.
01:23 – 01:50 5. Accident: pens touched, blew through a cell, replaced it
The two pens touched and blew through the double strip and one cell; cut the strip, pull that cell’s holder segment out, fit a new cell and put it back, re-cut a short piece of strip — much gentler on the pack than tearing off all the strip.
01:50 – 02:18 6. Fit the 120A balancing BMS, bring out the main + and −
Wrap the outside in fish paper; 120A balancing BMS; main − comes off the balance board’s output, main + bypasses the balance board; wrap the joints in copper wire, iron on max and flood with solder, then tape; connect the balance leads, fish paper on both sides, fibre tape around both ends.
02:18 – 03:26 7. Cut the box for meter / socket / switch / USB / wireless / fans
BMS fixed on the pack; lay out the bidirectional smart meter, 220V outlet, power switch, USB+Type-C, charge input (step drill bit), cooling fan holes; fit the USB charge module, wireless charge module, meter, switch and 220V socket.
03:26 – 04:19 8. Wire the meter’s shunt
Main − gets a ring terminal (no crimper, so solder it) and goes to the shunt’s input; a spare positive lead goes to the shunt’s positive input; ribbon cable to the meter; shunt output goes back to the main − lead, then fix the shunt down.
04:19 – 04:46 9. Connect the 600W / 1200W-peak pure sine inverter
Main + lead plus a small spare positive lead go into the inverter’s positive terminal and get clamped; four thin spare leads from the main − terminal go to the inverter’s negative; fix the inverter, wire the 220V outlet and control switch, power up, runs fine.
04:46 – 05:18 10. Fit the 5–30V buck-boost charge module, set 12.6V
Input port wired to + and −; the CC/CV auto buck-boost module takes 5–30V input; diode in series on the positive output; one of the four spare lead sets becomes the charge lead; clip the multimeter on the diode’s output side and set the module output to 12.6 or 12.8V; connect the negative and charging starts, working current about 5A.
05:18 – 06:08 11. Two fans + three 40℃ thermostat switches in parallel
One intake and one exhaust fan; three thermostat switches stuck on the inverter heatsink, the balancing BMS and the buck-boost module heatsink, all wired in parallel — any one above 40℃ starts the fans, they stop only when all three are below 40℃.
06:08 – 06:58 12. Wire the wireless charger and 90W USB, screws and handle
Third spare lead set to the wireless charge module, fourth to the 90W USB charge module; screw it all up and fit the carry handle.
06:58 – 07:25 13. Use-case demo
Hot pot while fishing, plug tools straight in for outdoor repairs, jump-charge a dead e-bike; charge straight from any 5–30V charger or solar panel.
07:25 – 07:55
Bill of materials
| 18650 cells, 5C ×54 cells | IR ~16mΩ · Battery pack |
| Snap-together triple holders | Hold the cells; single cells can be pulled out |
| Fish paper | Insulate positive ends / both sides |
| Nickel strip | Double layer · Spot-weld connections |
| AWithZ welder (high power, foot pedal) | Spreadsheet tag P60F · Spot welding |
| Balancing BMS ×1 | 3S 120A common port · Protection / balancing |
| Copper wire + solder | Reinforce the main + / − joints |
| Fibre tape / insulating tape | Reinforcement and insulation |
| Bidirectional smart meter + shunt ×1 | Charge / discharge readout |
| 220V outlet / power switch | Output |
| USB charge module ×1 | 90W · USB / Type-C output |
| Wireless charging module ×1 | Wireless phone charging |
| Pure sine wave inverter ×1 | 600W / 1200W peak · 220V output |
| CC/CV buck-boost module ×1 | 5–30V input · Charging |
| Diode ×1 | Stops back-feed while charging |
| Cooling fans ×2 | One in, one out |
| Thermostat switches ×3 | 40℃ · Start / stop the fans by temperature |
| Storage box + handle ×1 | Enclosure |
Measured on camera
| Smart meter, capacity | 000.003Ah 04:35 |
| Smart meter, charge level | 7.0 % 04:35 |
| Smart meter, external temperature | 14.4 ℃ 04:35 |
Creator’s tips
- Test IR and voltage even on new cells; reject the high-IR ones and keep the batch matched 00:42
- Snap-together holders let you pull just the blown cell and swap it, without tearing off all the strip 01:54
- Use double-layer nickel strip for high discharge current; wrap the main + / − joints in copper wire and flood with solder 01:36
- Main + bypasses the balance board; main − comes off the balance board’s output 02:38
- Three thermostat switches in parallel: any hot spot starts the fans, they stop only when all have cooled 06:44
- Set the buck-boost module output to 12.6/12.8V with a multimeter before connecting the battery 05:48
Pitfalls
- Let the two pens touch and they blow through the double strip and the cell (‘joy turns to grief’) 01:45
- Snap-together holders are not as rigid as one-piece holders 01:02
- Without a matching ring terminal, heavy-gauge joints are hard to deal with 02:26
Li-ion safety
- Fish paper on the positive ends so the wrap can’t rub through and short; both sides of the pack too 01:07
- Wrap joints in insulating tape, fibre tape around both ends for strength 02:54
- Diode in series on the buck-boost charge output 05:32
Quotes
Ideas for you
 03:22Rural Abiao63727830
 06:01Rural Abiao22.5k1843759503:22Rural Abiao63727832331