You can build a lithium pack at home


Creator’s own settings as stated in the video (timestamps link to the moment). Not official values — test on scrap first.
Bill of materials
Welder, accessories, consumables and parts used in this build; quantities and specs are editable Download BOMDescription
6 × 18650 in 3S2P for a 12V pack: waterproof box + holder + 12V BMS + DC charge/discharge port, acrylic sheet for insulation, spot-welded with an AWithZ; tested on a car-projector-headlight flashlight and a DIY drill press, charger LED goes green → red
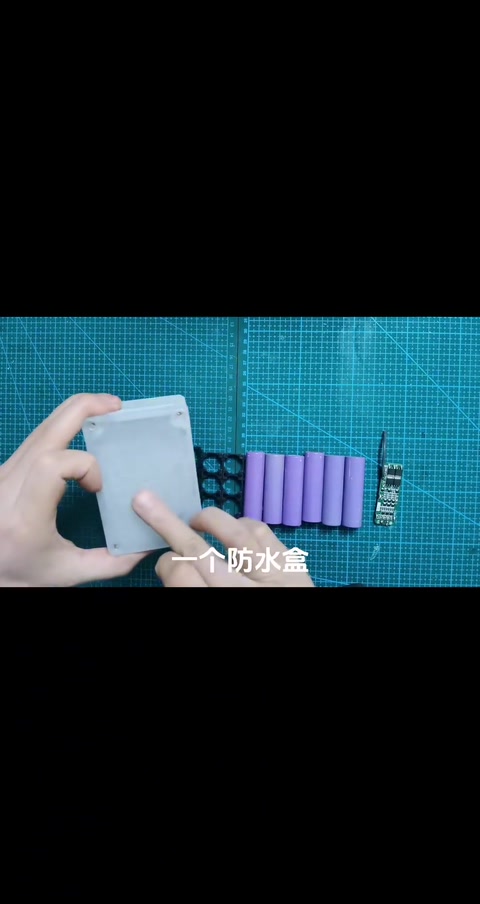
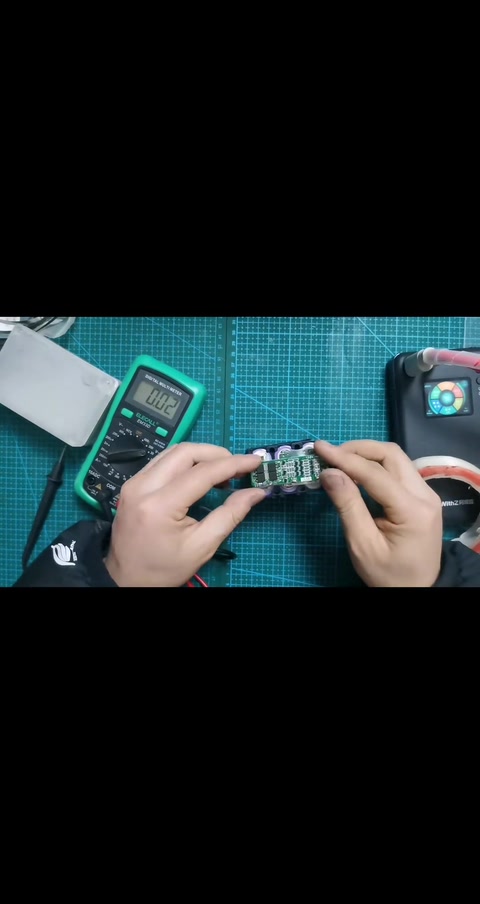
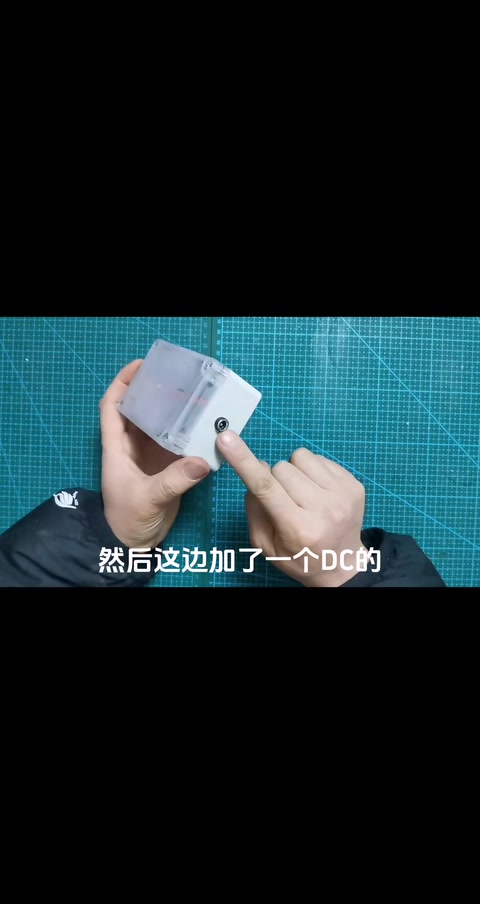
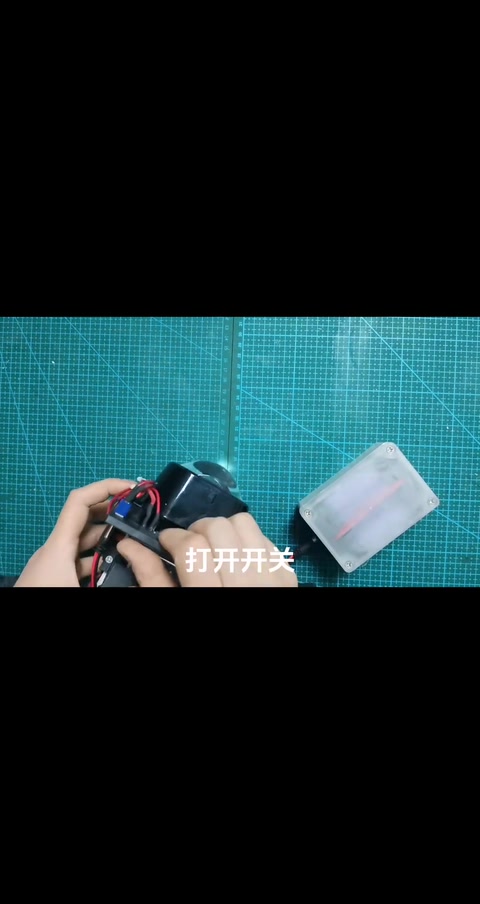
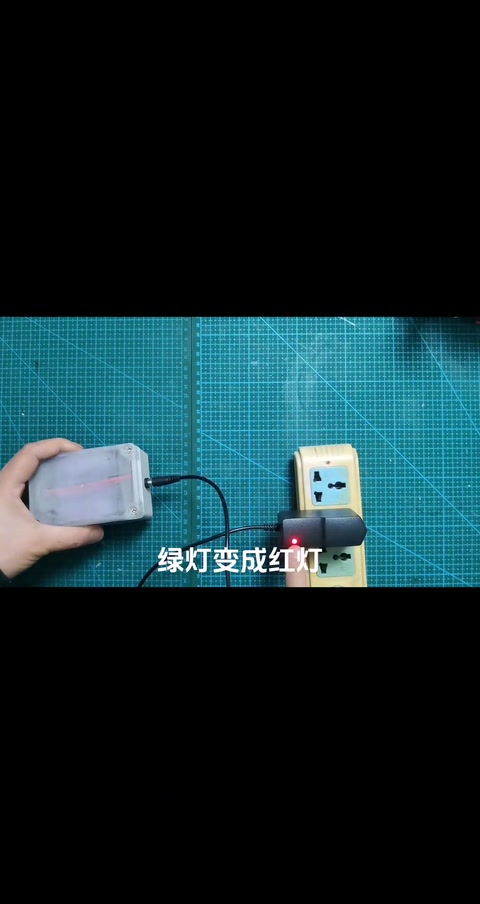
Ajie shows how to build an 18650 12V pack at home. Parts: a waterproof box, 6 × 18650, a cell holder, a 12V Li-ion BMS, wired 3S2P. During assembly the cells are spot-welded with an AWithZ welder (watermark on screen); when fitting the BMS there must be insulation underneath — a thin acrylic sheet, first held with fiber tape; the BMS wiring diagram is shown on screen (12V Li-ion BMS REV2.0, charge/discharge, for motors / drills, no shorting, 12.6V). Finished: the waterproof box gets a frosted surface and a DC charge/discharge port. Discharge test: first a flashlight built from a car projector headlight, high and low beam both fine; then powering a DIY drill press he built earlier to drill a small board; charging test, LED goes green → red as normal. Comments: internal resistance, where to buy the welder, why a BMS, how big a BMS for 3S10P; the top comment asks whether to start a car with 3S 12.6 or 4S 16.8.
Outcome
| Goal | Build an 18650 12V pack at home |
| Build | 3S2P 18650 + 12V BMS + waterproof box + DC port |
| Result | Runs the headlight flashlight on high / low beam and the drill press through a board; charges normally · verified on camera: 106–115s headlight high / low beam; 141s drilling a board; 151–163s charger LED green → red |
Steps7 steps · click a frame to jump
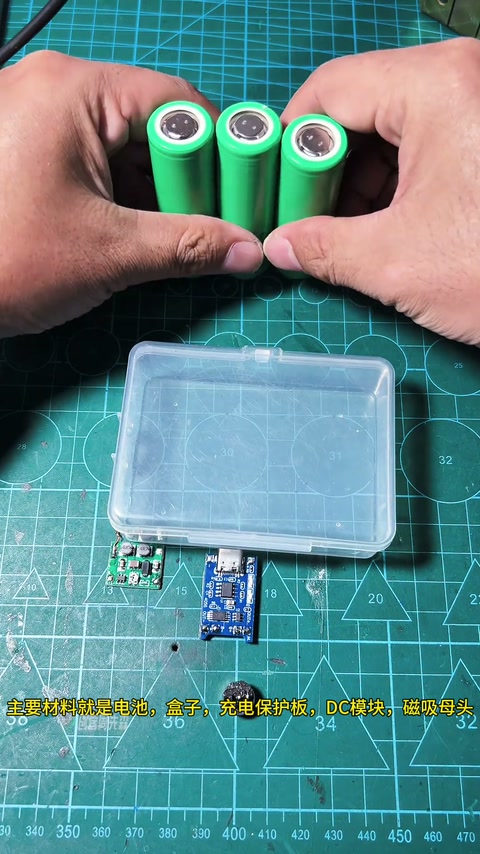
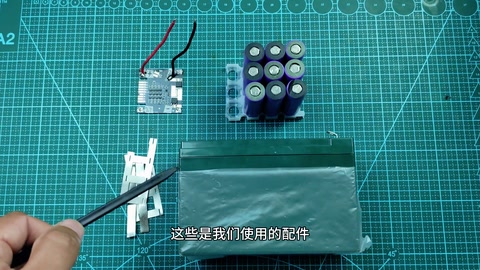
 1. Parts list: waterproof box, 6 × 18650, holder, 12V BMS
Build a 12V pack from 18650s; waterproof box, 6 × 18650, cell holder, 12V Li-ion BMS; configuration 3S2P.
00:00 – 00:26 2. Spot-welded assembly (AWithZ)
Assembly begins; on screen the nickel strip is spot-welded with an AWithZ welder (sped up, no narration).
00:26 – 00:44 3. Insulation under the BMS: acrylic sheet + fiber tape; wiring diagram
When fitting the BMS there must be insulation underneath — a thin acrylic sheet, first held with fiber tape; BMS wiring diagram: 12V Li-ion BMS REV2.0, charge/discharge, for motors / drills, no shorting, 12.6V; 2P3S.
00:44 – 01:11 4. Finished: frosted waterproof box + DC charge/discharge port
All done; the top of the waterproof box is frosted and a DC charge/discharge port is added.
01:21 – 01:35 5. Discharge test 1: car-projector-headlight flashlight
A flashlight built from a car projector headlight; switch on, high and low beam both fine.
01:36 – 01:55 6. Discharge test 2: DIY drill press through a board
The DIY drill press built earlier, powered from this pack, drills a small wooden board.
02:00 – 02:22 7. Charging test: LED green → red
Test the charging — the LED goes from green to red, charging normally; if you like it, DIY one at home.
02:31 – 02:43
Bill of materials
| 18650 cells ×6 | 3S2P |
| Waterproof box ×1 | Frosted surface · Enclosure |
| Cell holder ×1 | Holding |
| 12V Li-ion BMS ×1 | REV2.0 12.6V · Protection |
| AWithZ welder (U3pro) ×1 | Spot welding |
| Thin acrylic sheet / fiber tape | BMS insulation |
| DC charge/discharge port ×1 | Port |
| Car-projector-headlight flashlight / DIY drill press | Load test |
Creator’s tips
- There must be insulation under the BMS (thin acrylic sheet) 00:44
- Add a DC port to the waterproof box — one port for charge and discharge 01:21
- Follow the BMS wiring diagram on screen (2P3S) 00:54
Pitfalls
- Comment: couldn’t follow the BMS wiring, the video goes through it too fast
Li-ion safety
- The BMS is marked “no shorting” 01:08