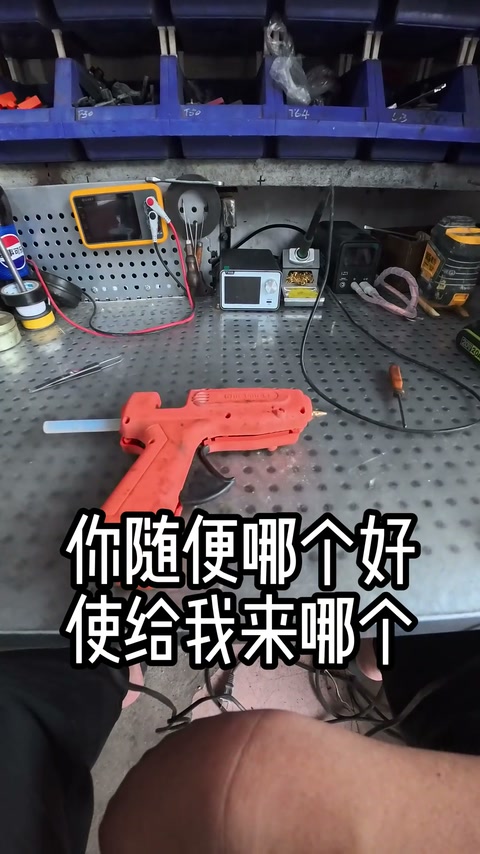
DIY tools | A portable spot welder — niche but professional. I’ve been building a solar-lamp project lately and need to weld lithium packs for storage. I’d always used a soldering iron, but soldering lithium cells is slow and a safety risk, so I got a portable spot welder (AWithZ U3) and it works well. Compared with an iron, pulse spot welding avoids cold joints, the nickel strip sits tight, no hot iron is needed so there’s less risk of damaging the cell, and it’s very fast — one weld in 3 seconds, ideal for batch work. Spot welding was new to me, but it really is better suited to battery mods than conventional soldering


Creator’s own settings as stated in the video (timestamps link to the moment). Not official values — test on scrap first.
Bill of materials
Welder, accessories, consumables and parts used in this build; quantities and specs are editable Download BOMDescription
Uncle Jiang reviews the AWithZ U3 (Li-ion version, 11000mAh): palm-sized, 2-inch colour screen, USB / C ports can even reverse-charge a phone, welds 0.1 copper / 0.35 nickel-plated / 0.2 pure nickel, 80 gears from 1.0 to 9.0, auto mode with 0.5s trigger and 2 pulses, 40 cm thick-copper-wire pens with a front-facing opening, test weld on a coin cell — one ‘beep’ and done; ¥100-odd, good enough for DIY
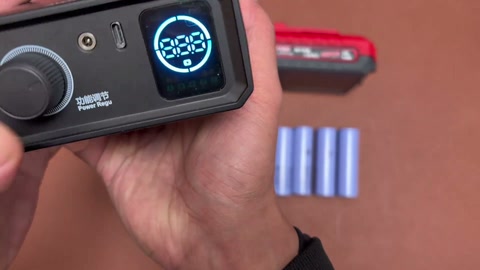
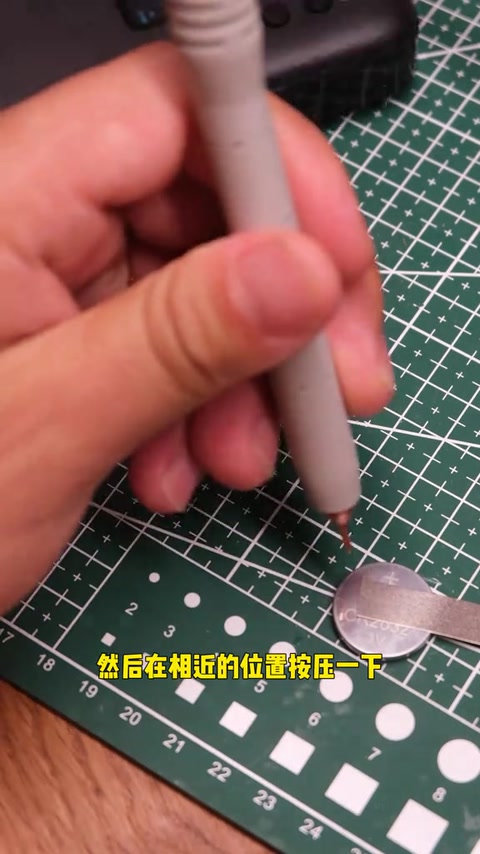
The solar-lamp project needs lithium packs welded; a soldering iron is slow on lithium cells and a safety risk, so he bought an AWithZ U3 welder, the Li-ion version with 11000mAh (on-screen specs: 0.1mm copper, 0.35mm nickel-plated, 0.35mm steel, 0.2mm pure nickel) — not expensive, good enough is good enough; if you have more use cases, buy a more professional model. Looks: palm-sized; welding-pen socket top-left; 2-inch colour screen in the middle; two buttons on the right (adjust key, power / option toggle key); USB and C ports on top — the official notes say besides charging it can emergency-charge a phone, but inefficiently; manual weld key on the right (touch to trigger in manual mode). Long-press to power on into the main menu: battery and temperature in the centre, 6 sub-menus toggled by tapping, short-press the adjust key to change values; settings menu top-right (language, pulse interval, sound etc.), defaults are fine — the only thing to set is the gear: 80 fine gears from 1.0 to 9.0, matched to the material, neither too high nor too low. The pens use thick copper wire — low resistance, low loss, no heating; detachable alumina-copper welding pins are safe and durable; the handle has a manual weld key; the pens are 40 cm long with a front-facing opening to maximise usable length; line up with the socket and push in. Set the parameters before use: auto mode, 0.5s trigger, 2 pulses, gear starting at 3; test on a dead CR2032 coin cell with the material supplied by the manufacturer: hold one pen still, press the other down close by, the machine welds automatically with a ‘beep’; check the weld by prying with pliers to see how solid it is, and if the weld is weak, raise the gear until it’s perfect. Verdict: highly recommended for DIY battery or small-appliance welding. Comments: what price, where to buy, how to remove a welded joint without damage (creator: ¥100-odd; needle-nose pliers will get it off but leave marks); ‘I have this one too, ¥200-odd’.
Outcome
| Goal | Review the AWithZ U3 for welding solar-lamp lithium packs |
| Build | AWithZ U3 Li-ion version + CR2032 test weld |
| Result | Test weld succeeded, weld is solid · verified on camera: 117–140s coin-cell test weld and pliers pry test |
Steps6 steps · click a frame to jump
 1. Why buy: a soldering iron isn’t right for lithium; U3 Li-ion version 11000mAh, weldable materials
Used a soldering iron before, not right for lithium cells; bought the AWithZ U3, DIY needs are modest, went for the Li-ion version with 11000mAh; welds 0.1 copper, 0.35 nickel-plated, 0.35 steel, 0.2 pure nickel; not expensive, good enough; for more use cases a more professional model is advised.
00:00 – 00:27 2. Looks: palm-sized, 2-inch colour screen, two keys, USB + C, manual key
Palm-sized body; pen socket top-left; 2-inch colour screen in the middle; adjust key and power / toggle key on the right; USB and C ports on top, can emergency-charge a phone but inefficiently; manual weld key on the right.
00:27 – 00:55 3. Menu: 6 sub-menus, settings; 80 gears from 1.0 to 9.0
Long-press to power on into the main menu, battery and temperature in the centre; toggle 6 sub-menus, short-press the adjust key to set values; settings top-right (language, pulse interval, sound); defaults are fine, the only thing to set is the gear — 80 fine gears from 1.0 to 9.0, matched to the material.
00:55 – 01:29 4. Pens: thick copper wire, alumina-copper pins, 40 cm with front-facing opening
Thick copper pen wire has low resistance, low loss and doesn’t heat up easily; detachable alumina-copper welding pins; manual key on the handle; pens are 40 cm long with a front-facing opening to maximise usable length; line up with the socket and push in.
01:25 – 01:50 5. Settings: auto, 0.5s, 2 pulses, gear 3; CR2032 test weld
Set the parameters ahead of time; he prefers auto mode; gear starts at 3, everything else default; dead CR2032 + material supplied by the manufacturer; hold one pen still, press the other down close by, it welds automatically with a beep.
01:50 – 02:10 6. Check the weld, raise the gear if it’s weak; verdict — recommended
Look at the weld, pry it with pliers to see how solid it is; if the weld is weak, raise the gear until it’s perfect; good fun; a portable Li-ion spot welder is recommended for DIY battery or small-appliance work.
02:10 – 02:31
Bill of materials
| AWithZ U3 welder (Li-ion version) ×1 | 11000mAh, 2-inch colour screen, 80 gears · Under review |
| Welding pens ×1 | 40 cm thick copper wire, alumina-copper pins · Welding |
| CR2032 coin cell + manufacturer-supplied nickel strip ×1 | Test weld |
Creator’s tips
- The only thing to set is the gear, matched to the material — too high or too low both fail; if the weld is weak, raise the gear 01:16
- Auto mode: hold one pen still, press the other down close by and it welds automatically 01:57
- Reverse-charging a phone over USB is for emergencies only, it’s inefficient 00:34
- Comment: a welded nickel strip can be removed with needle-nose pliers, but it leaves marks (creator’s answer)
Li-ion safety
- Soldering lithium cells with an iron is a safety risk; spot welding needs no high heat and reduces cell damage (from the title) 00:05
Quotes
Cost & time
| U3 spot welder | ¥100 · 'a bit over ¥100' |
| Time | 3 seconds per weld (per title) |