Building a 21700 pack with AWithZ — full workflow


Creator’s own settings as stated in the video (timestamps link to the moment). Not official values — test on scrap first.
Bill of materials
Welder, accessories, consumables and parts used in this build; quantities and specs are editable Download BOMDescription
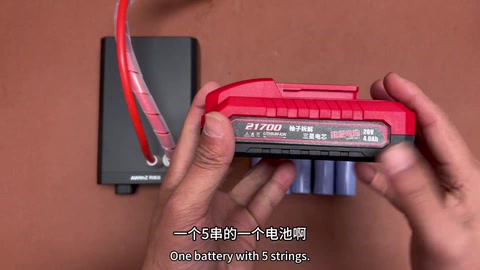
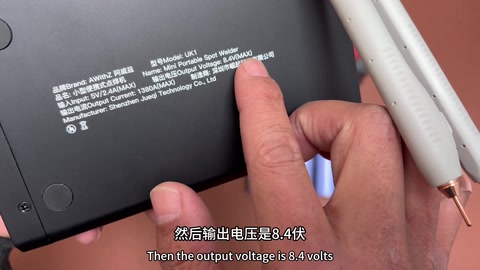
Youzi Teardown (Chinese/English subtitles) builds a 5S Samsung 40T 21700 pack in a Dayi A3 pin-terminal kit with the AWithZ UK1 (nameplate 5V/2.4A in, 8.4V/1380A MAX, adjustable mode / gear / trigger / continuous, the pen only welds when its switch is pressed): cells go in by the holder to locate main − and main +, a small nickel piece joins the main − first, flip over for the main +, gauge red to L+ and black to L−, fit the spring and lid with four screws, test on an A3 tool
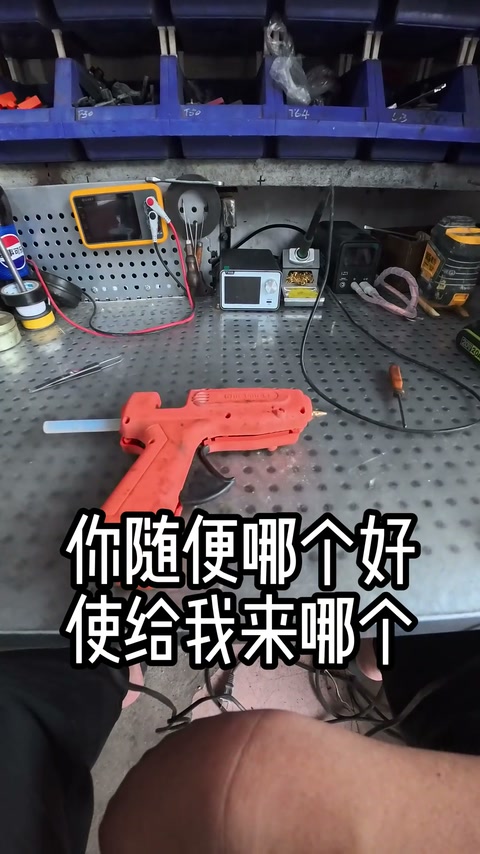
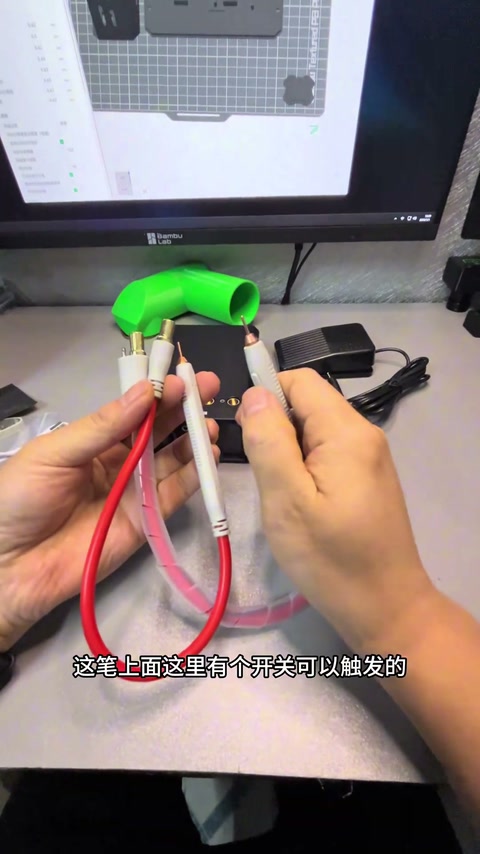
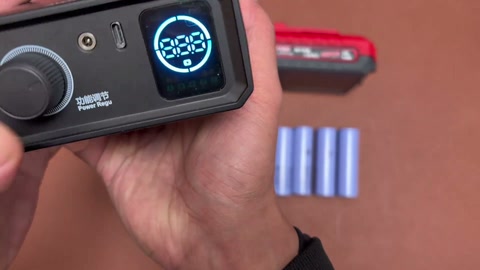
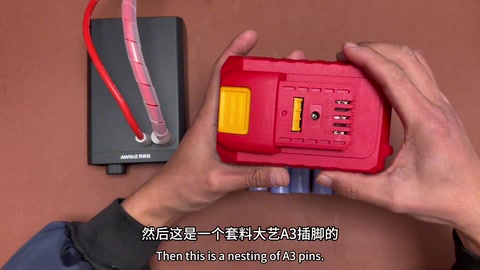
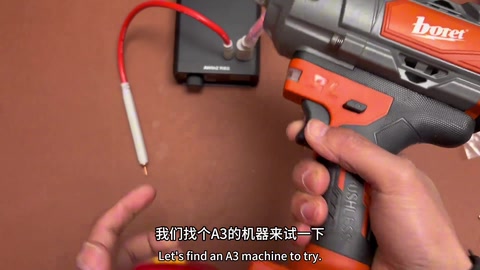
Building a 21700 five-series pack with Samsung 40T cells (INR21700-40T); the welder is an AWithZ UK1, 5V (2.4A) input, 8.4V output voltage, 1380A current, Shenzhen Juequi Technology; on power-up it has adjustable mode, gear, trigger and continuous; its pen doesn’t weld the moment it touches, you also have to press a switch — he’ll show that when welding. The kit is a Dayi A3 pin-terminal one, open it, there’s nickel inside, tip it out. How the cells go: the bent part faces this way, this is the main −, so the negative goes on this side; once in, locate the main − and main +, this is positive; join the main − first, the small nickel piece goes here; unlike the previous pen that welds as soon as it touches, this one only starts when the switch is pressed, very convenient; the large nickel goes on; flip it over, weld the main + first, then put it in; this pack is now connected. Gauge: by the way the case sits, the gauge goes at the back, red to L+, black to L−; set it in; pack welded, lid on, there’s a spring that must go in or the button won’t come back up, four screws in; find an A3 tool and try it; have you learned to weld a pack now? 159 comments: where to buy brand-new genuine cells, JD / Taobao / Pinduoduo are full of fakes (3); are 5 × 4.0 reliable, EVE 40P for about ¥100 (2); how much is the welder; tabless vs Sony C6; which welder for copper shims.
Outcome
| Goal | Build a 5S1P Samsung 40T 21700 power-tool pack (Dayi A3 kit) |
| Build | INR21700-40T × 5 + A3 pin-terminal kit + UK1 |
| Result | Welded and cased, tested on an A3 tool · verified on camera: 268–282s fitted to an A3 tool and tested |
Steps6 steps · click a frame to jump
 1. Plan: 5S Samsung 40T; UK1 nameplate 5V/8.4V/1380A
A 21700 five-series pack with Samsung 40T cells; the welder is an AWithZ UK1, 5V (2.4A) in, 8.4V out, 1380A, Juequi Technology; power on.
00:00 – 00:33 2. Menu: mode / gear / trigger / continuous; pen needs its switch pressed; Dayi A3 pin-terminal kit and nickel
Mode, gear, trigger and continuous are adjustable; the pen doesn’t weld just by touching, you also press a switch; the kit is a Dayi A3 pin-terminal one, open it, tip out the nickel.
00:34 – 01:06 3. Cells in by the holder: bend direction, locate main − and main +; join the main − first
The bent part faces this way; this is the main −, the negative goes on this side; once in, locate the main − and main +, this is positive; join the main − first, the small nickel piece goes here.
01:11 – 01:54 4. Only welds when the switch is pressed (unlike the old machine that welds on contact); large nickel on; flip and weld the main + first
Unlike the previous pen that welds as soon as it touches, this one only starts when the switch is pressed, very convenient; the large piece on; flip it over, weld the main + first, then put it back; nice; this pack is connected.
01:57 – 02:50 5. Gauge wiring: red to L+, black to L−
By the way the case sits, the gauge goes at the back; red to L+, black to L−; set it down.
02:50 – 03:24 6. Welded, lid on: fit the spring, four screws; test on an A3 tool
Pack welded, lid on; the spring must go in or the button won’t come back up; four screws; find an A3 tool and try it; got it now?
03:45 – 04:42
Bill of materials
| Samsung INR21700-40T ×5 | 4000mAh · 5S |
| AWithZ UK1 ×1 | 5V in / 8.4V 1380A out · Spot welding |
| Dayi A3 pin-terminal kit ×1 | Includes holder / BMS / nickel / gauge / case / spring / screws · Battery pack |
| Dayi A3 tool ×1 | Test |
Creator’s tips
- Use the holder’s bend to locate the main − and main +; join the main − first, flip over and weld the main + first 01:11
- The UK1 pen only welds when its switch is pressed, so you can position first and then trigger 00:34
- Gauge red to L+, black to L− 03:02
- Fit the button spring before the lid goes on 03:45
Pitfalls
- Forget the spring and the button won’t come back up 03:45
- Comments: genuine cells are hard to buy, JD / Taobao / Pinduoduo are full of fakes