Don’t copy this — even Wang Duoyu wouldn’t fund it

Creator’s own settings as stated in the video (timestamps link to the moment). Not official values — test on scrap first.
Bill of materials
Welder, accessories, consumables and parts used in this build; quantities and specs are editable Download BOMDescription
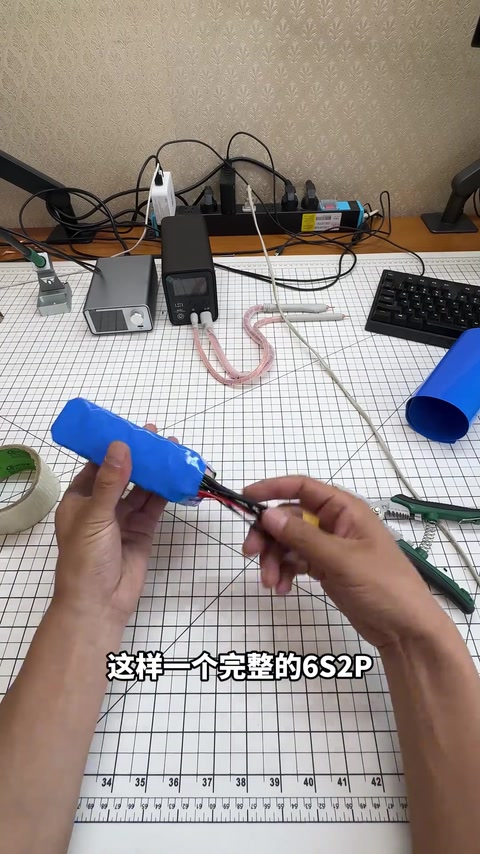
Old Panasonic 21700 cells saved from RC crashes built into 6S2P 8000mAh: 40A power cells short and catch fire easily, fish paper on both ends, nickel-plated steel strip laid along the current path for series-parallel and welded, 3.5V per cell / 22V total, 6S balance leads welded (red positive, black to each group negative) and each port checked for rising voltage, then a flight; ‘don’t copy this, even Wang Duoyu wouldn’t fund it’
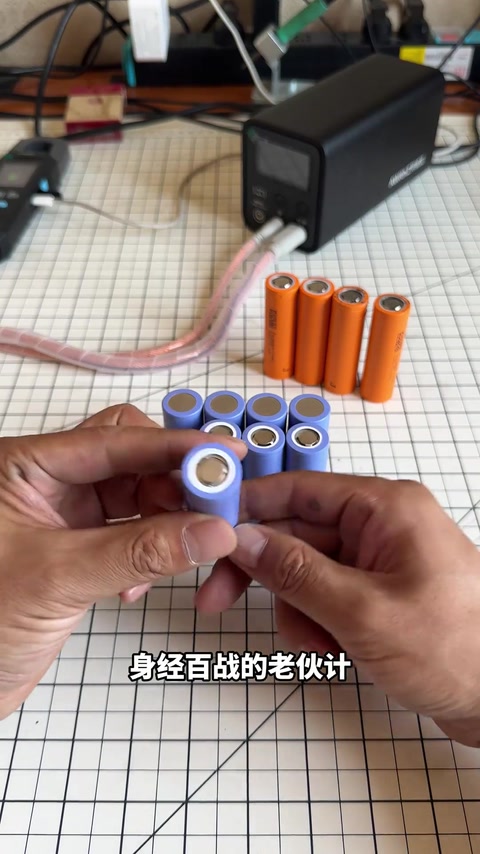
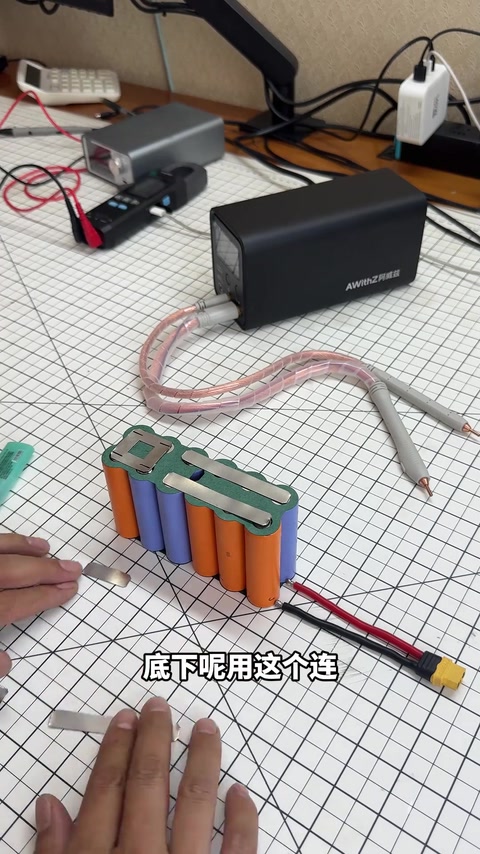
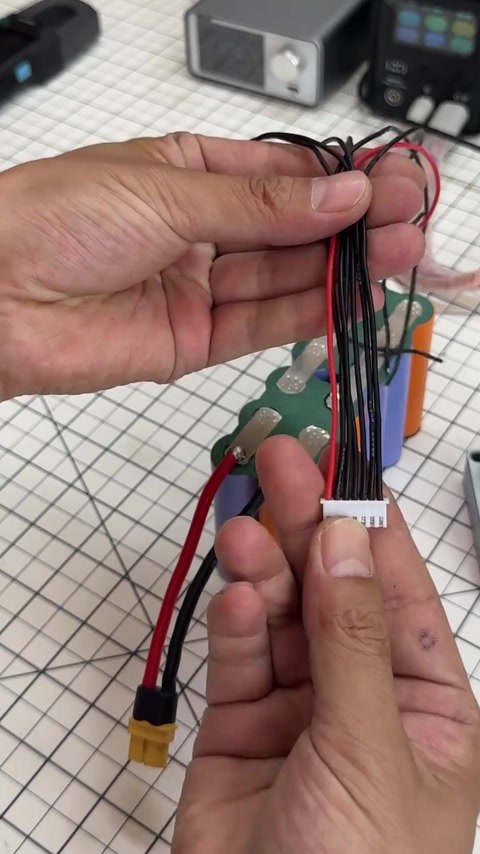
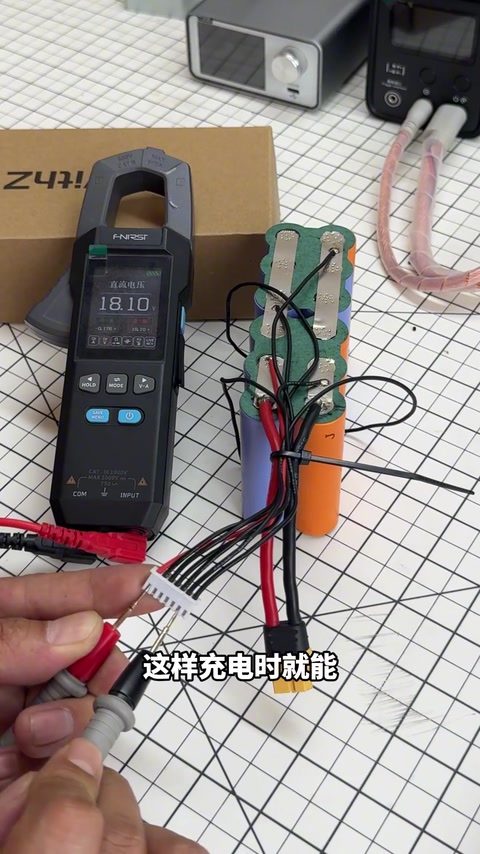
Crash after crash flying RC has left him a pile of Panasonic 21700s, and he rebuilds these battle-hardened veterans into 6S2P. These power cells discharge at 40A and heat up and catch fire easily if shorted, so before assembly fish paper goes on both ends of each cell; nickel-plated steel strip links them up before welding: add a piece here, join underneath with this one, join again with this one, the current comes up here, goes down, turns the corner, up and down, weld the bottom on (explaining the series-parallel routing). Multimeter shows 3.5V per cell, 6S is × 6, about 22V, fine; then weld the charging balance leads: red to positive, black to each group’s negative; check each port with the meter, the voltages step up in order, so the charger can balance every cell and fill them together; the full 6S2P 8000mAh is done and goes up for a flight. Comments: link for the welder?; discharge rate (10C); what voltage did you weld at; does vertical vs horizontal layout affect current handling; where to buy “lollipop” cells and what brand; make me a 36V; three aircraft gone for good.
Outcome
| Goal | Build a 6S2P RC pack from 21700s left over from crashes |
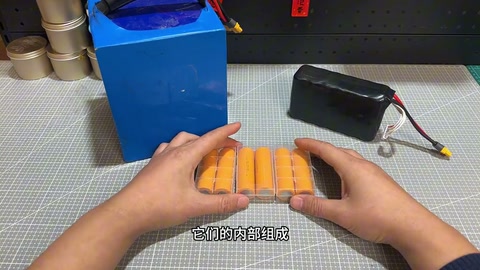
| Build | 12 × Panasonic 21700 4000mAh → 6S2P 8000mAh |
| Result | 22V, balance port voltages step up correctly, test flight · verified on camera: 58–64s multimeter 3.5V/22V; 80–88s balance ports step up; 114s in the air |
Steps5 steps · click a frame to jump
 1. Old 21700s from crashes into 6S2P; 40A power cells
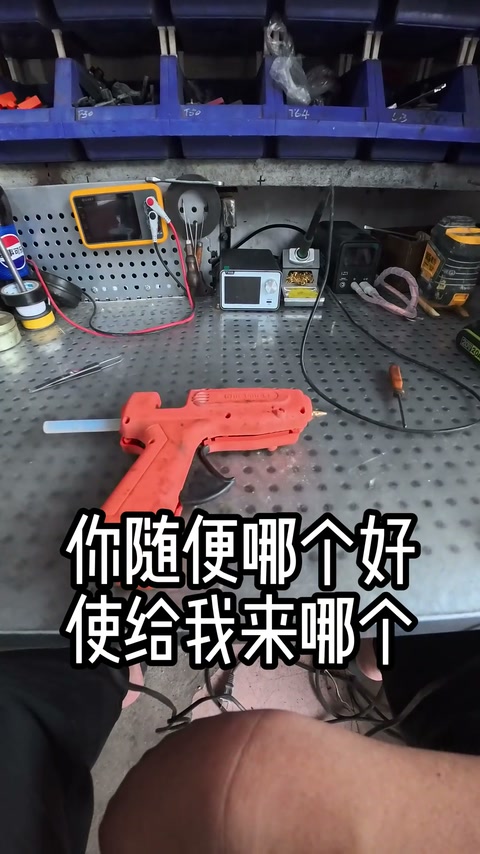
A pile of 21700s saved from RC crashes; rebuilt into 6S2P; power cells with 40A discharge.
00:00 – 00:13 2. Fish paper on both ends; nickel-plated steel strip joined along the current path and welded
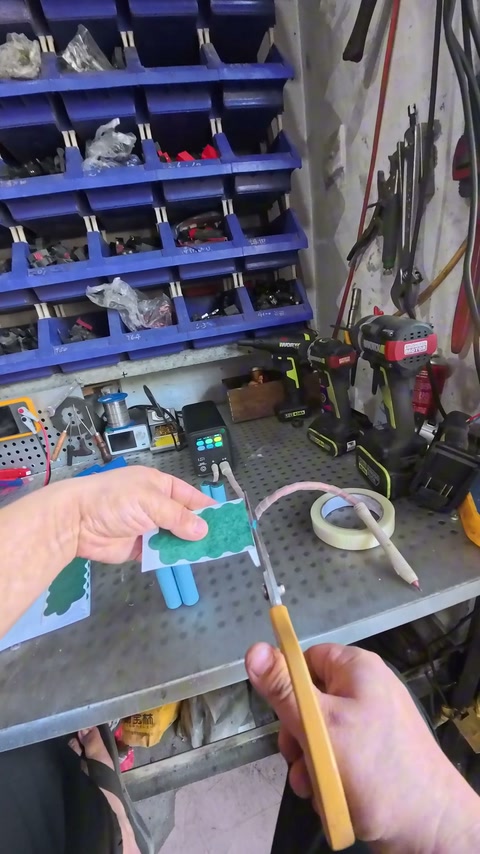
A short heats up and catches fire easily, so fish paper insulates both ends; link with nickel-plated steel strip, then weld: add a piece here, join underneath, join again, the current comes up, goes down and turns the corner, weld the bottom on.
00:13 – 00:36 3. 3.5V per cell, 6S ≈ 22V; weld the balance leads
Multimeter 3.5V per cell, 6S is × 6, about 22V, fine; weld the charging balance leads: red to positive, black to each group’s negative.
00:58 – 01:10 4. Check the balance ports step up
Check each port with the meter, the voltages step up in order, so the charger can balance every cell and fill them together.
01:20 – 01:44 5. 6S2P 8000mAh done, up for a flight
Panasonic cells; the full 6S2P 8000mAh is done; up for a flight.
01:44 – 02:09
Bill of materials
| Panasonic 21700 (old cells from crashes) ×12 | About 4000mAh · 6S2P |
| Fish paper | Insulate both ends |
| Nickel-plated steel strip | Series-parallel connections |
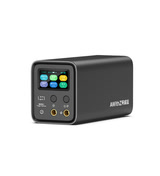
| Spot welder (UF20B) ×1 | Welding |
| 6S balance leads ×1 | Balance charging |
| Multimeter ×1 | Voltage checks |
Measured on camera
| Cell voltage | 3.5 V 00:58 |
| Total voltage | 22 V 00:58 |
Creator’s tips
- Put fish paper on both ends of power cells before assembly 00:13
- Plan the nickel strip routing so the series-parallel current path is right 00:28
- Balance leads red to positive, black to each group negative; port voltages should step up in order 01:05
Pitfalls
- 40A power cells heat up and catch fire easily if shorted 00:10
- Self-mocking title: ‘don’t copy this, even Wang Duoyu wouldn’t fund it’
Li-ion safety
- High-rate cells can catch fire if shorted — insulate without fail 00:10