 LV5
LV5
Abiao hand-builds a portable rechargeable mini drill press (11 minutes, open-sourced on MakerWorld): 795 motor 12–24V, 20/60-tooth pulleys, tapered / linear bearings, shafts, 3D-printed parts; 6 × 18650 2600mAh 10C in 6S + 35A balancing BMS + IP2369 45W 2–6S charge/discharge module + meter + rocker switch, one balance lead per series group, first power-up needs 2–3V extra to activate, 21V output; v1 had the tapered bearings fitted the wrong way and melted from friction, remodelled and perfect: square steel cut like tofu, threaded rod drilled most of the way through
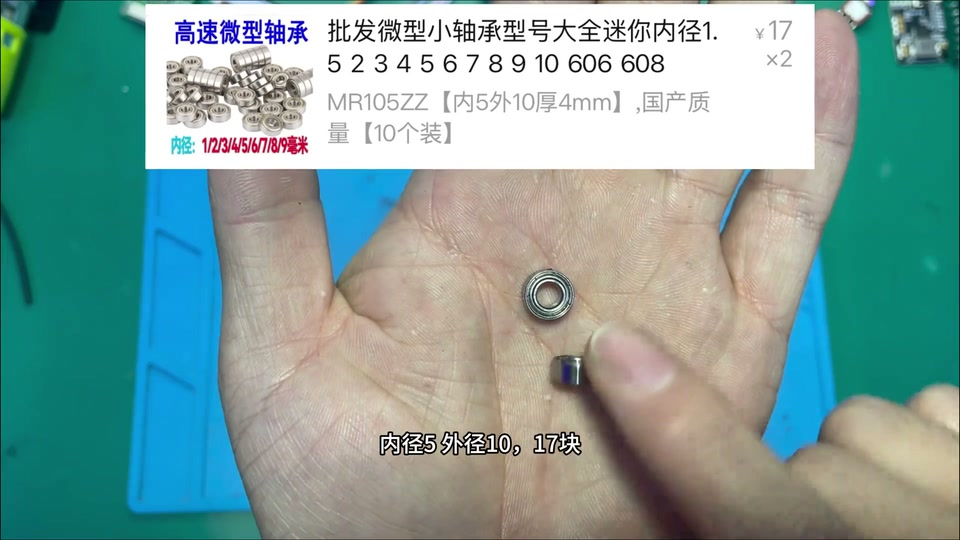
He had a set of pulleys but no mini drill press, so built a portable rechargeable desktop drill press with no cord; drills square steel like cutting butter and even large threaded rod. Materials list (with prices): 795 motor 12–24V ¥28.9, drill chuck + 5mm adapter ¥15.28, 20/60-tooth pulleys ¥12.1, two tapered roller bearings (10mm bore) ¥10, linear bearing ¥5.5, flanged linear bearing ¥15.2, 10mm shaft 40cm (¥17.5/m), 5mm shaft 10cm (¥39.9/10), M6×90 hex socket screws ¥3.73/5 sets, small 5×10 bearings ¥17/10, springs ¥4.3/10; electronics: 6 × 18650 2600mAh 10C (¥343 per 100), 6S 35A balancing BMS ¥23.74, DC 7–100V charge meter ¥10.9, IP2369 PD 45W 2–6S charge/discharge module ¥21.3, 6mm rocker switch ¥1.9; if you don't want Li-ion, skip the cells and BMS and run direct DC; if you don't have a spot welder and other professional tools, better not build a Li-ion pack. Battery: main positive and negative brought out on nickel strip to the BMS; many people struggle with balance leads, just remember: from negative to positive, one per series group, sampling each group's voltage; fit the balancing BMS and spot-weld the negative, plug in the balance leads; some BMS boards need an input 2–3V higher than the pack for a second or two on first power-up to activate; measuring around 21V output means it's active. Mechanical parts modelled to size, free and open-source on MakerWorld, PLA printing takes four plates and a dozen-odd hours, ¥20-odd in filament. Assembly: cells into the box recess, fit the charge meter, main positive reserved as a lead, charging module glued in at the Type-C cutout; meter negative, charger negative and main output negative all go to the BMS negative output; BMS charge input lead to the charging module negative, the other to the module positive, flick the module's little switch and the light comes on, working normally, Type-C both charges and can discharge to a phone; the pack positive's other lead goes to the switch's centre pin (input); output load lead, meter positive and sense lead twisted together onto the switch output; switch into its reserved hole; power on, meter lights up, close the lid; tap the shaft into its round hole. Head: small bearings top and bottom, tapered bearing (10mm bore printed adapter down to 5, tight space makes it a struggle to fit, a design failure), drill-bit adapter, flanged linear bearing with 4 screws, the other linear bearing, chuck, motor bracket with 4 screws, motor, small pulley grub screw, belt (better to fit the belt before the pulley); turntable base with two screws, loosen/tighten to adjust table height; the bottom clamp's third set of hex screws adjusts bit angle; springs on the two vertical rods; the handle's pivoting link copies an old hand-pump well, copper wire through the outer hole to stop it slipping off; power leads to the motor, dust cover. Test drill: after one hole it wobbles and vibrates badly, the shaft isn't vertical, the head model has a serious problem; taking it apart shows the plastic already fused and scorched; while drilling the bit pushes upward, rubbing the plastic until it heats and melts; remodel so the tapered bearings go in from the outside, one top and one bottom, stopping upward push and downward drop, the bearing inner race spins with the bit without rubbing; found that the small bearing's 10mm OD works as a reducer for the 5mm shaft; nearly two hours to reprint, fitting difficulty and friction heat perfectly solved; square steel like tofu, threaded rod not quite all the way through but close, good enough for a desktop mini drill press. Comments: made one too (4); don't cost it at 10cm, nobody sells 10cm; how much do you spend a month on inventions; add a fixture to turn beads; make it waterproof to cut bottles; main column too thin and too many plastic parts, poor rigidity, fine for fun; the rear column needs a really thick tube; can you make a mini table saw (tutorial coming).

 Ep. 66 | How to hand-build a portable desktop mini drill press? Build a DIY maker's own desktop drill press that can even drill into rebarProjectsRural Abiao