Me
#Shaver battery swap Share your welding progress, a question or a finished build…
Public Post
 LV5
LV5
Philips shaver dying in minutes: remove 4 screws + clips; the original 1.2V NiMH (~600–700mAh) is replaced with a 1400mAh true-capacity button-top AA (several flat-top ones he bought were all over-rated at only 300-odd); H1 in manual mode, gear turned up, welds the nickel tabs; align the tab on the button-top positive; on reassembly note the motor sits on the plastic rod, and don’t over-tighten the screws
If a shaver won’t run long after charging, don’t throw it away — swap the battery. This is a genuine Philips, and the fault is entirely the battery. A brand-new 1400mAh NiMH (YUASA NiMH 1.2V AA) is ready. Teardown: two screws here, one here, one more at the back inside; once out, pry it open, then push the two small clips on either side outward and it opens. Inside is a 1.2V NiMH cell, originally about 600–700mAh; it was a flat-top, and several flat-tops he bought were all short on capacity — labelled 1200 / 1800 / 2200 but tested at only 300-odd, so the only option is button-top, and this batch all tested at a true 1400 or more. Remove the board and swap the cell: the old cell had two nickel tabs, so make new tabs, spot-weld them on, then solder to the board. Power on the welder and turn the gear up a bit because the tab is a little thick; manual mode, one pulse and it’s on, a second pulse makes it firmer — can’t be peeled off. For the positive, since it’s a button-top and not flat, the tab has to be aligned — a bit tricky, it’s tiny; one pulse across, one lengthwise, very successful and very solid. Temperature turned up a little, the welds are very firm; the welder is light, compact and easy to carry, same model linked bottom-left. Reassembly: the motor sits on the plastic rod and must seat properly; press the cover on tight, the front plate must clip in; don’t force the screws — force them and the threads strip; the last two go in by hand, not with a power driver (no feel with a power driver), just snug them up, repair done. Comments ask where to buy the cell / any link, why not Panasonic, whether Li-ion can be used, whether he takes mail-in repairs; someone shares a no-weld method: pry the old cell off with a box-cutter blade, connect it and fix with glue.
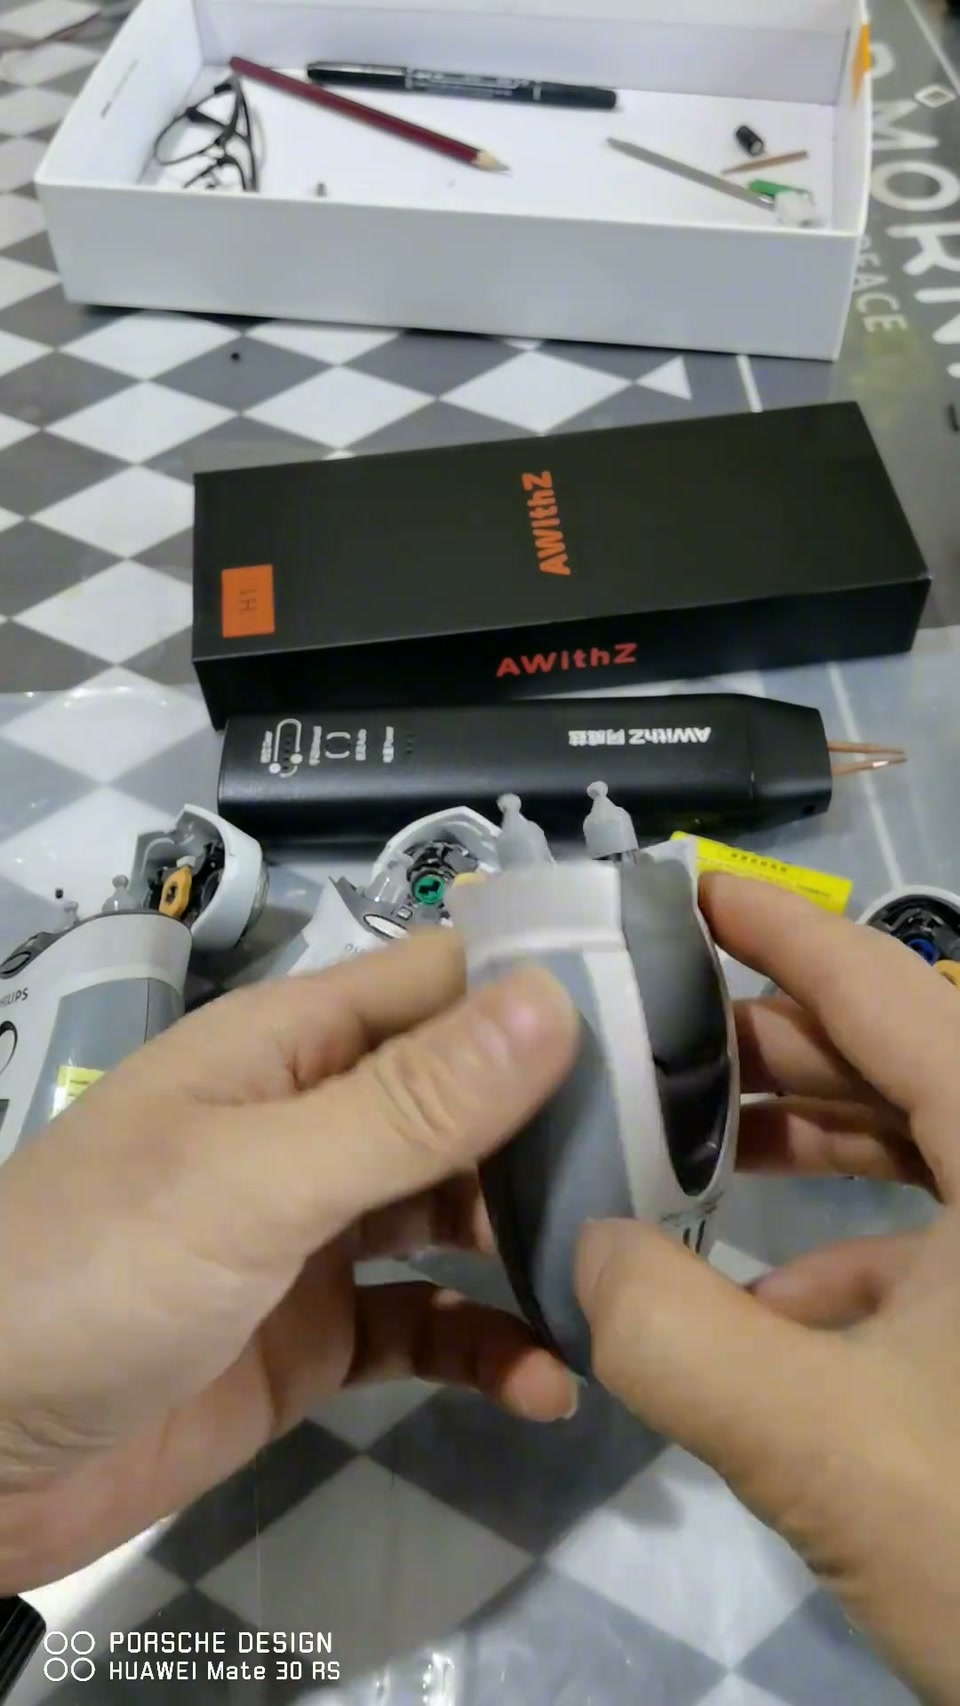

 Repairing a Philips shaver with a new battery so it lasts another 10 years. After years of use it died a few minutes after charging; now with a higher-capacity cell it runs twice as long as newProjectsVillageKid


