
Ep. 45 | An adjustable power supply with high-end features at rock-bottom cost? Building a portable, precise, digitally controlled adjustable supply from simple materials at the lowest cost — the result is a surprise

Creator’s own settings as stated in the video (timestamps link to the moment). Not official values — test on scrap first.
Bill of materials
Welder, accessories, consumables and parts used in this build; quantities and specs are editable Download BOMDescription
Hand-built portable digitally controlled adjustable supply: 3S4P 18650 + 3S40A BMS, boosted to 36V then through a digital buck module with coulomb counter, 0–33V adjustable with adjustable current
The creator wanted an adjustable supply that works without mains — for the price of one you can hand-build four. The core is an adjustable buck module with a coulomb-counter display; power comes from 12 × 18650 in 3S4P (12.6V) with a 3S 40A BMS. A plastic box is cut for the quick charge port, a square hole for the coulomb-counter display, round holes on both sides, vent holes and a fan slot, a battery gauge and a master switch. The charge input feeds a CC/CV buck-boost module with charge management, output set to 12.7–12.8V; two 40℃ normally-open thermostat switches in parallel control the fan (one stuck on the boost module heatsink), with the fan and gauge negatives on the boost module input. Battery 12.6V goes through the master switch into the boost module set to 36V max, then into the digitally controlled regulator module with thyristor; output leads with clips on the output terminals, the coulomb counter’s ribbon cable into the core board. Power on — charging works, the coulomb counter lights red, a multimeter on the output clips shows the knob sets voltage precisely, up to 33V; it can charge while in use, set voltage and current precisely for load tests, and work as a universal charger for all kinds of batteries.
Outcome
| Goal | Build a portable digitally controlled supply, 0–33V adjustable voltage and current, no mains needed |
| Build | Power box with 3S4P 18650 + 36V boost + digital buck / coulomb-counter module |
| Result | Done, output voltage precise and adjustable, up to 33V · verified on camera: 232–246s multimeter on the output clips reads precisely as the knob turns; 219–232s charging and coulomb counter power up fine |
Steps10 steps · click a frame to jump
 1. Goal and the core board
Freely adjustable 0–33V with fine current adjustment, for loads or charging batteries of different voltages; for the price of one you can hand-build four; the core is an adjustable buck module with a coulomb-counter display.
00:00 – 00:27 2. Battery: 12 × 18650 in 3S4P, 12.6V + 3S40A BMS
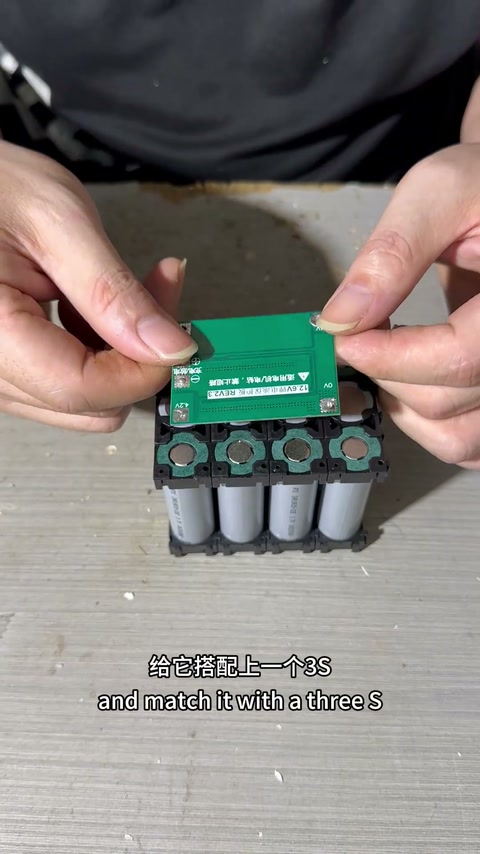
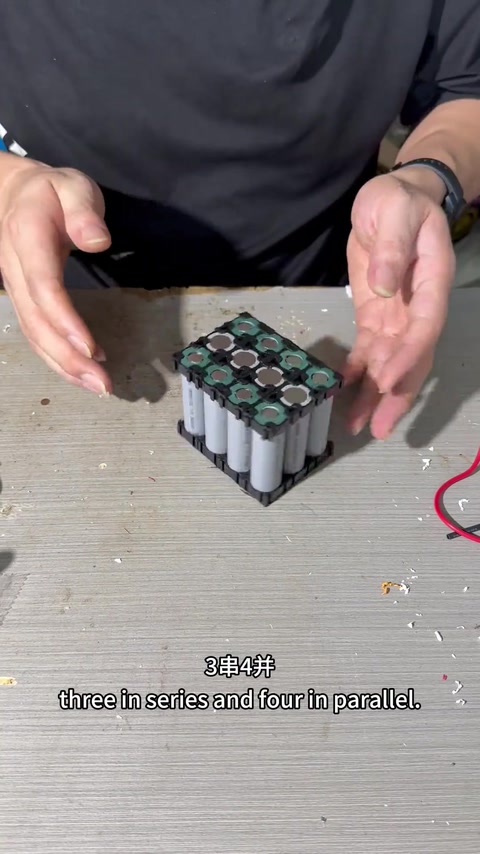
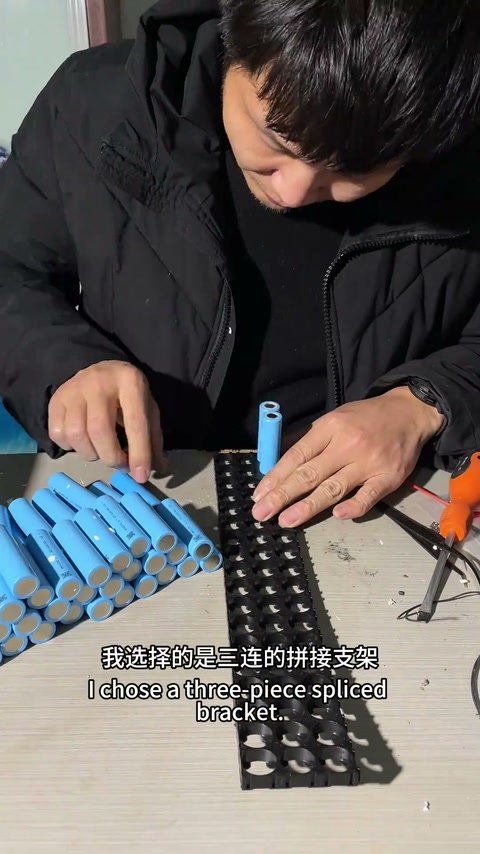
It’s portable, so 18650s — 12 cells in 3S4P, 12.6V, with a 3S 40A BMS; you could also skip the battery; mains isn’t always handy, so it runs unplugged and can charge while in use.
00:27 – 00:54 3. Cut the plastic box: charge port, display, round holes, vents, gauge, switch
Drill for the quick charge port; cut a rectangular hole at the other end for the coulomb-counter display; small round hole on the left, large one on the right; vent holes and a fan slot; fit the battery gauge and master power switch.
00:54 – 01:36 4. Charging: CC/CV buck-boost module set to 12.7–12.8V
Charge input + and − to the buck-boost module input; the module has battery charge management; output set to 12.7–12.8V.
01:36 – 01:50 5. Fan + two 40℃ normally-open thermostat switches in parallel
Fit the fan; one thermostat switch stuck on the boost module heatsink; 40℃ normally open, wired in parallel, the other end to the master switch output; the voltmeter positive goes here too; fan negative and gauge negative together on the boost module input.
01:50 – 02:31 6. Battery → switch → boost module; buck-boost output tied in
Positive from the switch into the boost module input; buck-boost output negative tied to the boost input negative, output positive tied to the switch input positive; pack output leads to these two joints by polarity.
02:31 – 02:59 7. Set the boost to 36V, into the digital regulator module with thyristor
Power up and set the boost module to its max of 36V — the battery is only 12.6V and the target is 0–30V adjustment; the two boosted leads go to the digital regulator module; two output leads with clips pass through the side holes to the regulator output; the coulomb counter’s ribbon cable plugs into the core board.
02:59 – 03:26 8. Assembly: core board, pack, boost module, acrylic plate
Core board in the bottom of the box; pack and boost module go in; the buck-boost module mounts on an acrylic plate; packed to the brim.
03:26 – 03:39 9. Verify: charging, coulomb counter on, multimeter tracks the knob up to 33V
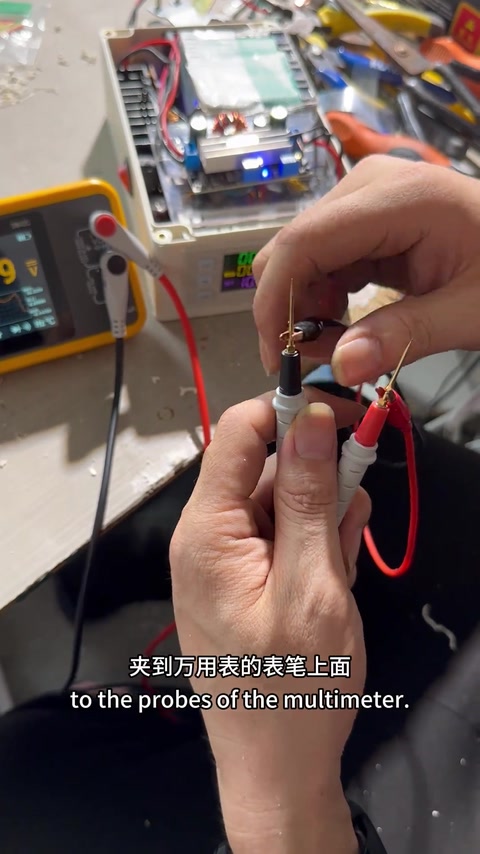
Plug in the charge lead and the buck-boost module starts charging the battery; master switch on, the coulomb counter’s red light comes on; battery voltage on the side; press the coulomb counter to power up, multimeter on the output clips, the knob sets voltage precisely; up to 33V; lid on, screws in.
03:39 – 04:19 10. Uses: load testing, universal charger, charge while in use
Well-built, reliable and stable; precise voltage and current for load tests; portable, no hunting for a socket; charge while in use on the bench; set voltage and current to charge different batteries, effectively a universal charger.
04:19 – 04:56
Bill of materials
| Adjustable buck module (with coulomb-counter display) ×1 | Core regulation |
| 18650 cells ×12 | 3S4P pack |
| BMS ×1 | 3S 40A · Protection |
| Plastic box (engineering-plastic junction box) ×1 | Enclosure |
| Quick charge port ×1 | Charge input |
| Battery level gauge / master switch | External fittings |
| CC/CV buck-boost module (charge management) ×1 | Output 12.7–12.8V · Charging |
| Cooling fan ×1 | Cooling |
| Thermostat switches ×2 | 40℃ normally open · Temperature control |
| Boost module ×1 | Set to 36V · Boost to feed the regulator module |
| Output leads with clips ×2 | Output |
| Acrylic plate ×1 | Mount the buck-boost module |
| Multimeter ×1 | Verify the output |
Measured on camera
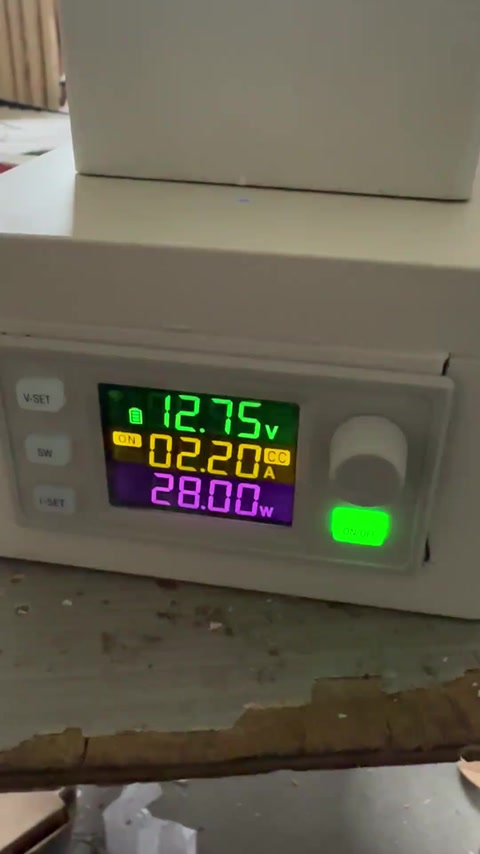
| Battery voltage (power-on screen) | 12.75 V 00:00 |
| Output display | 09.10V / 1.02A (approx.) 04:30 |
| Coulomb counter output display | 02.20 / 28.00W 00:00 |
Creator’s tips
- The battery is only 12.6V — boost to 36V first, then buck digitally, to cover the 0–30V range 03:02
- Thermostat switches in parallel, any hot spot starts the fan 02:16
- The benefit of DIY is you can improve it for your own use as you go 00:50
Pitfalls
- The box is packed to the brim with lots of wiring (comments worry repairs will be a mess) 03:36
Li-ion safety
Quotes

Comment insightsanswered 1 · open 2 · corrections 1
Answered by the creator
Open questions
Corrections from viewers
How does yours stack up against mine: karaoke, boiling water and cooking rice, hotpot, emergency jump-start, tyre inflation, pneumatic coffee, portable adjustable power supply, multimeter, oscilloscope, soldering iron, aroma air purifier, starry-sky lamp, compass, AI chat
Reply @创客.DIY达文西:
How does yours stack up against mine: karaoke, boiling water and cooking rice, hotpot, emergency jump-start, tyre inflation, pneumatic coffee, portable adjustable power supply, multimeter, oscilloscope, soldering iron, aroma air purifier, starry-sky lamp, compass, AI chat
Reply @创客.DIY达文西:
How does yours stack up against mine: karaoke, boiling water and cooking rice, hotpot, emergency jump-start, tyre inflation, pneumatic coffee, portable adjustable power supply, multimeter, oscilloscope, soldering iron, aroma air purifier, starry-sky lamp, compass, AI chat
Reply @创客.DIY达文西: