Appliance repair ep. 259: replacing a vacuum cleaner battery



Creator’s own settings as stated in the video (timestamps link to the moment). Not official values — test on scrap first.
Bill of materials
Welder, accessories, consumables and parts used in this build; quantities and specs are editable Download BOMDescription
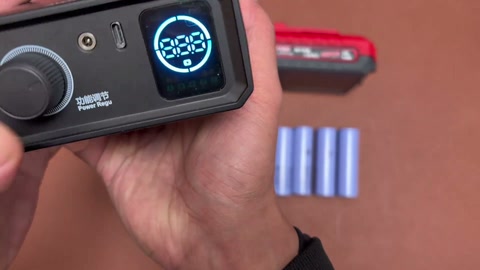
Repairman Xiao Li ep. 259, vacuum battery swap: a returning fan, bought 4 cells for a few dozen yuan; loose screws suggest the customer tried a sneaky repair; shows 0% but an adjustable supply at 5V charges it; open it up and record the +/− layout (clean first, then photograph); RC3563 tester puts the new cells at 25–26mΩ, about the same as the old 28, 'paid a fortune and the quality's nothing special'; AWithZ spot welder, nickel strip too long so trimmed and insulated, welds 'beautiful'; charged to 60%, starts fine; two machines a day, 'when will I ever get ahead'
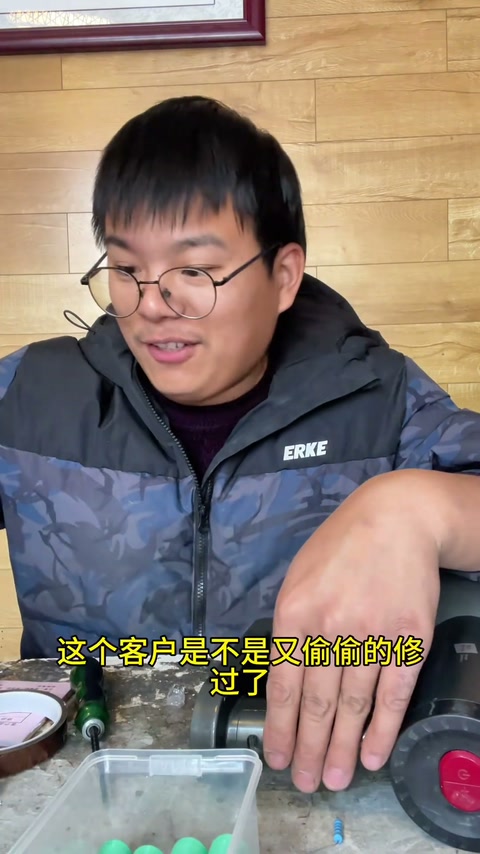
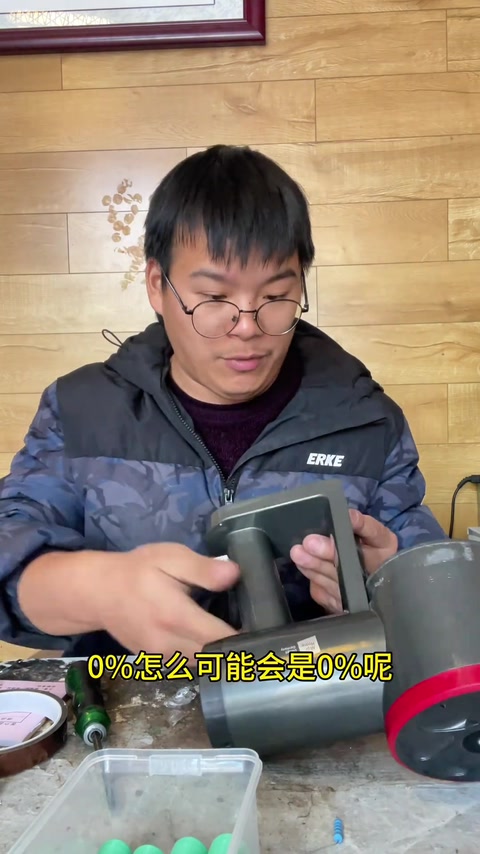
Self-taught appliance repair ep. 259, replacing a Li-ion battery for a fan, a returning customer whose machine was repaired a few months ago; bought four cells for a few dozen yuan; take it all apart (forgot how, had to look up the old video); the screws are all really loose as if it's been opened, did the customer try a sneaky repair and fail; plug in to charge: shows 0%, how can it be 0%; try an adjustable supply at 5V and it takes charge, 0.4% and charging, so take it apart; easier with last time's experience; photograph the layout and note the polarity (+ − + −...), clean it first then photograph or you can't see and get it wrong. Not sure of the quality of the cells bought, test with the RC3563 tester: about 25–26mΩ, 'paid nearly ten yuan each and the quality's nothing special, paid a fortune'; pull an original cell and it reads 28mΩ, 'his cells are about the same as mine'. Get the AWithZ spot welder out and weld: this side done, now this side, welds beautiful; the nickel strip is a bit too long and can't be cut, add some insulation; trim the next piece, mustn't be too long; the scissors are no good; a few extra welds, tap it down; very beautiful / number one. Test: customer says it runs under a minute after a full charge; put back together and still 0%, could it be reversed?; charge to 60%, unplug and start, seems fine now; time flies, two machines a day, a battery swapped morning and afternoon, when will I ever get ahead. Comments: sort out your polarity first or you'll blow yourself up mate; apprentice; should the four cells be ¥20 each; I laughed when I saw the resistance test; what spot welder is that.
Outcome
| Goal | Replace 4 cells in a vacuum battery pack |
| Build | 4 × 18650 (about ¥10 each) + original BMS |
| Result | Charged to 60%, starts normally · verified on camera: Charged to 60% at 346–384s, unplugged and started running |
Steps6 steps · click a frame to jump
 1. Returning customer's battery swap; 4 cells for a few dozen yuan
Ep. 259, replacing a Li-ion battery for a fan, a customer whose machine was fixed a few months ago came back; bought four cells for a few dozen yuan; swap them in and it's OK.
00:00 – 00:29 2. Teardown (forgot how); loose screws, sneaky repair suspected; 0% but a 5V adjustable supply charges it
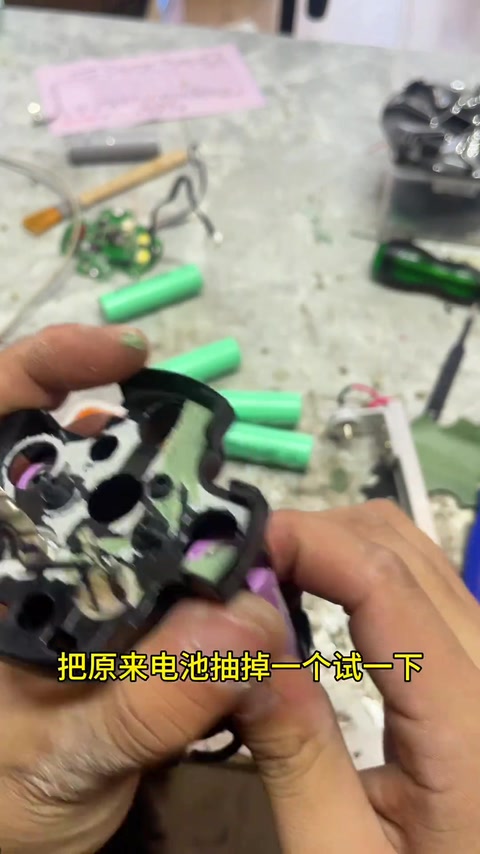
Full teardown, forgot how, had to look up the old video; screws really loose as if opened, did the customer try a sneaky repair and fail?; plug in, shows 0%; adjustable supply at 5V takes charge (0.4%), so it can charge; take it apart.
00:29 – 01:29 3. Down to the battery; clean, then photograph the +/− layout
Easier with last time's experience; take it all apart and see how the battery is set up; lay it out; clean it, then photograph, then strip, otherwise like last episode you can't see and get it wrong; + − + −...
01:29 – 02:11 4. RC3563 tester: new cells 25–26mΩ, 'nothing special'; old cell 28mΩ
Not sure of the cells' quality, tester reads about 25–26mΩ, ten yuan each and nothing special, paid a fortune; pull an original cell, 28mΩ, about the same as mine; get the AWithZ spot welder out and start welding.
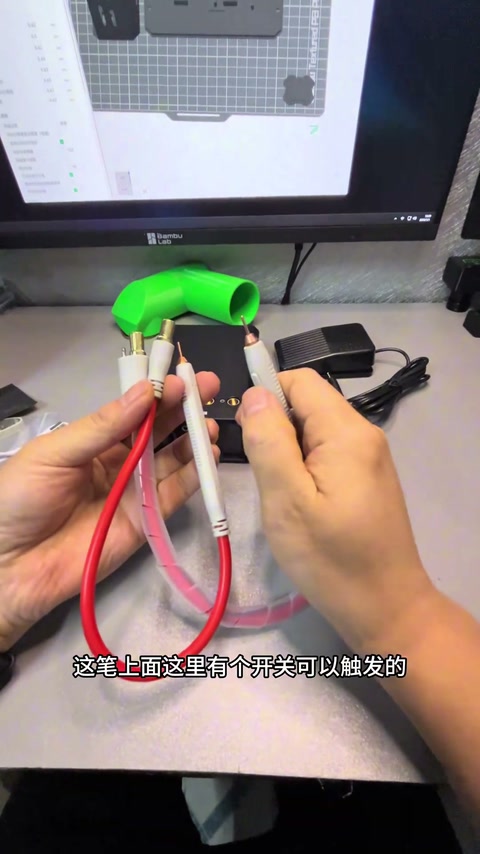
02:11 – 03:54 5. Spot welding: welds beautiful; strip too long, trim and insulate; a few extra welds
This side done, now this side, welded beautiful; nickel strip a bit too long and can't be cut, add insulation; trim the other piece, mustn't be too long; scissors no good; a few extra welds and tap it down; very beautiful, number one.
04:00 – 05:19 6. Test: still 0%? Charged to 60%, unplugged, starts fine; two machines a day
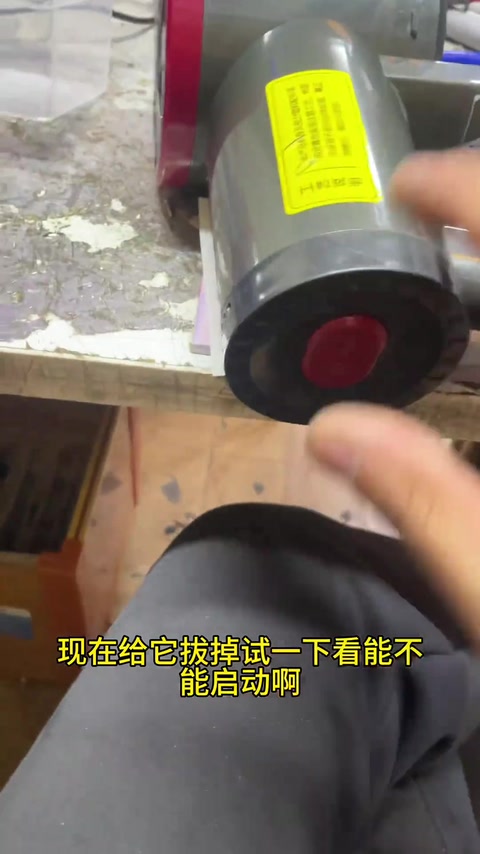
Customer says under a minute after a full charge; back together and it's 0% again, could it be reversed; charge to 60%; unplug and start, seems fine; two machines a day, a battery each morning and afternoon, when will I get ahead.
05:19 – 06:35
Bill of materials
| Vacuum battery pack ×1 | Battery swap |
| 18650 cells ×4 | About ¥10 each · Replacement |
| RC3563 internal-resistance tester ×1 | Resistance testing |
| Adjustable power supply ×1 | 5V · Test charge |
| AWithZ spot welder (UK1) ×1 | Spot welding |
| Nickel strip / scissors / insulation | Connections |
Measured on camera
| New cell resistance | 25–26 mΩ 03:45 |
| Old cell resistance | 28 mΩ 03:34 |
| Charge level | 0%→60% 05:46 |
Creator’s tips
- 0% on the display doesn't mean it can't charge; test with an adjustable supply at 5V 01:05
- Clean the pack and photograph the +/− layout before stripping it, so you don't get it wrong 01:46
- Measure the new cells' resistance against the old ones; cheap cells aren't necessarily better 02:39
- Don't leave nickel strip too long; trim the excess and insulate 04:13
Pitfalls
- ¥10 new cells at 25–26mΩ are about the same as the old cells at 28 02:39
- Customer may have tried a sneaky repair (loose screws) 00:38
- Comment: sort out your polarity first or you'll blow yourself up, mate
Li-ion safety
- Photograph and record the +/− layout; reversed connections are dangerous (from comments) 01:59
Quotes
Cost & time
| 4 cells | ¥40 · A few dozen yuan, about ¥10 per cell |
| Time | Two repairs a day (one battery swap in the morning, one in the afternoon) |