Stair-climber lithium battery doesn’t last — rebuilding it as a higher-capacity pack
Creator’s own settings as stated in the video (timestamps link to the moment). Not official values — test on scrap first.
Bill of materials
Welder, accessories, consumables and parts used in this build; quantities and specs are editable Download BOMDescription
Stair-climber 54.6V Li-ion pack (label says 72A model, <25A) has lost capacity: inside are 18650 2000mAh cells in 5P for only 10Ah, several years old, worthless; rebuilt to the largest size the outer case allows as 13S8P EVE 18650 2500mAh = 20Ah: fish paper on the positives, alternating + / − layout, epoxy board between series groups, 0.2 nickel strip welded, strapping tape, JBD 13S 30A common-port BMS (check the balance-lead order after soldering so you don’t burn the board), charge/discharge test
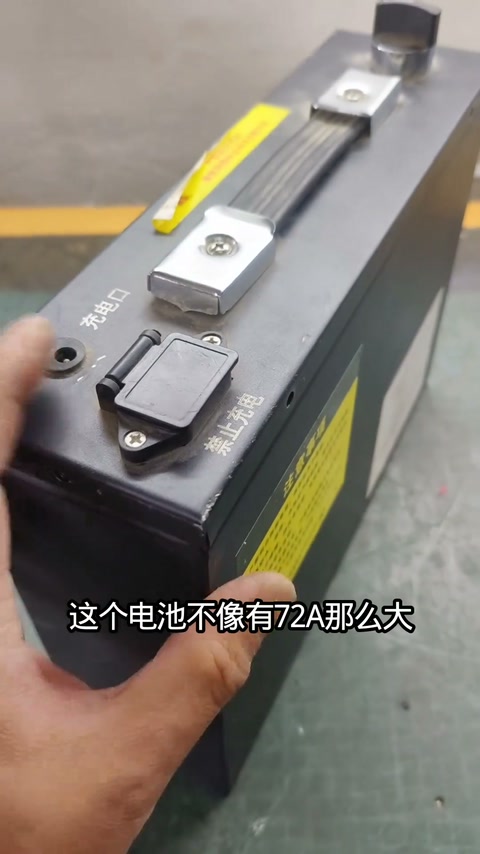
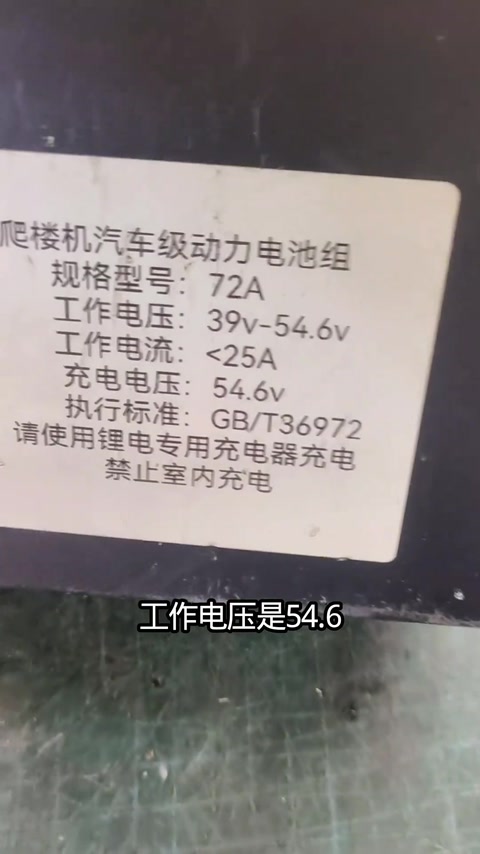
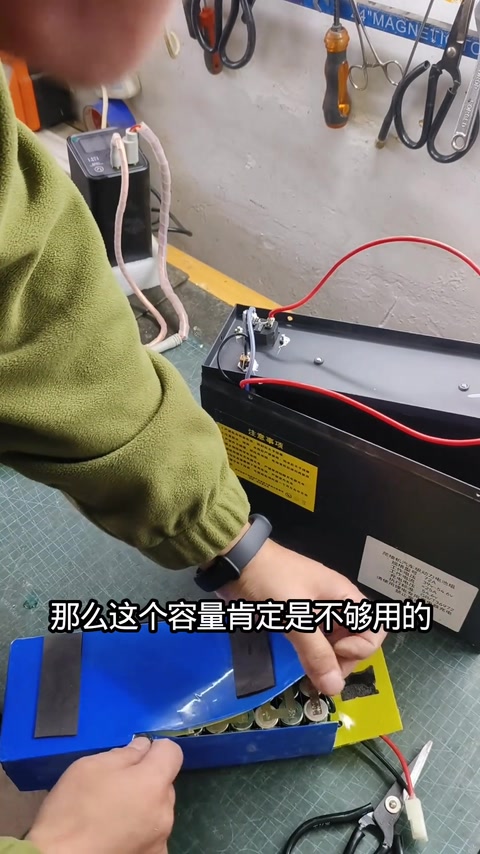
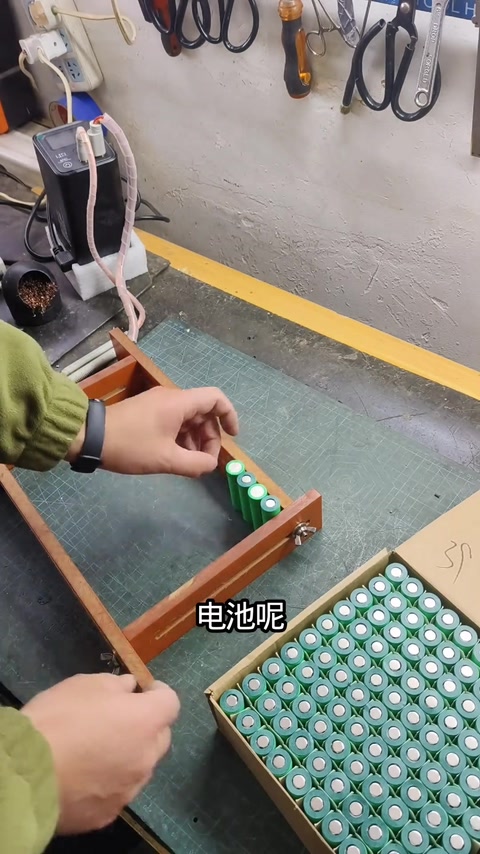
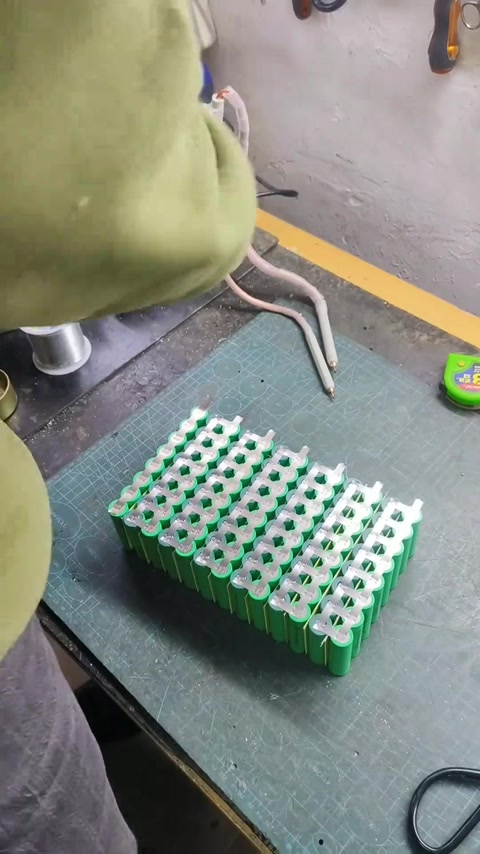
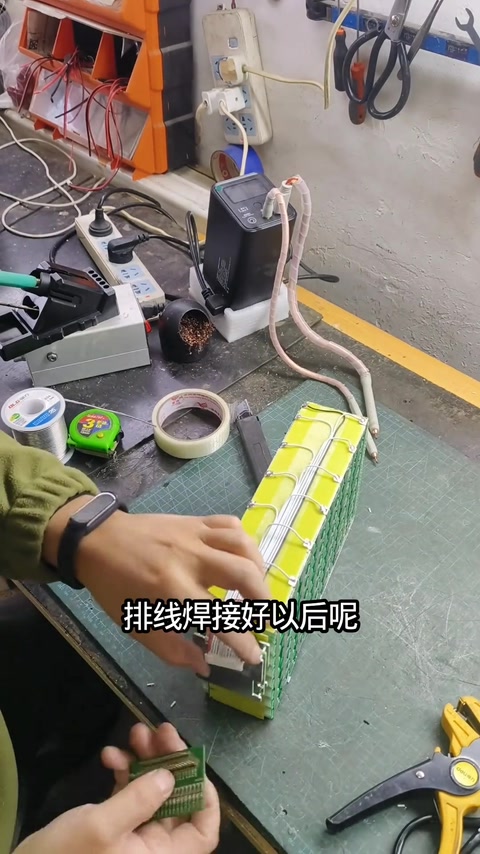
A stair-climber-specific Li-ion pack; the label reads model 72A, working voltage 39–54.6V, working current <25A, charge 54.6V, no indoor charging; whether 72A is a capacity or a model number is unclear — it doesn’t look that big; the owner says the capacity has faded and it runs out quickly. Cells removed: 18650 at 2000mAh each, 5P for only 10Ah total — not enough, and after several years the fade is severe, completely worthless. Rebuild to the largest size the outer case can take: brand-new EVE 18650 2500mAh, fish paper on every positive for insulation; lay them out to the case’s maximum usable size, 13 series × 8 parallel, 20Ah in total; alternate + / −, with an epoxy board between each series group for insulation; weld with 0.2-thick nickel strip, joining the single cells into one block in parallel and series; once welded, wrap in strapping tape so nothing works loose; fit the BMS (JBD 13S 30A common-port), chosen by cell type, series count and current; after soldering the balance leads, measure the lead order so a mistake doesn’t burn out the BMS; solder the + and − leads; charge/discharge test, and if all is well it’s done. Comments: do you need an electrician’s licence for this? Is this discharge through the BMS but not charge?; requests for a build, phone number, price.
Outcome
| Goal | Rebuild the stair-climber pack as 54.6V 20Ah |
| Build | 13S8P EVE 18650 2500mAh + JBD 13S 30A BMS |
| Result | Assembled, charge/discharge test pending · not verified on camera |
Steps5 steps · click a frame to jump
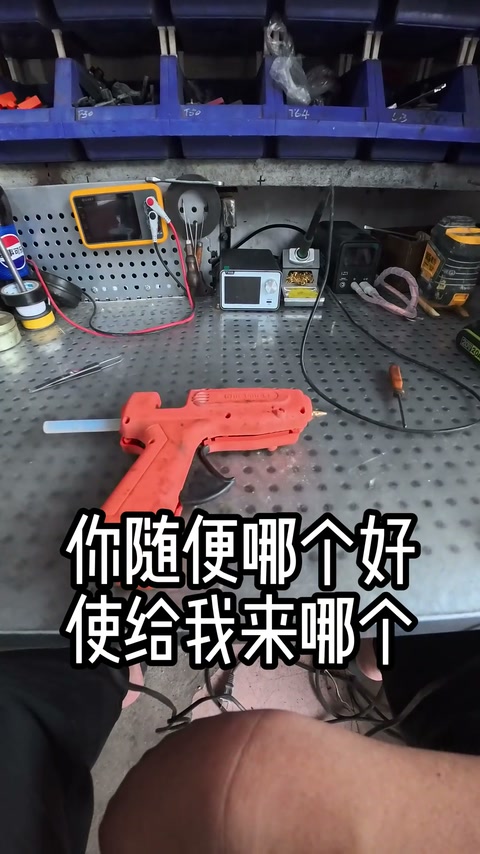
 1. Label: 72A / 39–54.6V / <25A; capacity faded
The stair-climber pack label reads 72A, working voltage 39–54.6V, current <25A, charge 54.6V, no indoor charging; 72A doesn’t look like a capacity; the owner says the capacity has faded.
00:01 – 00:29 2. Original cells 18650 2000mAh 5P = 10Ah, years of fade, worthless
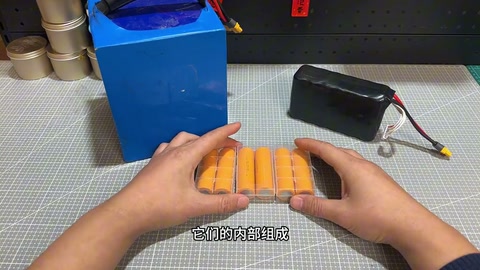
18650 at 2000mAh each, 5P for 10Ah total, not enough; several years of use, severe fade, completely worthless; rebuild to the largest size the outer case allows.
00:29 – 00:55 3. EVE 2500mAh 13S8P = 20Ah; fish paper; alternating + / −; epoxy board between groups
Brand-new EVE 18650 2500mAh; fish paper on the positives; laid out to the case’s maximum size as 13 series × 8 parallel, 20Ah; alternating + / − layout; epoxy board between each series group for insulation.
00:55 – 01:36 4. Weld with 0.2 nickel strip; wrap the block in strapping tape
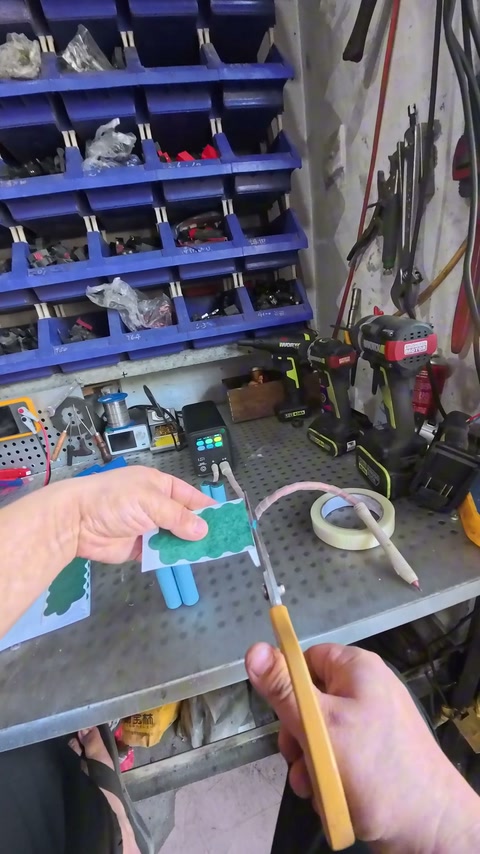
Weld with 0.2-thick nickel strip, joining the single cells into one block in parallel and series; wrap in strapping tape so nothing works loose.
01:36 – 01:59 5. JBD 13S 30A common-port BMS; check lead order to avoid burning the board; charge/discharge test
Fit the BMS, chosen by cell type, series count and current (JBD 13S 30A common-port); after soldering the balance leads, test the lead order so a mistake doesn’t burn the board; solder the + and − leads; charge/discharge test, done if all is well.
01:47 – 02:25
Bill of materials
| Original stair-climber pack ×1 | 54.6V, 18650 2000mAh 5P · Being replaced |
| EVE 18650 ×104 | 2500mAh · 13S8P |
| Fish paper / epoxy board | Insulation |
| Nickel strip 0.2 | Welding |
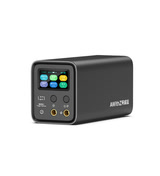
| Welder (UF20B) ×1 | Welding |
| Strapping tape | Fixing |
| JBD 13S 30A BMS ×1 | Common-port · Protection |
Creator’s tips
- Lay the cells out to the case’s maximum usable size to get the most capacity 00:50
- Choose the BMS by cell type / series count / current; after soldering the balance leads, measure the lead order first so a mistake doesn’t burn the board 02:00
- Epoxy board between series groups + strapping tape — no cell holders needed 01:23
Pitfalls
- The factory fitted low-capacity 2000mAh cells; the 72A on the label is misleading 00:15
Li-ion safety
- Mis-wired balance leads will burn out the BMS 02:00
- Label: no indoor charging, use a dedicated Li-ion charger 00:01